
>>

No-bake Buckeye Bars with a creamy peanut butter center and a glossy chocolate topping — quick to make, crowd-pleasing, and perfect for parties or an easy sweet snack.
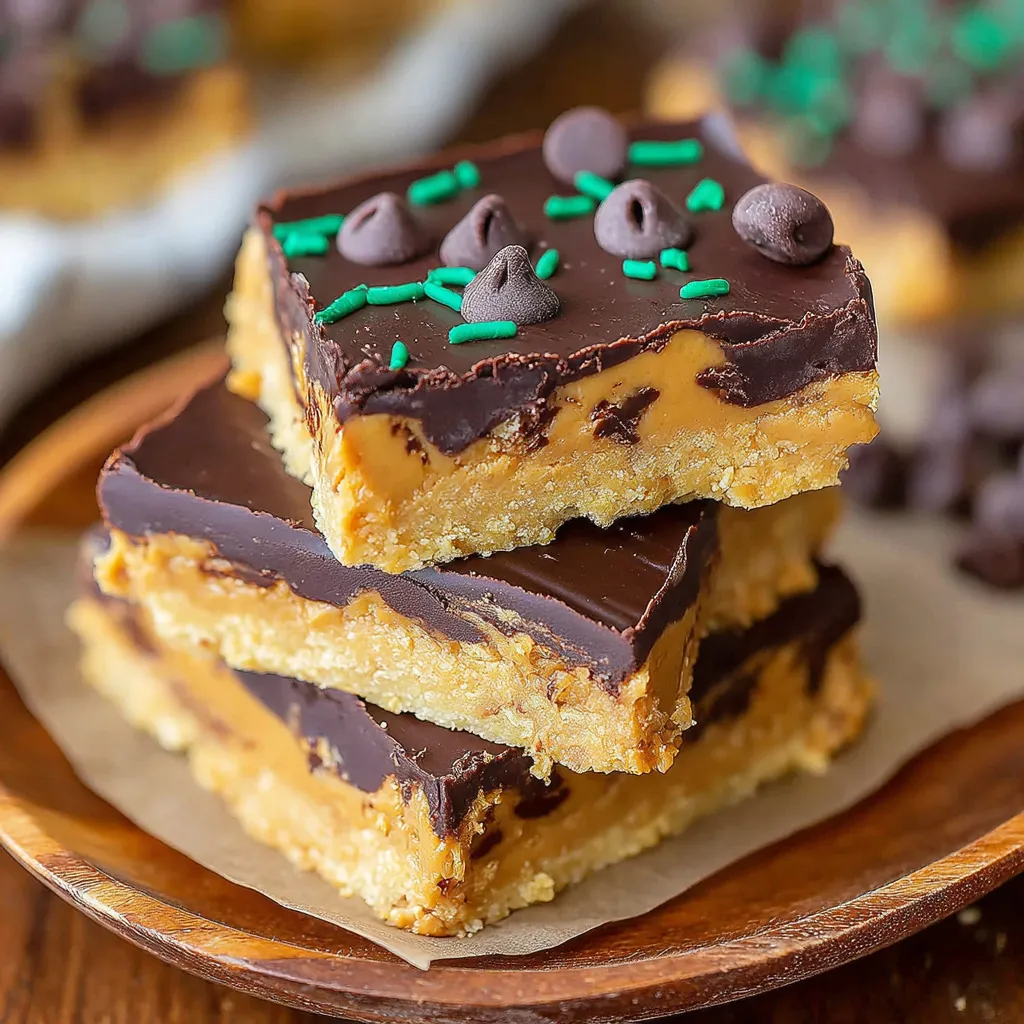
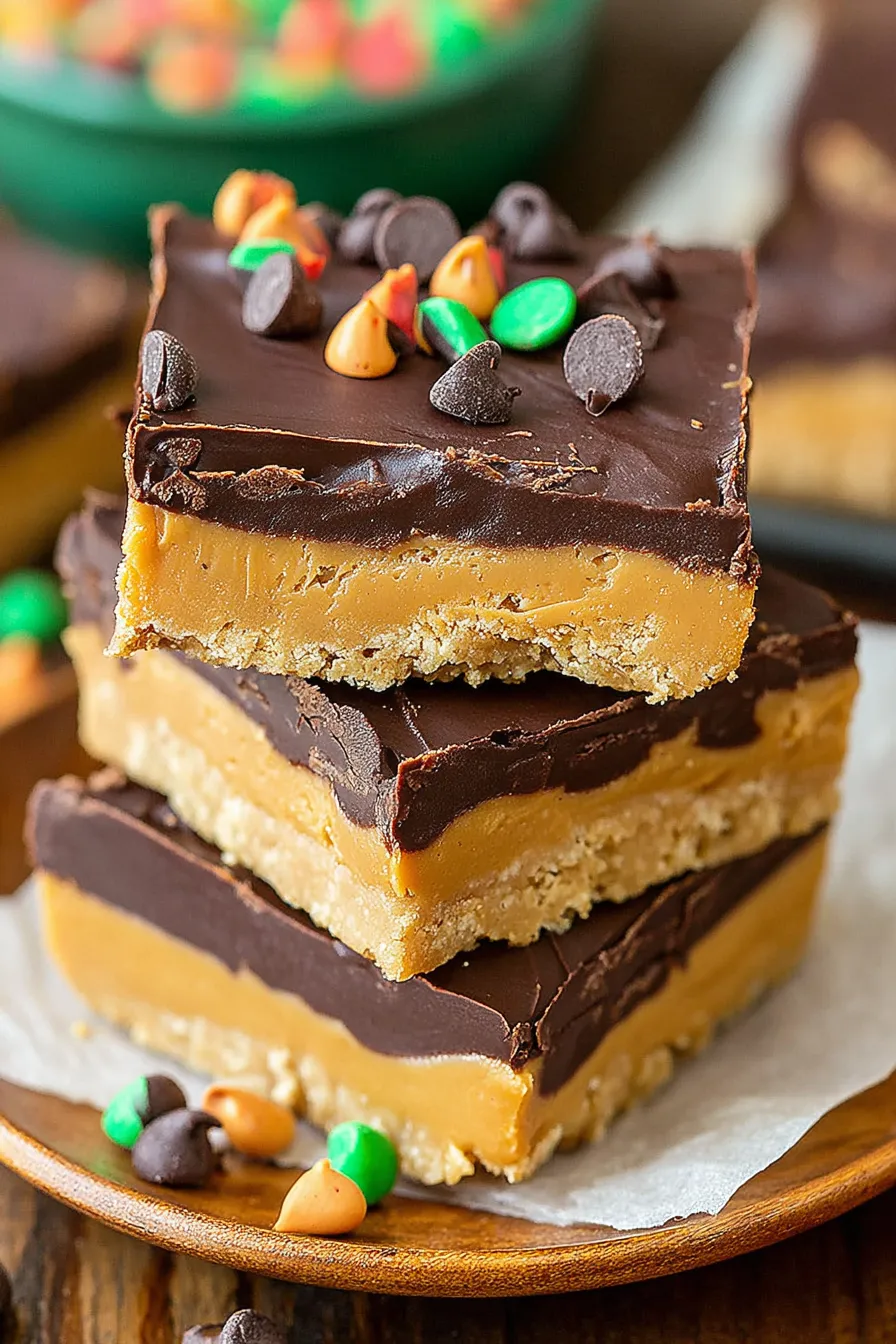
This batch of Buckeye Bars is my go-to when I need a quick, nostalgic treat that always disappears before I can take a photo. I first made these on a rainy Saturday afternoon when I had a jar of creamy peanut butter and a sweet tooth that would not quit. They remind me of buckeye candies my grandmother used to make at the holidays — that classic peanut-butter-and-chocolate pairing — but flattened into a slab that’s so much easier to slice, share, and stash in the fridge. The texture is luxuriously dense and peanut-forward, with a chocolate cap that sets glossy and snaps slightly when you cut through it.
What makes this version special is the attention to simple technique: creaming the butter and peanut butter until perfectly smooth, pressing the mixture evenly into the pan so every bar is consistent, and melting the chocolate slowly so it stays shiny and silky. I discovered the ideal balance of sweetness after several experiments; too little powdered sugar and the filling is too soft, too much and it becomes dry. These bars hit the sweet spot and are perfect for potlucks, an after-school treat, or a last-minute dessert when friends drop by.
My family’s reaction the first time I brought these to a gathering was priceless: people kept asking what kind of candy I’d hidden inside the pan. They’re deceptively simple, but rich enough that a small square feels indulgent. Over the years I’ve learned minor adjustments — like warming the peanut butter slightly if it’s stiff — that make the process smoother and the texture more uniform.
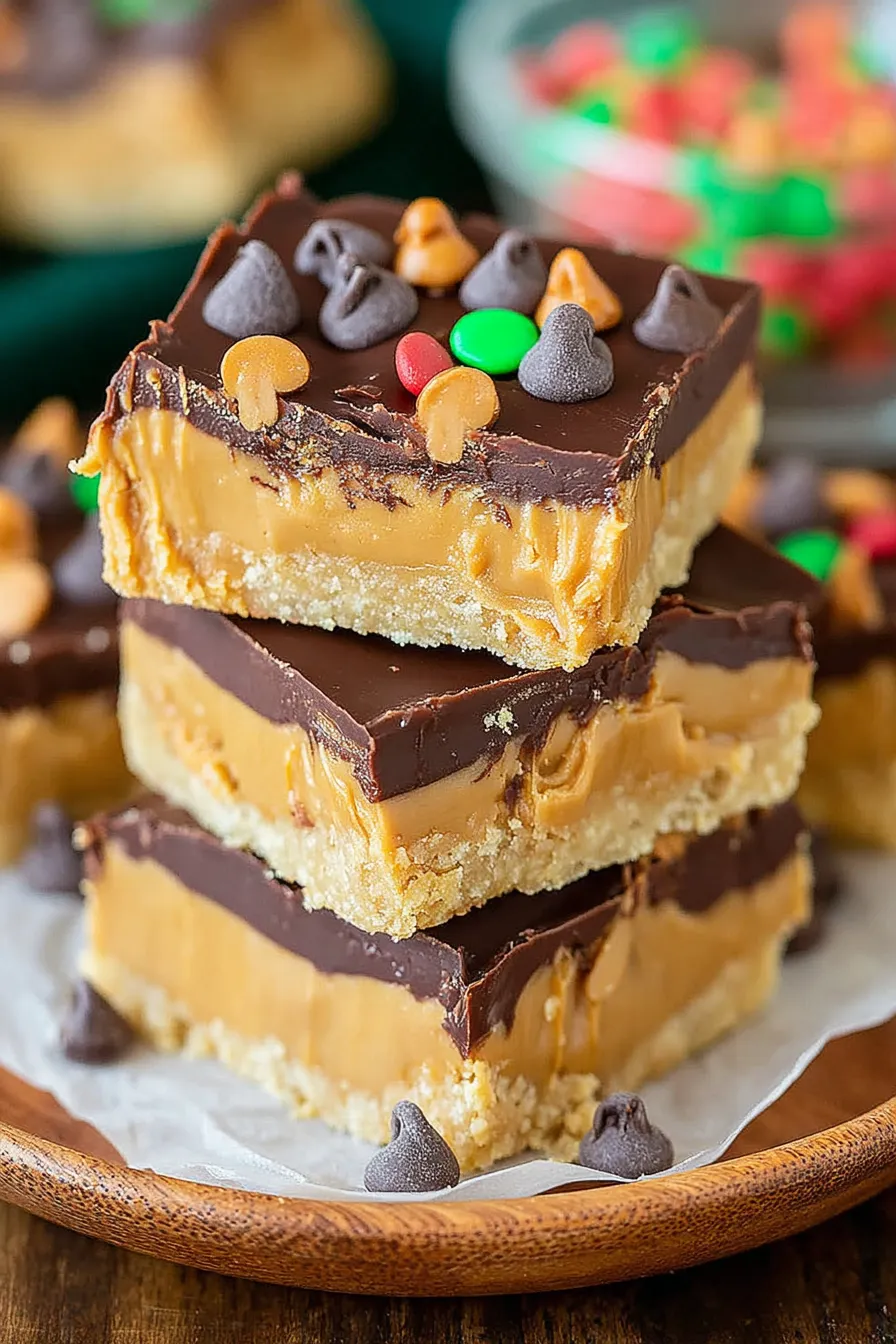
What I love most about these is how forgiving they are. If your peanut-butter layer is a touch soft, a brief chill fixes it; if the chocolate blooms slightly at room temp, a quick chill restores its shine. Friends always notice the clean slices and glossy top — small presentation wins create big impressions at gatherings.
Store the bars in a single layer or with parchment between layers in an airtight container in the refrigerator for up to 7 days. For longer storage, freeze in an airtight container with parchment between layers for up to 3 months; thaw overnight in the fridge before serving. Room-temperature storage is fine only for a couple of hours — the chocolate will soften and the texture becomes less firm. Use shallow, tight-sealing containers to prevent the bars from absorbing other flavors in the fridge.
If you prefer a slightly less sweet filling, swap 1/4 cup of the powdered sugar for 1 tablespoon cocoa powder to create a chocolate-peanut center, but that will alter texture slightly and you may need a splash of milk to reach the right consistency. For dairy-free bars, use a vegan butter substitute and dairy-free chocolate chips; note the final flavor will be different but still delicious. If crunchy texture is desired, fold in 1/2 cup crushed pretzels or chopped roasted peanuts into the filling before pressing.
Serve chilled as bite-sized sweets with coffee or tea. For a dessert platter, arrange with fresh berries and a few salted roasted nuts to balance the sweetness. These are perfect for holiday cookie swaps — garnish individual squares with a tiny sprinkle of flaky sea salt or a drizzle of contrasting white chocolate for a fancier touch.
These bars are inspired by the beloved Midwest treat — buckeye candies — which mimic the shiny nut of the Ohio buckeye tree with a peanut-butter center dipped in chocolate. Flattening that candy into bars is a modern, convenient twist that preserves the nostalgic flavor while making portions easier to share. The flavor profile is quintessentially American: sweet, salty, and peanut-forward, often associated with holiday baking and potlucks.
In summer, use dark chocolate and a pinch of sea salt for an adult-friendly version. For winter holidays, fold in 1/2 teaspoon ground cinnamon and a pinch of nutmeg into the filling for a warm spice note. Add crushed peppermint or top with festive sprinkles for holiday trays. For a spring twist, fold in 1/4 cup chopped dried cranberries for tartness and color contrast.
Make the filling up to 48 hours ahead and refrigerate in a bowl; press and top with chocolate the day you want to serve to preserve the glossy finish. Cut bars with a warm knife for neat portions and place them on parchment-lined trays for easy transport. Pack in single layers with parchment to bring to picnics or parties without damage.
These bars are a simple, reliable sweet that rewards small technique choices — attention to smooth mixing, firm pressing, and careful melting makes all the difference. I encourage you to make them your own with flavor swaps and decorative finishes; they’re always one of the first things to go at my gatherings.
Soften butter to room temperature for smooth creaming — if it’s too cold the filling will be lumpy.
Warm the peanut butter slightly if it’s stiff before mixing to avoid a dry filling.
Melt chocolate in short bursts and stir frequently to keep it glossy and prevent seizing.
Chill the pressed layer briefly before adding chocolate to minimize mixing and keep a clean separation.
This nourishing buckeye bars recipe is sure to be a staple in your kitchen. Enjoy every moist, high protein slice — it is perfect for breakfast or as a wholesome snack any time.
Yes. Store in an airtight container in the refrigerator for up to 7 days; freeze up to 3 months and thaw in the fridge.
Warm the knife under hot water and dry between cuts for clean slices.
Use stirred creamy peanut butter (Jif or Skippy) for the best texture; natural peanut butter can be used if well-stirred and warmed.
This Buckeye Bars recipe makes perfectly juicy, tender, and flavorful steak every time! Serve with potatoes and a side salad for an unforgettable dinner in under 30 minutes.
In a large mixing bowl, cream 1/2 cup softened unsalted butter with 1 cup creamy peanut butter using an electric mixer until smooth, about 1–2 minutes. Scrape the bowl once to ensure uniform mixing.
Lower mixer speed and add 2 cups powdered sugar and 1 teaspoon vanilla. Mix until a cohesive, pliable dough forms. If the mixture is dry, mix briefly and add a teaspoon of milk to adjust consistency.
Line a 9x9 inch baking dish with parchment or foil. Transfer filling and press firmly and evenly into the pan using a rubber or offset spatula. Chill 10–15 minutes if needed to firm the layer.
Place 1 cup chocolate chips and 2 teaspoons coconut oil in a microwave-safe bowl. Heat in 30-second bursts, stirring between bursts, until smooth and glossy. Use low power if necessary to avoid scorching.
Pour melted chocolate over the chilled peanut-butter layer and spread evenly with an offset spatula. Let sit at room temperature until set, about 30–45 minutes, or chill 15–20 minutes for quicker setting.
Lift the slab out using the parchment overhang and cut into 16 bars with a warm, dry knife. Place bars on a platter, cover, and refrigerate for at least 1 hour before serving.
Last Step: Please leave a rating and comment letting us know how you liked this recipe! This helps our business to thrive and continue providing free, high-quality recipes for you.
Leave a comment & rating below or tag
@feastu on social media!

Delightfully spooky and sweet, these bite-sized mummy cake balls combine moist cake, creamy centers, and a vanilla candy shell for effortless Halloween fun.

Fluffy homemade donuts crowned with a shimmering galaxy glaze. Fry or bake, swirl bold colors, and watch these showstoppers disappear fast.

Buttery shortbread crust meets gooey pecan pie filling in easy bar form, perfect for holidays, bake sales, and cozy weeknights.
Leave a comment & rating below or tag @feastu on social media!
Enjoyed this recipe? Share it with friends and family, and don't forget to leave a review!
This recipe looks amazing! Can't wait to try it.
Comments are stored locally in your browser. Server comments are displayed alongside your local comments.

Join to receive our email series which contains a round-up of some of our quick and easy family favorite recipes.
