
>>

Decadent brownies with a molten caramel center and melty chocolate topping — a simple make-ahead dessert that always disappears first.
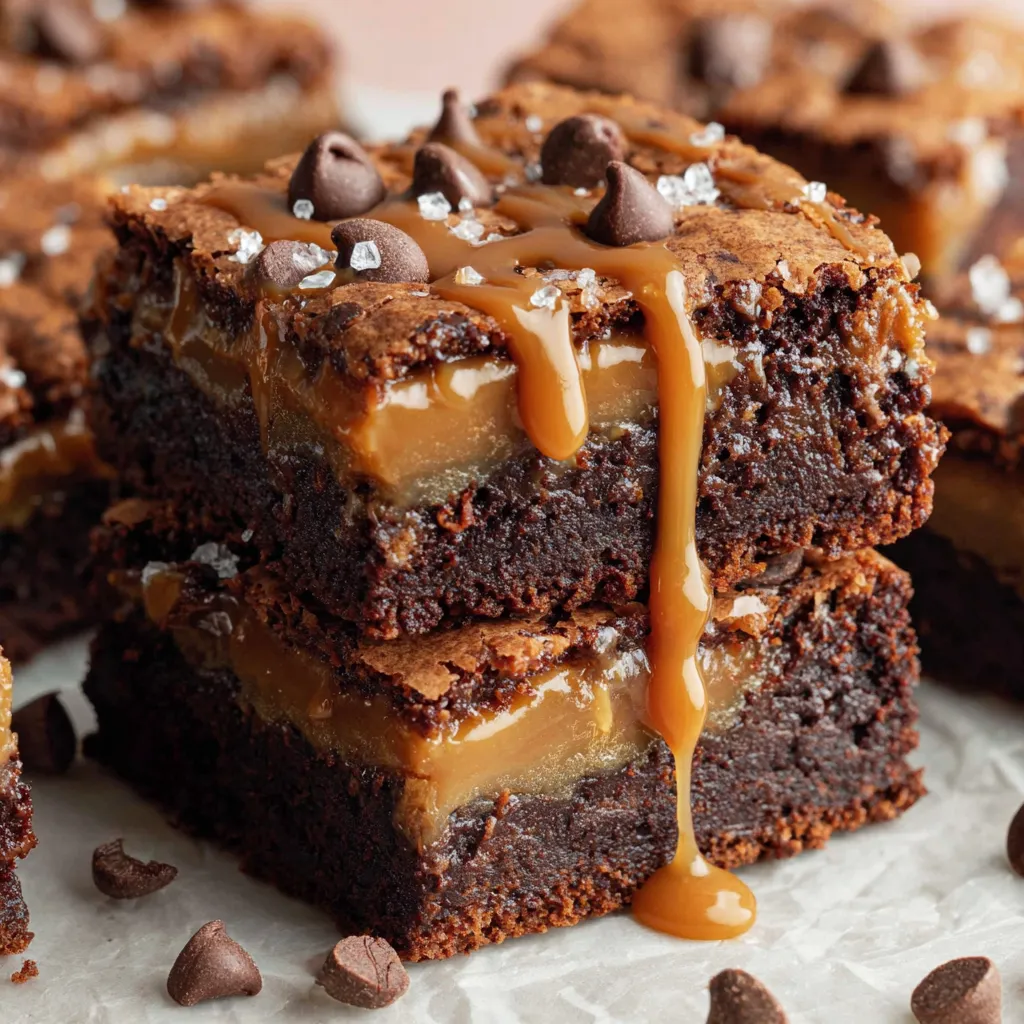
This caramel-filled brownie has been my comforting go-to when I want something show-stopping with very little fuss. I first made this version during an impromptu family gathering: a 9x9 pan, a box of mix, and a bag of Kraft caramels turned into something so addictive the kids kept sneaking a second square before dinner. The contrast between the slightly chewy brownie layers and the buttery, molten caramel center is what makes this treat irresistible. It gives a rich, sticky mouthfeel but stays simple enough for a weeknight bake.
I discovered the trick of dolloping the caramel rather than spreading it after a small disaster where the caramel sank into the batter and disappeared. Leaving it as a visible layer preserves structure and creates those gorgeous ribbons that look like a bakery treat. The finished squares have a glossy chocolate top, a dense cakey interior, and a ribbon of warm, buttery caramel that oozes when cut warm. This is comfort food with a little bit of theater; serve it warm with a scoop of vanilla ice cream or cool it completely for tidy bar-style pieces that travel well to potlucks.
In my household this version became the requested contribution for birthdays and school events. Guests often try to guess what the secret ingredient is, assuming more complicated pastry technique was involved. The reality is this recipe relies on smart assembly and timing instead of advanced skills, so you get maximum wow factor with a minimal learning curve.
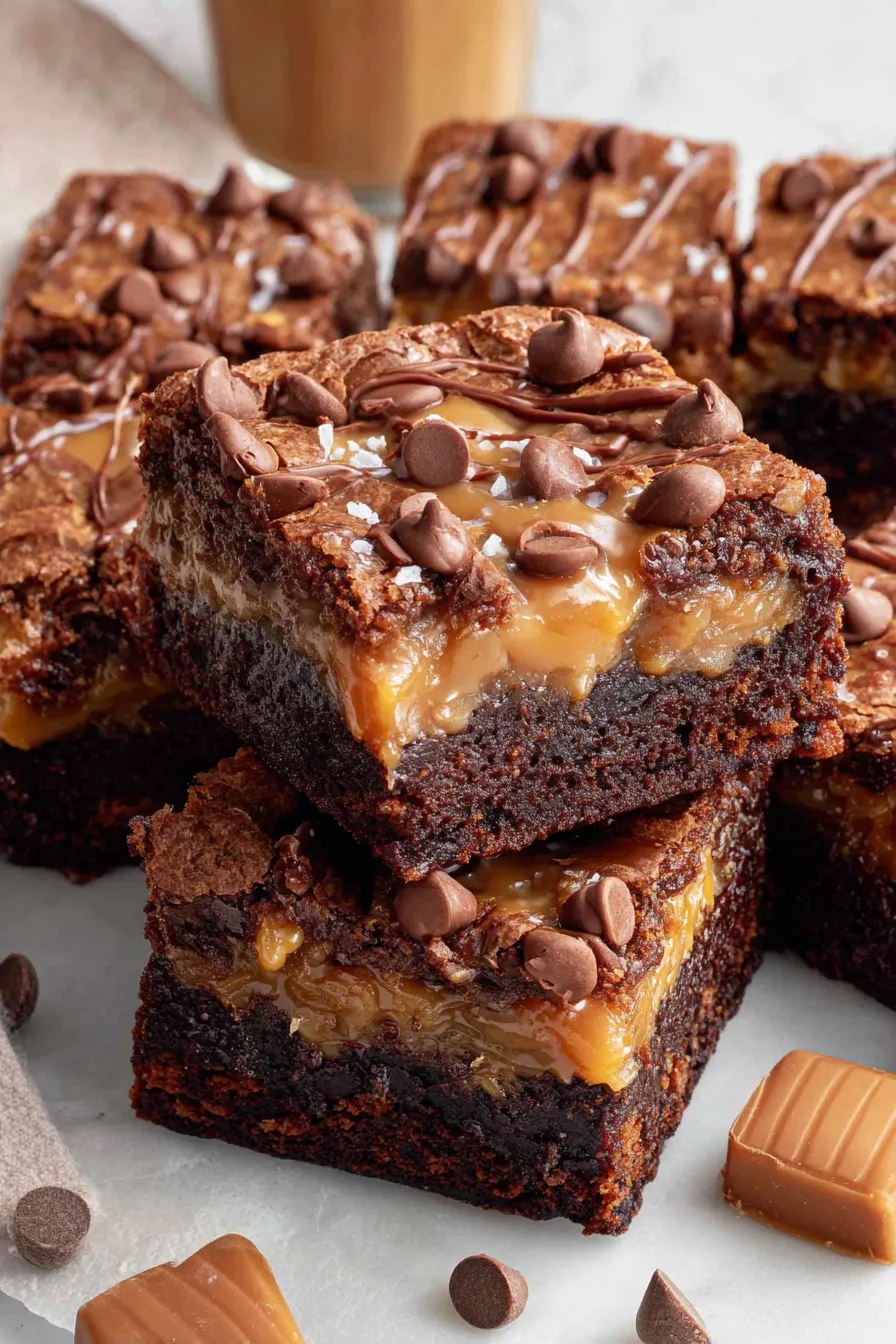
My favorite part is how forgiving the method is — I’ve scaled this up for larger pans and adapted it for mini muffin tins as brownie bites. Family members often say these remind them of bakery bars, and guests appreciate that such an impressive-looking dessert uses straightforward steps. The combination of textures, from the slightly crackled top to the molten ribbon, is what keeps everyone coming back for another square.
Allow the brownies to cool completely before storing to avoid condensation that can make the top sticky. For short-term storage, keep in an airtight container at room temperature for up to 48 hours, but refrigeration is best if you want the caramel to stay set — refrigerated bars keep for up to 4 days. When freezing, cut into individual squares, wrap each tightly in plastic, then place them in a freezer-safe bag; they will keep for up to 3 months. To reheat, warm single squares in a microwave for 12 to 20 seconds to soften the caramel, or bake a few at 325°F for 6 to 8 minutes until warmed through. Use parchment or wax paper between layers to prevent sticking.
If you need to adapt the recipe, several swaps work well. For dairy-free caramel, use a store-bought dairy-free caramel or make a coconut milk-based caramel: substitute full-fat canned coconut milk for evaporated milk and use dairy-free caramel candies. For a richer chocolate flavor, use a dark chocolate brownie mix or add 1/4 cup unsweetened cocoa powder to the mix. Replace vegetable oil with melted butter in a 1:1 ratio for a deeper flavor. If you want nutty texture, stir 1/2 cup chopped pecans or walnuts into the base layer before adding caramel. Note that substitutions will affect flavor and texture slightly, so adjust baking time in small increments when necessary.
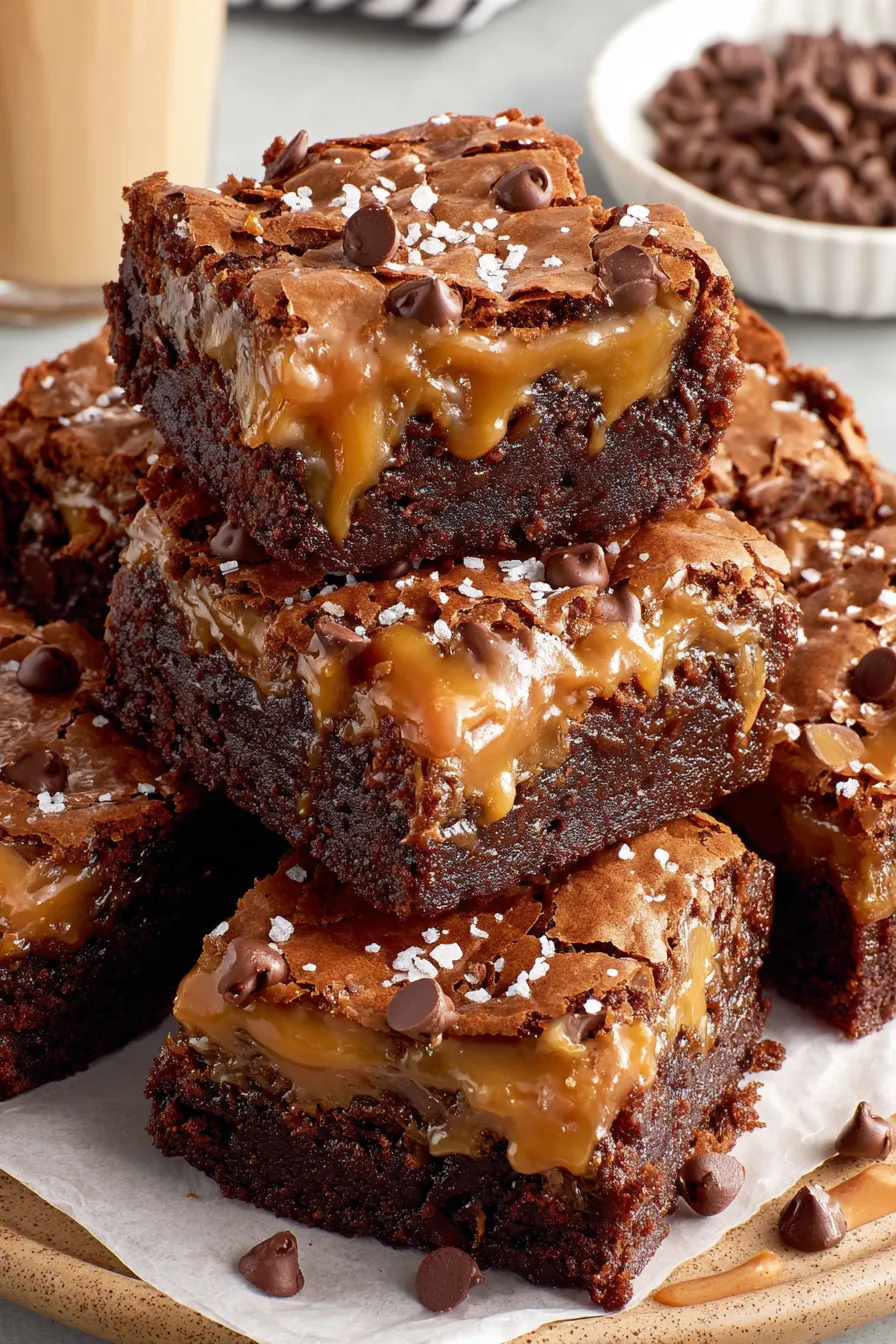
Serve warm with a scoop of vanilla ice cream and a drizzle of extra caramel for an indulgent dessert. For a party-friendly presentation, cut into small bite-sized squares and place on a platter with toothpicks. Garnish with a light dusting of flaky sea salt to offset the sweetness, or add a few fresh raspberries for a bright contrast. These bars also pair beautifully with strong coffee or a dessert wine. For a family-style dessert, arrange the whole slab on a board and provide a knife so guests can slice their preferred portion size.
Chocolate and caramel combinations have long appeared in American baking, inspired by classic candies and confectionery techniques. This style of layered bar recalls mid-century dessert traditions where boxed mixes were adapted to create more elaborate treats at home. The use of individually wrapped caramels for a quick caramel filling became popular because it simplified candy-making without sacrificing flavor. While not tied to a specific regional cuisine, these bars reflect the inventive spirit of home bakers who elevate pantry staples into memorable desserts.
In cooler months, add warm spices like 1/2 teaspoon cinnamon and a pinch of nutmeg to the batter for a cozy twist. For holidays, stir in 1/2 cup chopped toasted pecans or add a layer of chopped peppermint candy on top during the last two minutes of baking for a festive crunch. In summer, serve chilled alongside fresh berries and whipped cream for a lighter presentation. The method adapts easily to mini muffin tins for party-sized portions or to a 9x13 pan if you need to double the recipe for larger gatherings.
Prepare the caramel and batter separately and assemble just before baking to save time. You can make the caramel up to two days in advance and reheat gently before using. Bake the bars the day before an event and store them chilled; bring to room temperature or warm briefly for a molten center. For grab-and-go breakfasts or snacks, portion into small containers with parchment paper and refrigerate; these hold up well as a portable sweet treat. Label and date frozen portions so you can rotate your supply easily.
Whether you’re baking for a crowd or just craving something sweet, these caramel-centered bars are a dependable showstopper. They reward simple technique with rich flavor and are endlessly adaptable — make them your own and enjoy the happy faces that follow.
Line the pan with parchment paper leaving an overhang to lift the baked slab out cleanly for easy slicing.
Dollop caramel rather than spreading it to preserve visible ribbons and avoid it sinking into the batter.
Sprinkle chocolate chips on immediately after baking so they melt and create a glossy finish.
This nourishing caramel brownies with gooey center recipe is sure to be a staple in your kitchen. Enjoy every moist, high protein slice — it is perfect for breakfast or as a wholesome snack any time.
Yes. To keep the caramel layer smooth, stir constantly over medium heat and remove from heat as soon as the caramels are fully melted.
Use cooled bars wrapped individually in plastic and frozen in a sealed bag for up to 3 months. Thaw overnight in the fridge.
This Caramel Brownies with Gooey Center recipe makes perfectly juicy, tender, and flavorful steak every time! Serve with potatoes and a side salad for an unforgettable dinner in under 30 minutes.
Preheat oven to 350°F and line a 9x9 pan with parchment paper, leaving an overhang for easy removal.
Place 11 ounces unwrapped Kraft caramels and 1/3 cup evaporated milk in a small saucepan over medium heat. Stir constantly until fully melted and smooth, about 5 to 7 minutes, then remove from heat.
In a medium bowl combine the 18-ounce brownie mix with 1 to 2 large eggs, 1/2 cup vegetable oil, and 3 tablespoons water. Stir until just combined to avoid overmixing.
Spread two-thirds of the batter into the lined pan. Dollop the caramel over the batter without spreading. Add dollops of the remaining batter on top and gently press to cover.
Bake 40 to 45 minutes or until a toothpick comes out with a few moist crumbs. Immediately sprinkle 1/2 cup semi-sweet chocolate chips over the hot surface so they melt, then cool completely before cutting.
Last Step: Please leave a rating and comment letting us know how you liked this recipe! This helps our business to thrive and continue providing free, high-quality recipes for you.
Leave a comment & rating below or tag
@feastu on social media!

Delightfully spooky and sweet, these bite-sized mummy cake balls combine moist cake, creamy centers, and a vanilla candy shell for effortless Halloween fun.

Fluffy homemade donuts crowned with a shimmering galaxy glaze. Fry or bake, swirl bold colors, and watch these showstoppers disappear fast.

Buttery shortbread crust meets gooey pecan pie filling in easy bar form, perfect for holidays, bake sales, and cozy weeknights.
Leave a comment & rating below or tag @feastu on social media!
Enjoyed this recipe? Share it with friends and family, and don't forget to leave a review!
This recipe looks amazing! Can't wait to try it.
Comments are stored locally in your browser. Server comments are displayed alongside your local comments.

Join to receive our email series which contains a round-up of some of our quick and easy family favorite recipes.
