
>>

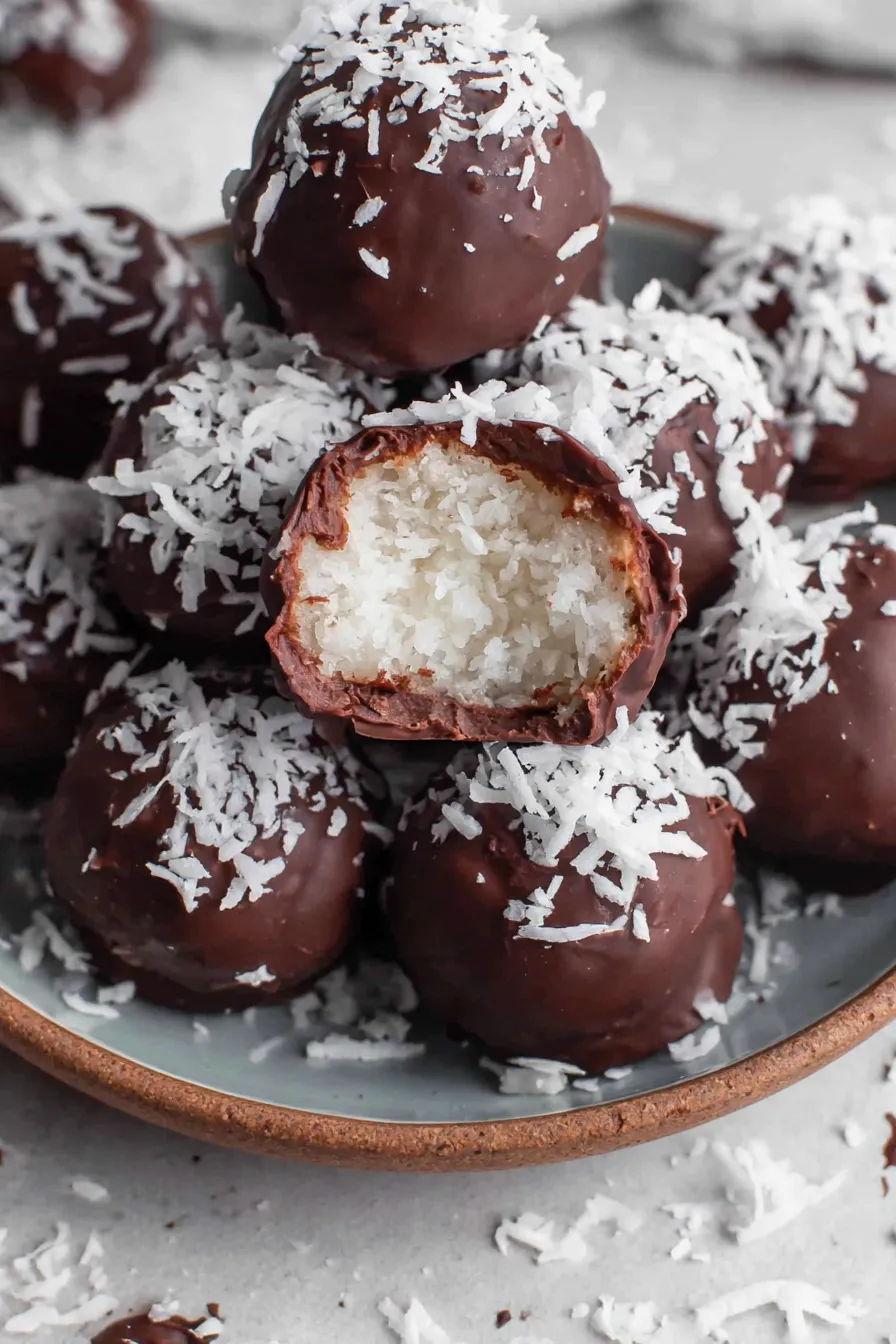
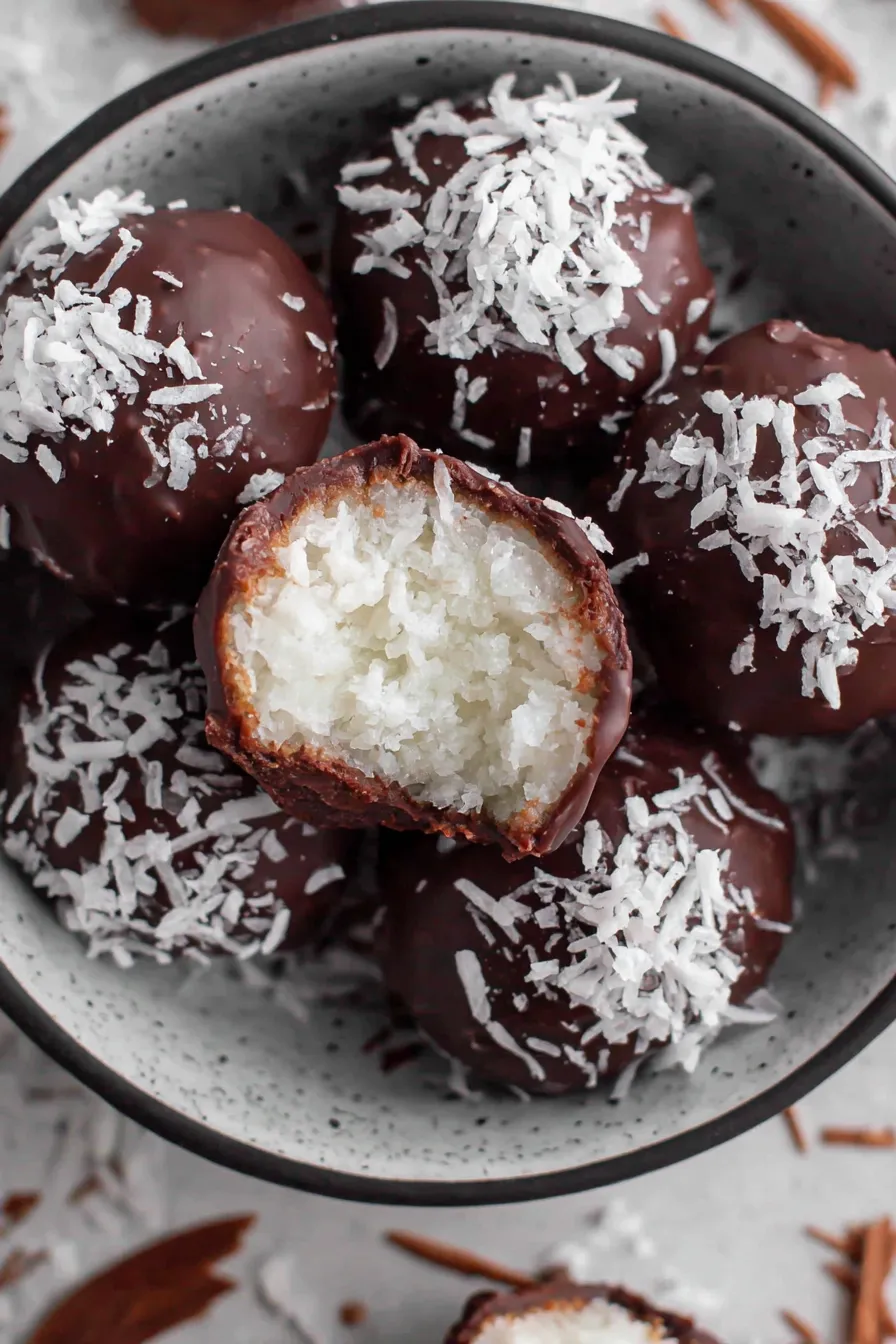
Sweet, tender coconut centers coated in glossy chocolate—an easy, crowd-pleasing treat you can make ahead and freeze for parties or just to satisfy a chocolate craving.
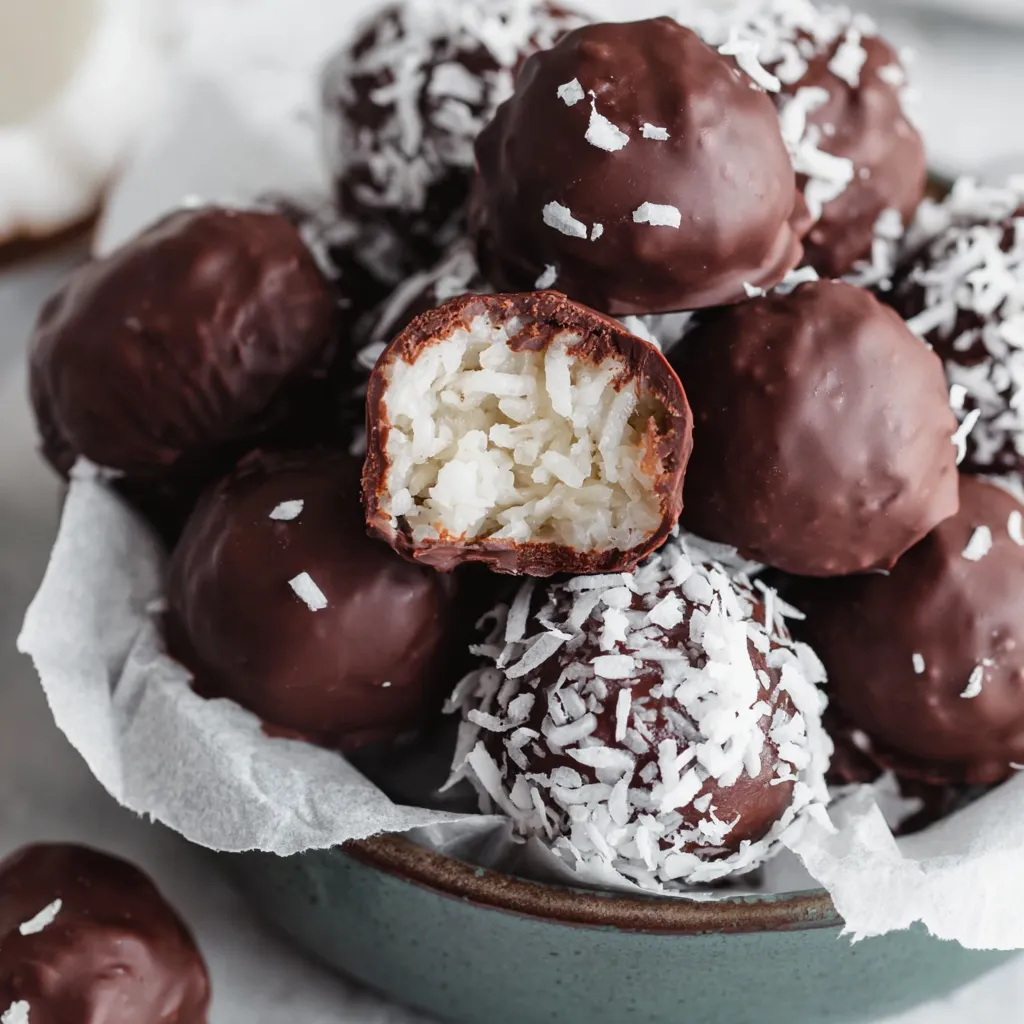
This recipe for chocolate covered coconut balls has been a holiday staple at my house for years. I first discovered the blend of butter, powdered sugar, sweetened condensed milk and shredded coconut during a busy December when I needed a no-bake treat that traveled well and kept its charm after hours in a tin. The texture is the real star: a tender, slightly chewy coconut center that melts into a soft, buttery sweetness, contrasted by a crisp chocolate shell. Every year I bring a batch to potlucks and parties, and I still remember the first time a friend asked if I could make an extra dozen to take home—nothing makes me prouder than seeing the last one vanish.
What makes this preparation special is how reliably it transforms pantry staples into something that tastes indulgent without complicated technique. The powdered sugar and butter create a shortbread-like richness that carries the coconut, while sweetened condensed milk binds everything into a pliable mixture for rolling. Dipping in good-quality melting chocolate gives a professional-looking finish, and freezing the centers before dipping ensures a clean shell and minimal mess. These are the kind of little bites that disappear fast, whether stacked on a dessert tray or tucked into gift boxes for friends.
My family always asks me to double the batch during the holidays. One year I made three batches for a cookie swap and came home with half as many cookies as I brought—proof they travel well and make excellent edible gifts. Small variations in coconut coarseness and chocolate type change the mouthfeel in pleasing ways, so I enjoy experimenting with shredded versus flaked coconut depending on the texture I want.
My favorite part is how portable these are. I once packed a tin for a beach picnic; despite being partially melted from the sun, the chocolate held up surprisingly well in a cooler. Family members often ask for the version with semi-sweet chocolate because the slight bitterness offsets the intense sweetness of the centers. One memorable cookie swap ended with people asking for the recipe by phone—these bites have a way of becoming conversation starters.
Store finished pieces in an airtight container layered with parchment paper to prevent sticking. Keep them in a cool place or the refrigerator; in a warm kitchen the chocolate can soften and become sticky. For longer storage, freeze in a single layer on a tray until solid, then transfer to a sealed freezer container—label with the date and keep for up to three months. When thawing, move them to the refrigerator first to avoid condensation on the chocolate surface, then bring to cool room temperature before serving for the best texture and shine.
If you want a dairy-free version, substitute vegan butter and use a dairy-free sweetened condensed milk (available in many supermarkets or online). For a lower-sugar option, experiment with unsweetened shredded coconut and reduce powdered sugar while increasing condensed milk slightly for binding—note texture will be softer. Swap almond bark for dark chocolate for a less-sweet coating; if using chocolate bars, add a teaspoon of coconut oil to smooth the melt. For nut-allergic households, ensure your chosen coating is certified nut-free.
Arrange on a platter lined with doilies or parchment and garnish with a dusting of toasted coconut or a fine sea salt flake for contrast. These are lovely with coffee, tea, or after-dinner liqueurs. They also make excellent gifts—pack in small boxes layered with wax paper. For a dessert board, place alongside fresh fruit, shortbread, and chocolate-dipped orange slices to create a variety of flavors and textures.
Coconut confections appear in many culinary traditions—from Caribbean macaroons to European coconut slices—because coconut pairs beautifully with sweet dairy bases. The idea of rolling flavored doughs into balls and coating them in chocolate likely evolved as a practical way to make bite-sized sweets that travel well. In American holiday tables this format became popular for cookie exchanges and tins of treats sent to neighbors, a tradition that celebrates sharing and portability.
For holiday versions, color the chocolate shell with a small amount of oil-based food coloring or drizzle white chocolate dyed red and green. In summer, consider adding a splash of lime zest to the coconut mix for a bright twist. Around Thanksgiving, use pumpkin spice mixed into the powdered sugar for a warm, autumnal note. The basic mixture is a blank canvas—try folding in finely chopped dried fruit or toasted nuts to reflect seasonal produce.
Portion the centers into tablespoon-sized balls and freeze them on trays; once solid, transfer to zipper bags so you can dip as many as you need at a time. This is perfect for hosting—dip straight from frozen and decorate before serving. When making multiple batches, label containers with dates and coating choice. Keep a small bowl of powdered sugar nearby to quickly tidy sticky hands while rolling. A small scoop and chilled hands speed production significantly.
These chocolate covered coconut balls are simple, adaptable, and reliably crowd-pleasing. Whether you’re preparing them for a cookie swap, a potluck, or just to satisfy a sweet craving, they reward a little planning with big flavor and a festive finish. Make a batch, experiment with coatings, and share—they disappear faster than you expect.
Chill the formed centers for at least 2 hours before dipping to ensure clean chocolate shells.
Use a small cookie scoop for uniform sizing so all pieces set evenly.
Stir chocolate frequently while melting to prevent burning and add 1 teaspoon of neutral oil for extra shine.
This nourishing chocolate covered coconut balls recipe is sure to be a staple in your kitchen. Enjoy every moist, high protein slice — it is perfect for breakfast or as a wholesome snack any time.
Yes—form the centers and freeze them solid before dipping. Frozen centers produce a clean chocolate shell and minimize melting during the process.
Store in an airtight container layered with parchment in the refrigerator for up to 2 weeks, or freeze for up to 3 months.
This Chocolate Covered Coconut Balls recipe makes perfectly juicy, tender, and flavorful steak every time! Serve with potatoes and a side salad for an unforgettable dinner in under 30 minutes.
In a large bowl, cream 1 cup softened butter with 1/2 teaspoon vanilla. Gradually add 2 1/4 pounds powdered sugar in batches until smooth and fully incorporated.
Pour in 1 can (14 oz) sweetened condensed milk and 1 bag (14 oz) shredded sweetened coconut. Mix on low to medium speed until cohesive and pliable.
Portion the mixture into tablespoon-sized portions and roll into smooth spheres. Place on a parchment-lined baking sheet. Use a small scoop for consistent sizing.
Freeze the tray for at least 2 hours or overnight so the centers are solid before coating.
Melt chocolate or almond bark in the microwave: 1 minute, stir, then 30-second intervals until smooth. Alternatively, melt over a bain-marie. Stir in up to 1 teaspoon neutral oil for shine if desired.
Dip each frozen ball into melted chocolate, tap off excess, and place on parchment. Allow chocolate to set at room temperature or refrigerate briefly until firm.
Last Step: Please leave a rating and comment letting us know how you liked this recipe! This helps our business to thrive and continue providing free, high-quality recipes for you.
Leave a comment & rating below or tag
@feastu on social media!

Delightfully spooky and sweet, these bite-sized mummy cake balls combine moist cake, creamy centers, and a vanilla candy shell for effortless Halloween fun.

Fluffy homemade donuts crowned with a shimmering galaxy glaze. Fry or bake, swirl bold colors, and watch these showstoppers disappear fast.

Buttery shortbread crust meets gooey pecan pie filling in easy bar form, perfect for holidays, bake sales, and cozy weeknights.
Leave a comment & rating below or tag @feastu on social media!
Enjoyed this recipe? Share it with friends and family, and don't forget to leave a review!
This recipe looks amazing! Can't wait to try it.
Comments are stored locally in your browser. Server comments are displayed alongside your local comments.

Join to receive our email series which contains a round-up of some of our quick and easy family favorite recipes.
