
>>

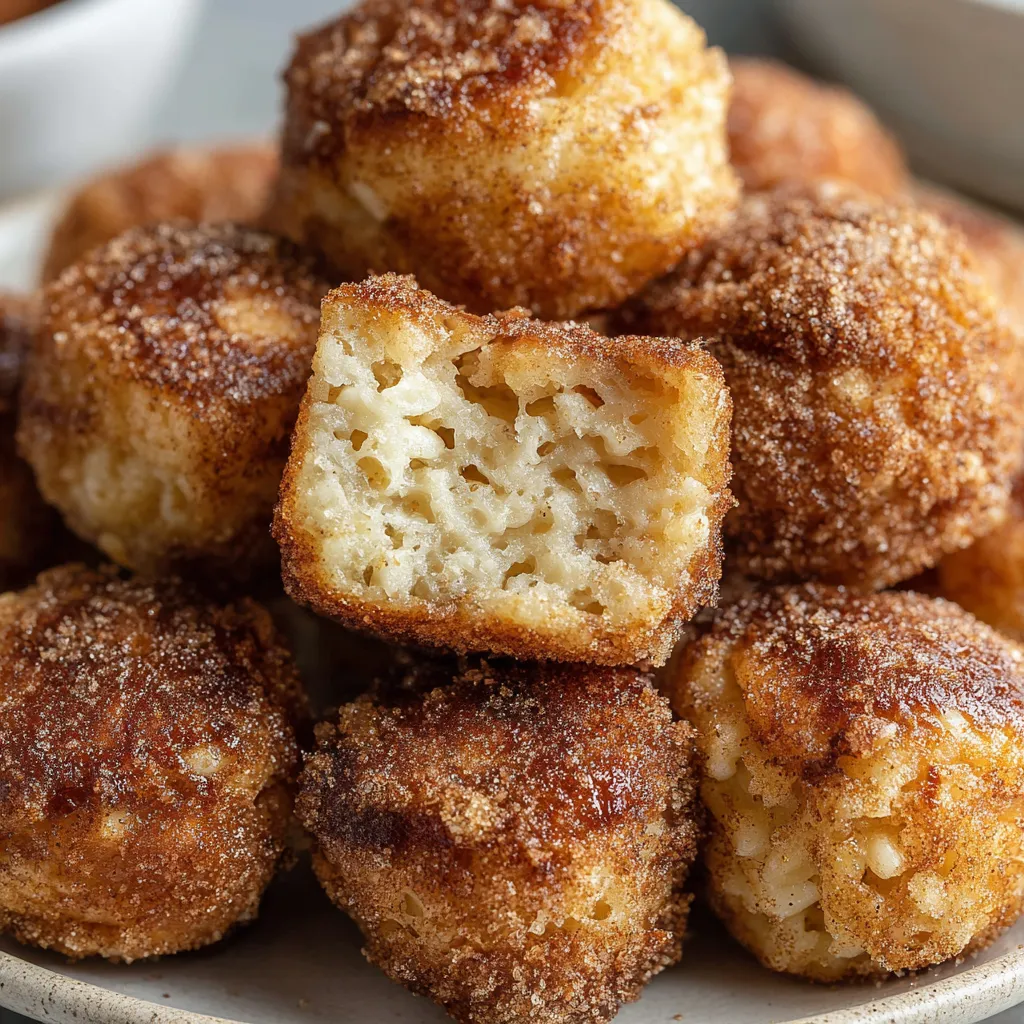
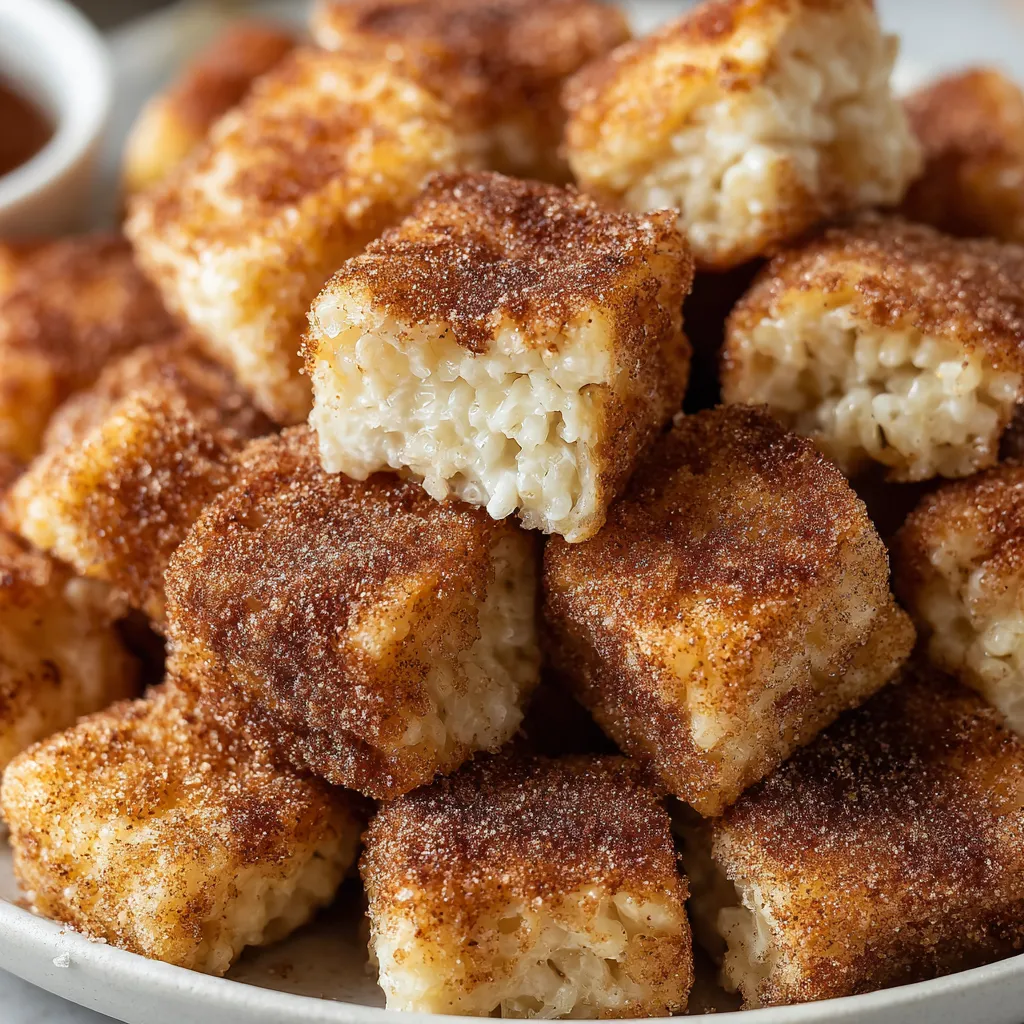
Crispy Rice Krispies meet warm cinnamon sugar in these golden breakfast bites. Quick to make and perfect for morning treats or snack-time sharing.
I still remember the first time I brought a pan of these to a family brunch and my cousin, who usually skips sweets, returned for seconds and insisted I write the measures down. Over the years the recipe has quietly become a go-to when I want something that feels homemade without a lot of fuss. The simple ritual of rolling each ball into melted butter and cinnamon sugar feels almost meditative and always draws comments about the aroma as they bake.
What I love most about these bites is their versatility. I have taken them along on road trips, packed them into lunchboxes, and placed them on brunch platters. One winter morning my neighbor brought over coffee and a tin of these as a thank-you and they instantly became her family favorite. The ritual of coating each ball is simple and satisfying, and the steady aroma of cinnamon reminds me of holiday mornings even when it is the middle of June.
Store cooled bites in an airtight container in the refrigerator for up to four days. For longer storage freeze them in a single layer on a baking sheet until firm then transfer to a freezer bag with parchment between layers to prevent sticking. Reheat refrigerated bites in a 350°F oven for 5 to 7 minutes to revive the exterior crispness and in a microwave for 10 to 15 seconds if you need a quick warm-up. Thawed frozen bites benefit from a brief bake at 325°F for 6 to 8 minutes to refresh texture.
To make this version gluten-free swap the all-purpose flour for a 1 to 1 gluten-free baking blend and choose gluten-free crispy rice cereal. Replace butter flavored shortening with chilled butter for a richer flavor; if using chilled butter grate it into the dry mix for faster incorporation. For dairy-free options use plant-based milk and vegan butter for coating. If you prefer less sweetness reduce the coating sugar to 1/2 cup and add a touch more cinnamon to keep the spice profile balanced.
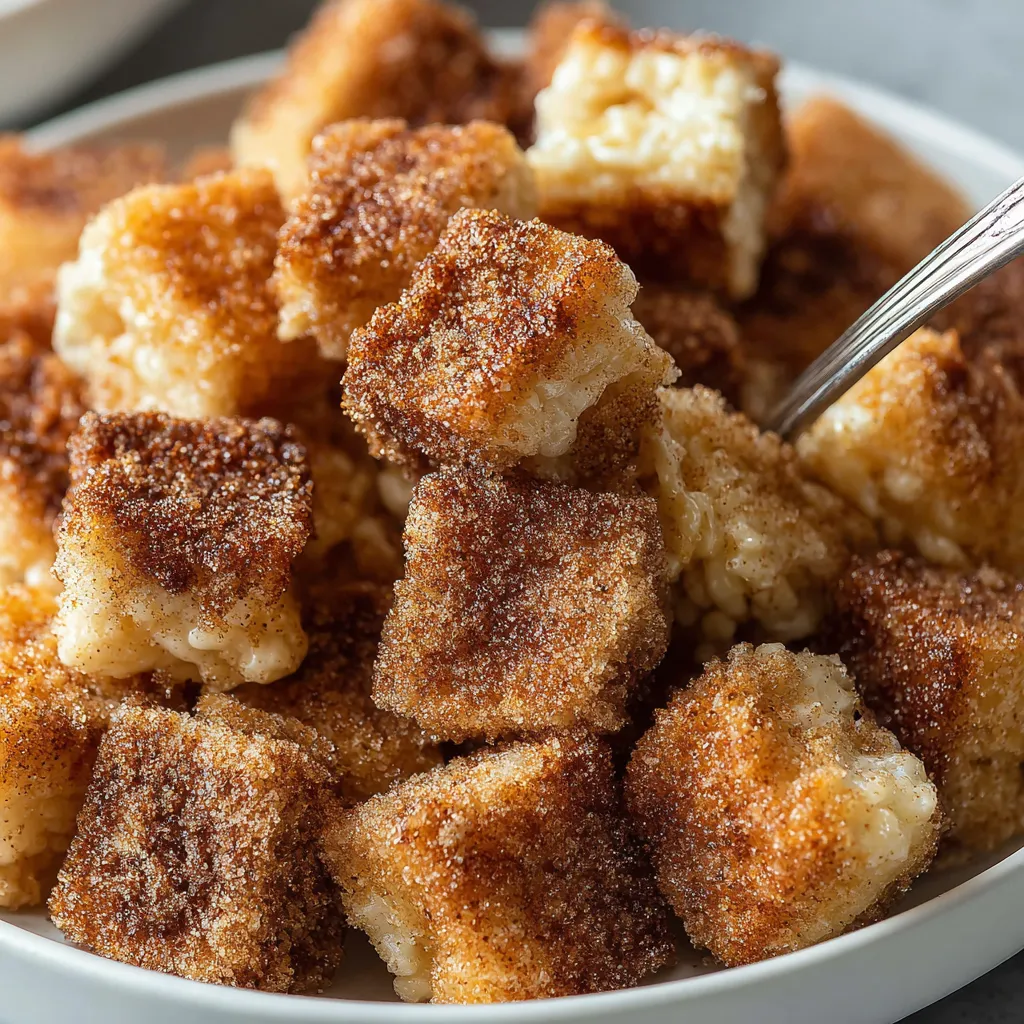
Serve these bites warm with a small ramekin of maple syrup or honey for dunking or alongside a pot of coffee for a neighborhood brunch. They pair beautifully with fruit compote, Greek yogurt with honey, or a sharp cheddar for a contrast of sweet and savory. For a party place them on a tiered platter with small labels and napkins; they travel well and are easy for guests to handle. Garnish with a light dusting of extra cinnamon for visual appeal.
These bites are a contemporary adaptation of classic cinnamon-sugar confections that draw on American breakfast and snack traditions. Cinnamon-sugar coatings have a long history in pastries and quick breads in many Western baking cultures and are used to provide warmth and instant appeal. The use of crisped rice cereal is an American convenience innovation that adds texture without lengthy preparation. Combining cereal with a biscuit-like dough is a modern twist that nods to mid-century home baking practices where pantry staples were repurposed into inventive treats.
In autumn add a pinch of ground nutmeg and cardamom to the cinnamon-sugar for a cozy spice blend. For summer lighten the coating by mixing in finely grated lemon zest to add brightness. For winter holidays toast a small handful of chopped pecans and fold in gently during shaping or sprinkle on top before baking for added crunch. For a festive presentation dust with powdered sugar after baking and arrange on a holiday platter.
Make the dough the night before and refrigerate in a covered bowl; shape and coat the bites the next morning for the freshest texture and faster assembly. Alternatively shape the dough into balls and freeze them uncoated on a tray, then transfer to a bag. When ready to bake brush frozen balls with melted butter and roll in cinnamon-sugar then add a minute or two to the bake time. Use a small cookie scoop for uniform sizing and place bites on parchment to prevent sticking when transferring into the dish.
These bites are easy to personalize and quick to prepare. They reward simple technique with satisfying flavor and are a warm, shareable way to start the day. Try them once and you will find reasons to make them again.
Pulse the Rice Krispies briefly in a food processor to avoid over-crushing; you want coarse bits for texture.
If the dough feels too dry add milk one teaspoon at a time until it just holds together; avoid overhydrating.
Heat the melted butter for coating gently so it is warm but not boiling to help the sugar adhere evenly.
Use a small cookie scoop for consistent 1-inch balls which ensures uniform baking.
Rotate the baking dish halfway through to prevent hot spots and achieve even browning.
This nourishing cinnamon breakfast bites recipe is sure to be a staple in your kitchen. Enjoy every moist, high protein slice — it is perfect for breakfast or as a wholesome snack any time.
Yes. Freeze cooled bites in a single layer until firm, then transfer to a freezer-safe bag for up to 3 months. Thaw at room temperature for 20 to 30 minutes before serving.
Substitute chilled butter for the shortening, use gluten-free flour and certified gluten-free crispy rice cereal, and swap in a plant-based milk and vegan butter for a dairy-free version.
This Cinnamon Breakfast Bites recipe makes perfectly juicy, tender, and flavorful steak every time! Serve with potatoes and a side salad for an unforgettable dinner in under 30 minutes.
Whisk together the flour, coarsely crushed cereal, 2 tablespoons sugar, baking powder, and salt in a bowl until evenly mixed to ensure consistent distribution of leavening.
Add the butter flavored shortening and use a pastry cutter or your fingers to cut it into the dry mix until it resembles coarse crumbs with pea-sized pieces.
Stir in the milk just until moistened. If the dough feels too dry add an extra teaspoon of milk. Do not overmix to keep a light texture.
Form the dough into compact 1-inch balls using a small scoop or your hands. Pack them firmly so they hold together during coating and baking.
Mix 1 1/2 teaspoons cinnamon with 2/3 cup sugar in a small bowl until the spice is evenly dispersed for a uniform coating.
Dip each ball into melted butter, then roll thoroughly in the cinnamon-sugar to coat all sides. Place coated balls in a single layer in the prepared baking dish.
Bake in a preheated 420°F oven for 15 to 17 minutes until golden brown. Rotate the pan halfway through baking if necessary to avoid uneven browning.
Allow to cool slightly before serving. Store leftovers in an airtight container in the refrigerator for up to 4 days or freeze for up to 3 months.
Last Step: Please leave a rating and comment letting us know how you liked this recipe! This helps our business to thrive and continue providing free, high-quality recipes for you.
Leave a comment & rating below or tag
@feastu on social media!

Delightfully spooky and sweet, these bite-sized mummy cake balls combine moist cake, creamy centers, and a vanilla candy shell for effortless Halloween fun.

Fluffy homemade donuts crowned with a shimmering galaxy glaze. Fry or bake, swirl bold colors, and watch these showstoppers disappear fast.

Buttery shortbread crust meets gooey pecan pie filling in easy bar form, perfect for holidays, bake sales, and cozy weeknights.
Leave a comment & rating below or tag @feastu on social media!
Enjoyed this recipe? Share it with friends and family, and don't forget to leave a review!
This recipe looks amazing! Can't wait to try it.
Comments are stored locally in your browser. Server comments are displayed alongside your local comments.

Join to receive our email series which contains a round-up of some of our quick and easy family favorite recipes.
