
>>

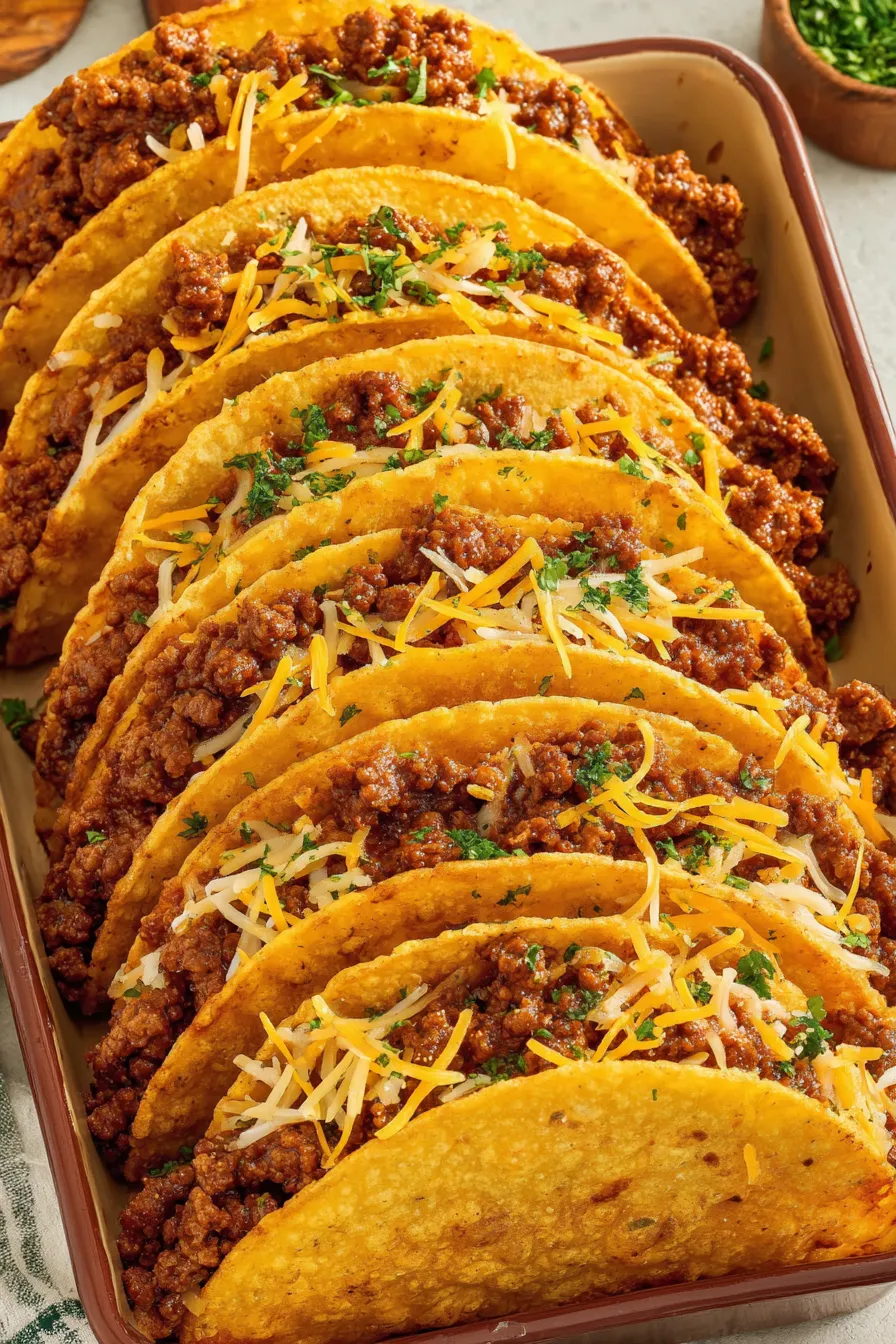
Wide-bottom hard corn shells stuffed with seasoned beef and melted cheddar-jack, baked until bubbly and perfectly crisp — a simple party favorite or weeknight winner.

This version of baked tacos — the wide, stand-and-stuff style — has been a go-to in my kitchen for years whenever I need something that satisfies quickly and pleases a crowd. I first pulled this together on an impromptu game-night when I only had a jar of tomato sauce, a packet of taco seasoning, and a stack of those flat-bottom hard corn shells that hold their shape beautifully. The result was crunchy, cheesy, and impossibly easy to assemble; everyone loved that the shells stayed upright in the pan so the filling didn’t spill during baking.
What makes these tacos special is the combination of textures and the speed: the beef is well-seasoned and slightly saucy so it clings to the cheese, and a short stint in a hot oven crisps the shells while melting the cheddar-jack into golden pockets. The seasoned beef keeps its moisture without sogging the shells if you follow the simple rule of not over-wetting the filling before you stuff. Many nights these become dinner in about 30 minutes, and they travel to potlucks and picnics without fuss. The aroma of browned onions and toasted seasoning is one of those smells that signals comfort — and a very happy kitchen.
In my experience these tacos are always the first platter to vanish. I remember serving them at a summer block party; the wide shells stood proud on the buffet table and guests kept asking who brought them. My sister now requests these for casual birthday dinners because they’re easy to scale and even picky eaters ask for seconds. The combination of warm, seasoned beef and gooey cheese is reliably comforting and fast to produce.
My favorite part of this recipe is how forgiving it is: if the filling seems slightly wetter, you can pre-bake the filled shells for 2 minutes on a wire rack to dry the bottoms, then finish with cheese. Guests often comment on the crunchy shell and warm melted cheese combo, and kids consistently prefer the built-in handle of the wide shells — no toppled tacos here. The method also scales easily for parties and potlucks, and you can make the filling several hours ahead to reduce last-minute work.
Store cooled leftover tacos in an airtight container in the refrigerator for up to 3 days. For best texture, separate the filling from any shells if you plan to keep them longer — shells can become leathery if filled and refrigerated. To reheat and restore crispness, arrange tacos on a baking sheet and warm in a 350°F oven for 6 to 10 minutes, checking frequently. If you need to freeze, place the filling in a freezer-safe container for up to 3 months and defrost overnight in the refrigerator before reheating and stuffing fresh shells.
If you prefer a lighter option, substitute ground turkey or ground chicken (1 1/2 pounds) but watch for lower fat content which can dry the filling — add a tablespoon of olive oil or a little extra tomato sauce. For a vegetarian approach, use crumbled firm tofu, cooked lentils, or a sautéed mixture of mushrooms and black beans, seasoned the same way. Swap cheddar-jack for pepper jack for a spicy twist or use a dairy-free shredded blend to make the dish dairy-free (note texture differences). Corn shells are naturally gluten-free, but check packaging for cross-contact if celiac is a concern.
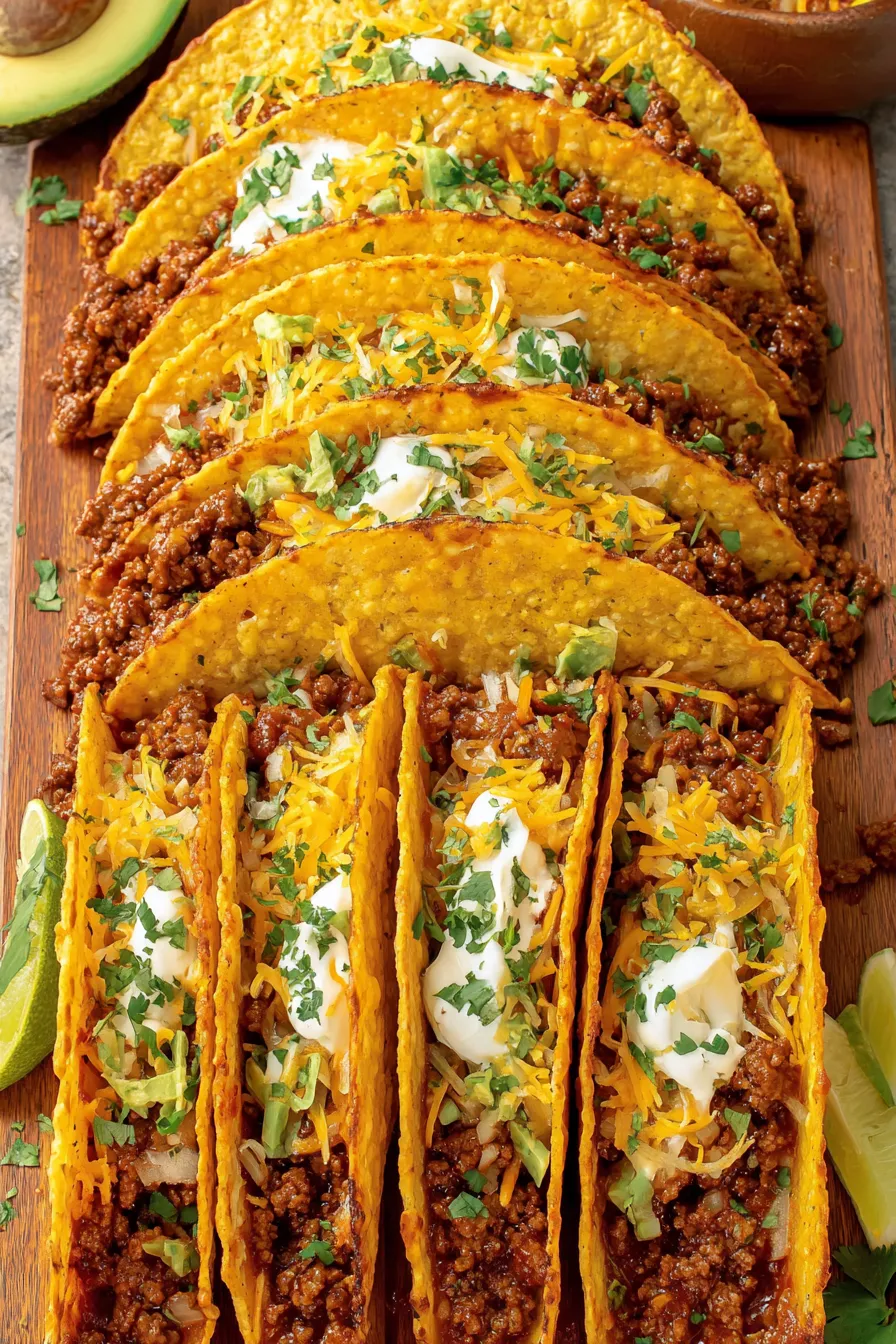
Serve these with fresh lime wedges, pico de gallo, shredded lettuce, and a spoonful of sour cream or Greek yogurt to add brightness and cooling contrast to the warm filling. A side of cilantro-lime rice, refried beans, or a crisp jicama, cucumber, and radish salad complements the crunchy textures. For a party, set up a toppings bar with sliced jalapeños, diced tomatoes, pickled onions, and hot sauce so guests can personalize each taco.
These baked tacos are a Tex-Mex–inspired home-cooking adaptation of traditional street tacos. The stand-and-stuff hard shell is an Americanized convenience that emerged as packaged corn shells became widely available. While authentic taquerías favor soft corn tortillas, the crunchy, oven-finished version has become a nostalgic, family-friendly staple in many U.S. households — combining approachable ingredients with familiar Mexican-flavored seasoning for quick weeknight comfort.
In summer, add charred corn and diced tomatoes to the filling for freshness; in autumn, swap in roasted butternut squash and a pinch of smoked paprika for warmth. Winter gatherings benefit from adding canned green chiles to the mix for depth, while spring calls for bright garnishes like chopped radishes and plenty of cilantro. Adjust the heat with seasonal peppers — summer jalapeños give a crisp bite, while dried ancho or chipotle add smoky winter warmth.
Prepare the meat filling up to 24 hours ahead and cool it completely before refrigerating in a sealed container. When ready to serve, reheat the filling gently on the stove, refill the shells, add cheese, and bake just before guests arrive. Alternatively, assemble the filled shells without cheese and cover tightly in the refrigerator; add cheese and bake when needed. Use disposable 9x13 pans for stress-free transport to parties.
These baked tacos are simple, satisfying, and adaptable: a true weeknight hero that scales to any crowd. I hope they become as reliable in your kitchen as they are in mine — crisp, cheesy, and always disappearing fast.
Drain excess fat after browning to prevent soggy shell bottoms.
Use freshly shredded cheese for better melting and texture.
If the filling seems too wet, simmer a little longer to concentrate flavors before stuffing.
This nourishing crispy baked tacos (stand & stuff style) recipe is sure to be a staple in your kitchen. Enjoy every moist, high protein slice — it is perfect for breakfast or as a wholesome snack any time.
This Crispy Baked Tacos (Stand & Stuff Style) recipe makes perfectly juicy, tender, and flavorful steak every time! Serve with potatoes and a side salad for an unforgettable dinner in under 30 minutes.
Preheat oven to 400°F. Stand 10 hard shells upright in a 9x13-inch baking dish with small gaps so air circulates and shells crisp evenly.
Heat 1 tablespoon olive oil in a large skillet over medium-high heat. Add 3/4 cup diced onion and 1 1/2 pounds ground beef with 1/2 teaspoon salt and 1/4 teaspoon black pepper. Brown for 8-10 minutes, breaking meat into even pieces until no pink remains.
Remove excess fat by tilting the pan and spooning it out or pouring through a fine-mesh strainer. Return beef to skillet to continue.
Stir in 3/4 cup tomato sauce and a 1-ounce taco seasoning packet. Simmer 2-3 minutes until sauce is mostly absorbed but mixture stays moist enough to cling to shells without pooling.
Fill each shell with approximately 1/3 to 1/2 cup of the filling, then sprinkle shredded cheddar-jack cheese evenly over the tops.
Bake at 400°F for 5-7 minutes until cheese melts and shells are crispy. Remove and garnish with 1 tablespoon chopped cilantro if desired; serve immediately.
Last Step: Please leave a rating and comment letting us know how you liked this recipe! This helps our business to thrive and continue providing free, high-quality recipes for you.
Leave a comment & rating below or tag
@feastu on social media!

Delightfully spooky and sweet, these bite-sized mummy cake balls combine moist cake, creamy centers, and a vanilla candy shell for effortless Halloween fun.

Fluffy homemade donuts crowned with a shimmering galaxy glaze. Fry or bake, swirl bold colors, and watch these showstoppers disappear fast.

Buttery shortbread crust meets gooey pecan pie filling in easy bar form, perfect for holidays, bake sales, and cozy weeknights.
Leave a comment & rating below or tag @feastu on social media!
Enjoyed this recipe? Share it with friends and family, and don't forget to leave a review!
This recipe looks amazing! Can't wait to try it.
Comments are stored locally in your browser. Server comments are displayed alongside your local comments.

Join to receive our email series which contains a round-up of some of our quick and easy family favorite recipes.
