
>>

Silky, zesty hummus made with a single can of chickpeas, tahini, lemon, and olive oil. Ready in minutes and perfect for snacks, parties, and weeknight snacks.
This recipe for easy homemade hummus has been a small but steadfast ritual in my kitchen for years. I first landed on this particular combination on a rainy afternoon when the pantry offered one can of organic chickpeas and an overripe lemon. The balance of bright lemon, toasted tahini, and a hint of cumin created a spread that felt both comfortingly familiar and surprisingly refined. It quickly became my go to for after work snacks, impromptu gatherings, and a reliable addition to every picnic basket I pack.
What makes this version special is its simplicity and the attention to texture. Rather than chasing an impossibly velvet finish every time, I focus on controlled emulsification and small adjustments with water so the result is creamy yet substantial. The garlic is bright but not aggressive, the tahini lends a nutty depth, and the olive oil smooths everything into a cohesive whole. I often catch family members sneaking spoonfuls straight from the bowl while I’m still adjusting seasoning, which is always a good sign.
In my experience this recipe always earns compliments for its authentic flavor and ease. I remember serving it at a summer potluck where a neighbor asked for the recipe mid conversation and another guest returned for seconds. Small victories like that make this hummus a kitchen favorite.
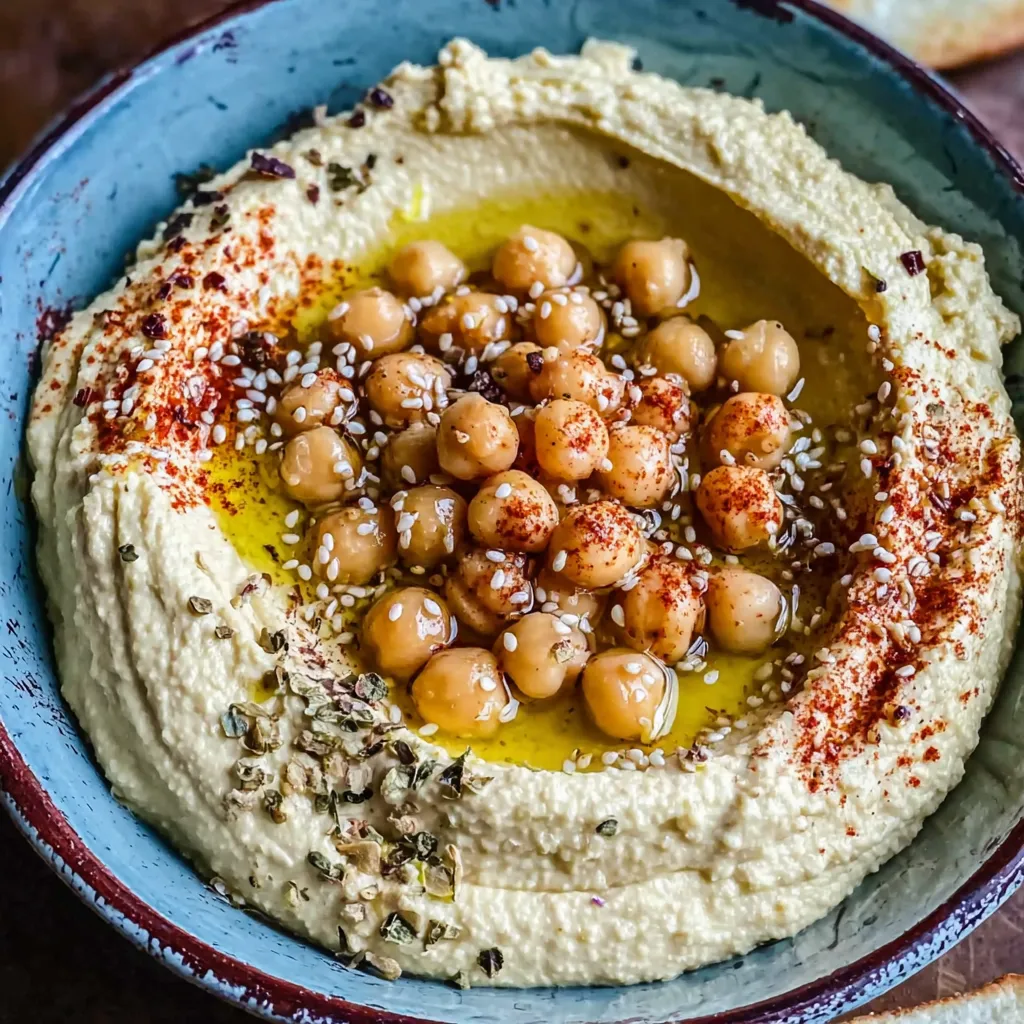
My favorite part is how adaptable this spread is. I ve served it plain with crudites for breakfast, used it as a sandwich spread with roasted vegetables for lunch, and topped it with smoked paprika and toasted sesame seeds for parties. Guests often ask for variations and each tweak teaches me something new about balance and seasoning.
Store the hummus in a shallow airtight container to cool it quickly and maintain even texture. Refrigerate promptly and consume within five days for best flavor. If you want to freeze, portion hummus into small freezer safe containers leaving half an inch of headspace, seal tightly, and freeze for up to three months. Thaw in the refrigerator overnight and whisk briefly or pulse in the food processor with a teaspoon of water to restore creaminess. Avoid storing in metal containers long term to prevent flavor changes.
If you do not have tahini, substitute 3 tablespoons natural peanut butter or almond butter for a different but still creamy base, though flavor will change. For lower oil content, replace half the olive oil with water or aquafaba. Swap lemon juice with 1 tablespoon of white wine vinegar plus 1 tablespoon water for a subtler acidity. To reduce garlic intensity, use one clove or roast the garlic first. If using dried chickpeas cooked at home, reserve some of the cooking liquid to achieve the desired texture.
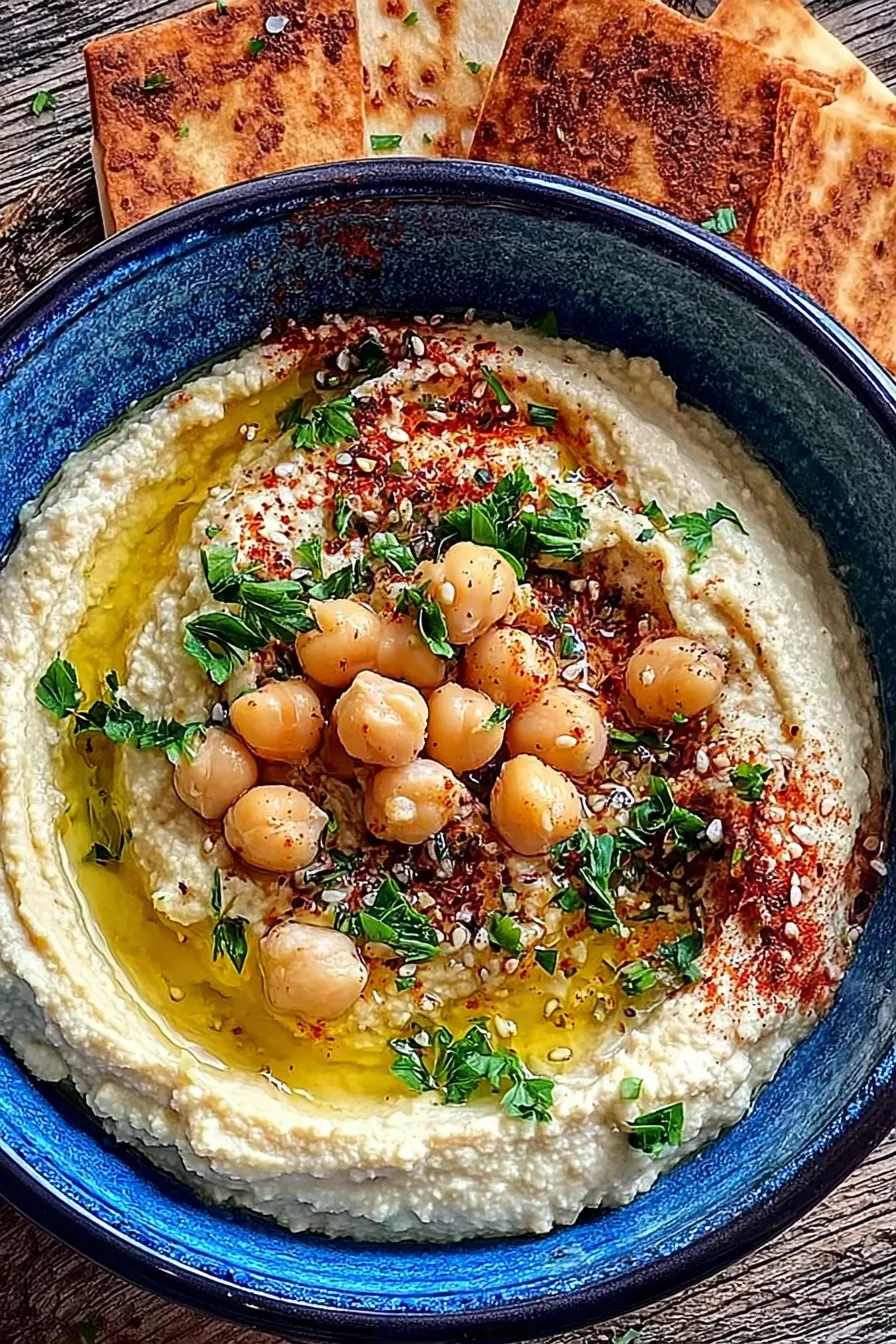
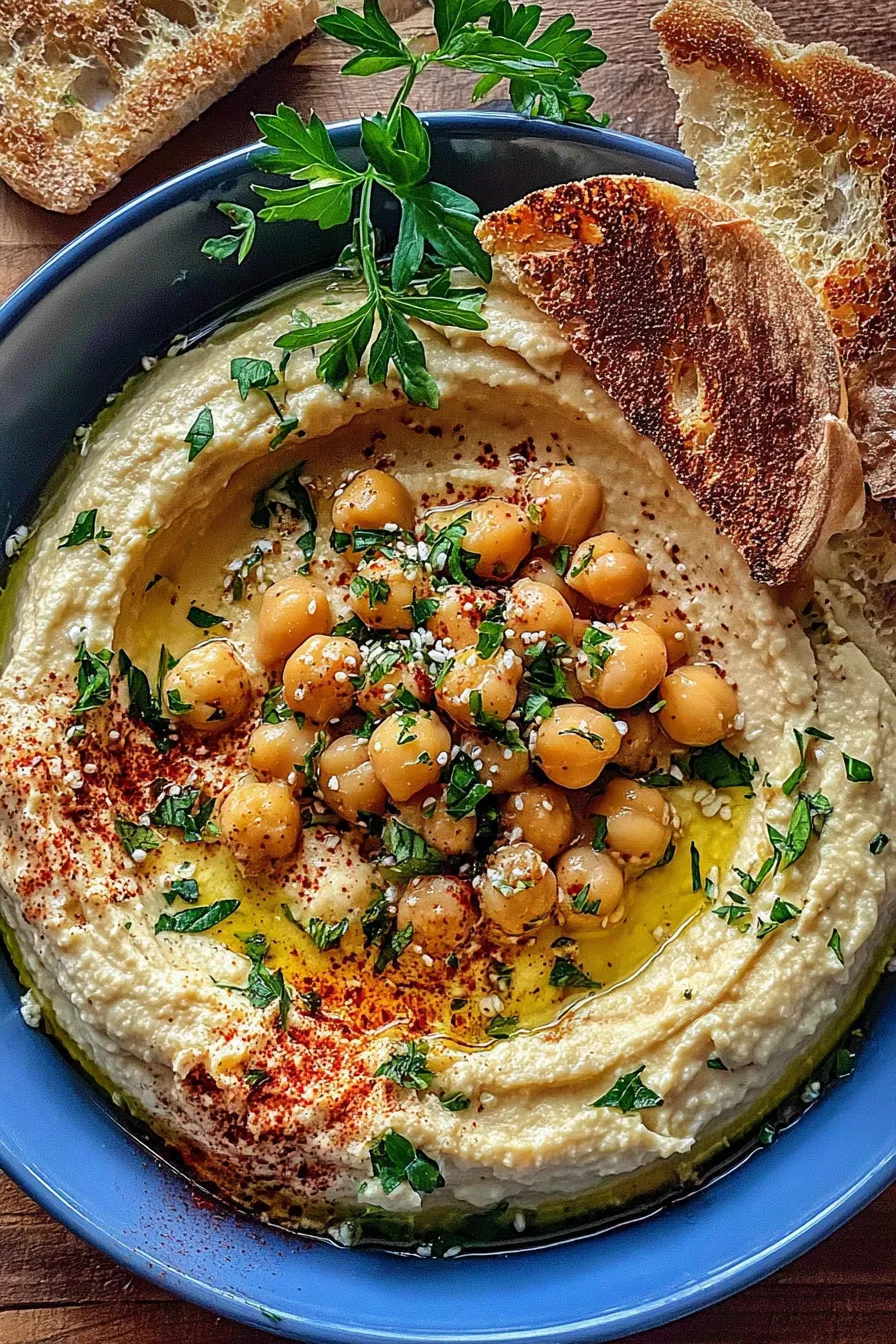
Serve chilled or at room temperature. Garnish with a drizzle of extra virgin olive oil, a sprinkle of smoked or sweet paprika, chopped fresh parsley, or toasted pine nuts. Serve alongside warm pita, pita chips, sliced cucumbers, carrot sticks, bell pepper strips, or use as a base for grain bowls. For a heartier plate, add roasted vegetables and olives to create a mezze platter. This spread is equally at home as a sandwich smear or a breakfast accompaniment with hard boiled eggs and tomatoes.
Hummus originates from the Eastern Mediterranean and Middle Eastern culinary traditions where blends of chickpeas and sesame paste have been staples for centuries. The word hummus means chickpea in Arabic and variations appear across countries with local spices and oils. Traditional preparations often include tahini and lemon, while regional differences bring in ingredients such as paprika, olive oil, or garnishes like whole chickpeas and pine nuts. It remains a symbol of shared meals and hospitality.
Adjust the brightness and garnish according to season. In spring add finely chopped fresh herbs such as dill or mint and serve with radishes. Summer calls for roasted red peppers blended in for a smoky sweet version. In autumn consider stirring in roasted pumpkin puree and warming spices for a seasonal twist. Winter nights benefit from a drizzle of chili oil and warm flatbread for comfort eating.
Make a double batch and portion into small containers for easy grab and go snacks during the week. Keep a small container of oil and a lemon wedge to refresh portions before serving. Use scoops of hummus as a protein rich base for salads or to add creaminess to wraps. Label containers with the date and use within five days if refrigerated. If freezing, flash freeze on a baking sheet then transfer to bags for quicker thawing of individual portions.
One memorable occasion was a neighborhood potluck where I served this alongside roasted eggplant and tabbouleh. A guest who claimed to dislike hummus ended up returning with pita for seconds and later sent a message asking for the recipe. Another time I used it to sneak extra legumes into my teenager s lunch, who reported it as the best part of their sandwich. These small wins reinforce how a simple, well seasoned dish can bring people together.
Whether you re feeding a crowd or assembling a quick snack, this hummus is adaptable, forgiving, and packed with flavor. Give it a try, adjust it to your taste, and watch it become a go to in your kitchen.
Stir tahini until smooth before measuring to ensure correct consistency.
Drizzle the olive oil in slowly with the processor running to create an emulsion for creaminess.
If texture is too thick, add water one tablespoon at a time until desired smoothness is reached.
For a milder garlic flavor, let minced garlic rest for 10 minutes before blending.
This nourishing easy homemade hummus recipe is sure to be a staple in your kitchen. Enjoy every moist, high protein slice — it is perfect for breakfast or as a wholesome snack any time.
Yes. Store in an airtight container in the refrigerator for up to five days. For longer storage, freeze in small portions for up to three months.
Use 1 to 2 tablespoons of reserved canning liquid or aquafaba as you blend until you reach a silky consistency.
Recipe data validation failed
Please check the recipe data format. See console for details.

Delightfully spooky and sweet, these bite-sized mummy cake balls combine moist cake, creamy centers, and a vanilla candy shell for effortless Halloween fun.

Fluffy homemade donuts crowned with a shimmering galaxy glaze. Fry or bake, swirl bold colors, and watch these showstoppers disappear fast.

Buttery shortbread crust meets gooey pecan pie filling in easy bar form, perfect for holidays, bake sales, and cozy weeknights.
Leave a comment & rating below or tag @feastu on social media!
Enjoyed this recipe? Share it with friends and family, and don't forget to leave a review!
This recipe looks amazing! Can't wait to try it.
Comments are stored locally in your browser. Server comments are displayed alongside your local comments.

Join to receive our email series which contains a round-up of some of our quick and easy family favorite recipes.
