
>>

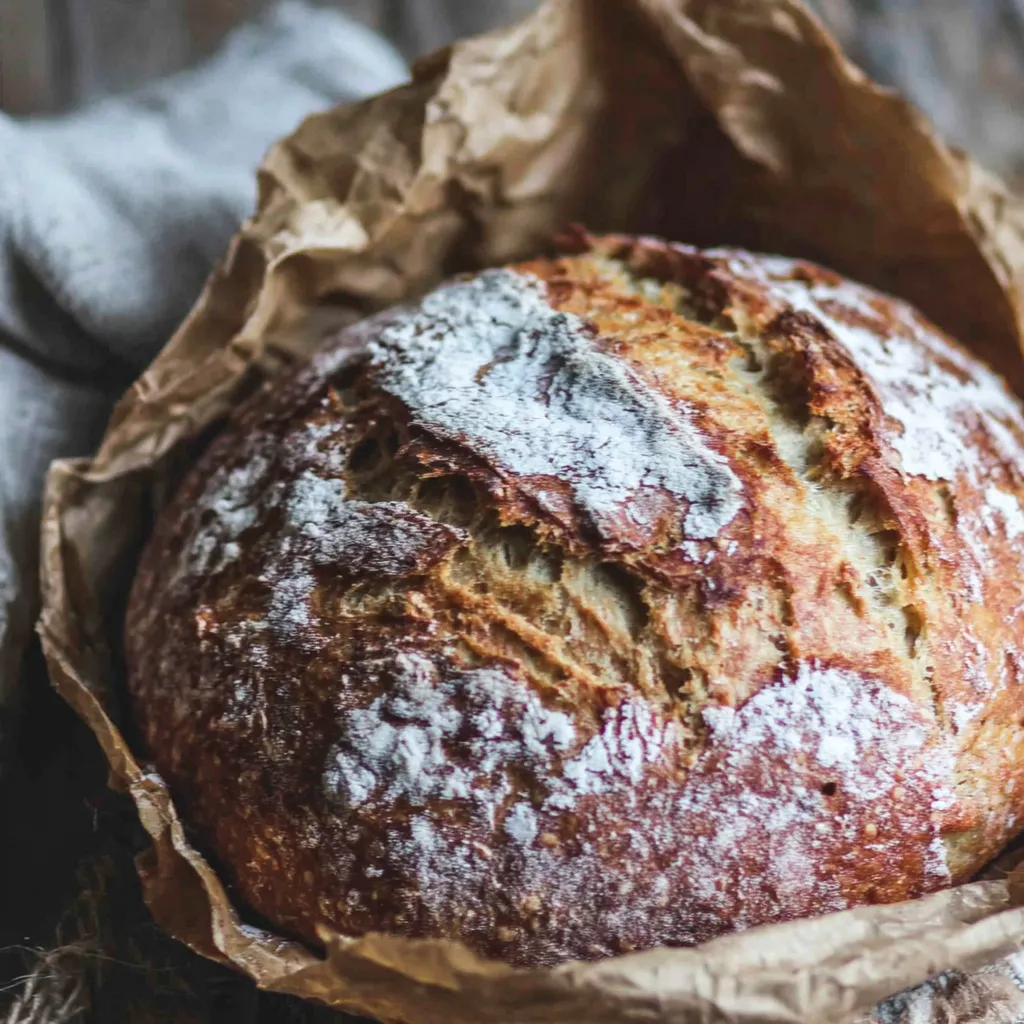
A forgiving, hands-off no-knead loaf that yields a crisp crust and tender crumb — perfect for weeknight baking and beginner bakers.
This simple no-knead loaf became my go-to when I wanted fresh bread without the fuss. I first developed this version on a rainy afternoon when I had only pantry staples and a stubborn unwillingness to stand and knead for half an hour. The result was a golden, crackly loaf that smelled like Sunday mornings and drew everyone into the kitchen. It’s the sort of bread that feels homemade even when you’ve done almost nothing — a small miracle for busy days.
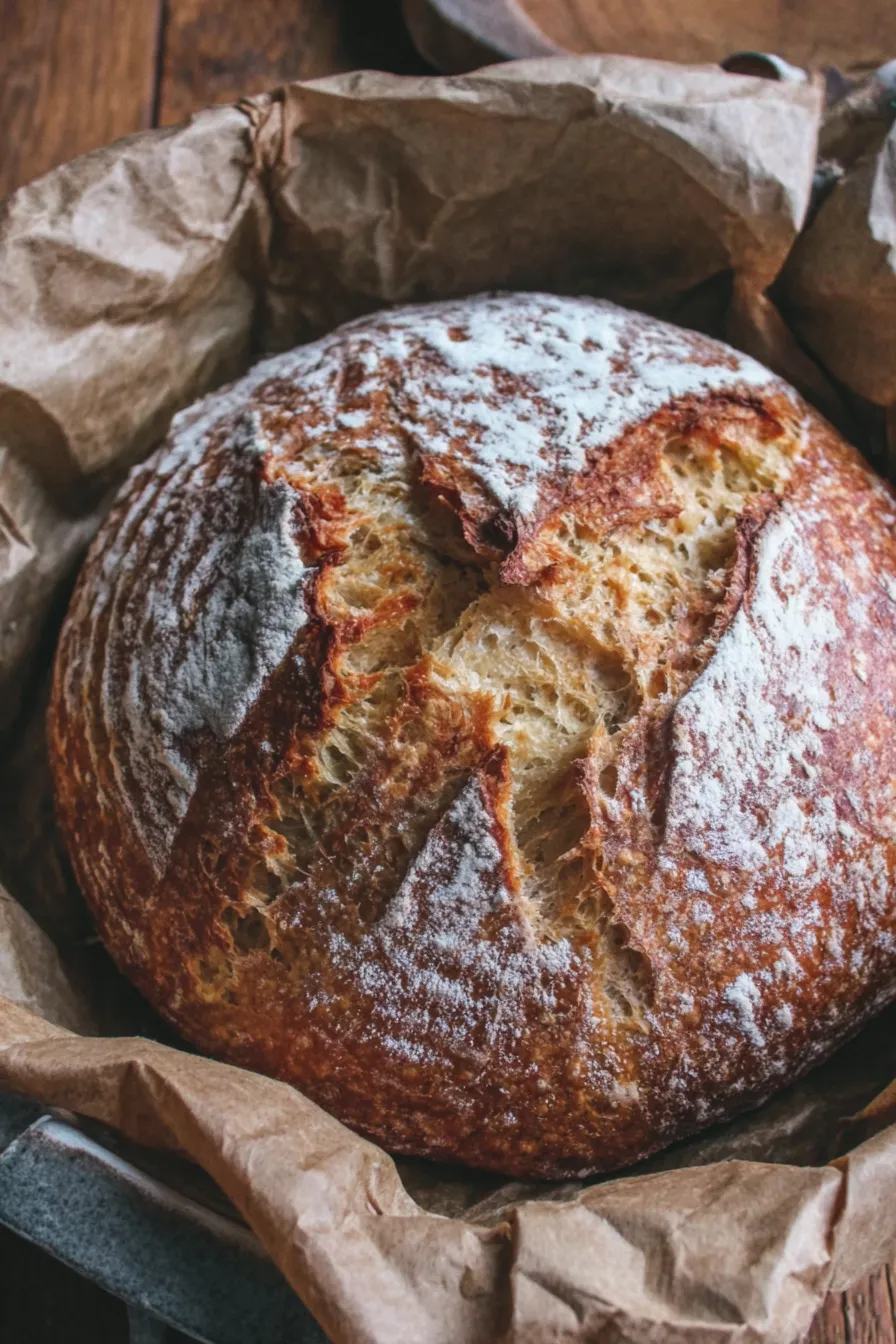
What makes this method so special is the understated magic of time. A short active prep, a long hands-off rise, and a hot, covered pot in the oven produce a loaf with a crisp, blistered crust and an open, moist crumb. The combination of bread flour and whole wheat gives structure and a gentle nutty flavor; the subtle sweetness from a teaspoon of sugar wakes up the yeast without overpowering the natural grain flavors. Over the years this recipe has been what I reach for when I want a reliable, delicious loaf to dip into soups, serve with salads, or toast for breakfast.
Personally, my family tends to gather whenever this loaf is baking because it fills the house with a warm, yeasty aroma that signals comfort. My children have been known to set timers just to make sure we don’t miss the moment it comes out of the oven — that golden-brown color and the hollow thud when tapped never fail to make us happy.
My favorite part of this method is how forgiving it is: even when I misjudge the rise or forget a step, the dough often still produces a truly enjoyable loaf. Friends and neighbors often comment on how ‘artisan’ it tastes despite the minimal effort. The biggest culinary insight I’ve learned is patience — giving time to the dough rewards you with deep flavor and texture that quick methods can’t match.
Store the cooled loaf at room temperature in a paper bag for the first day to maintain crust crispness; for longer storage, wrap tightly in plastic wrap or foil and place in an airtight container. Refrigeration dries bread out quickly, so avoid the fridge unless you plan to toast or repurpose it into breadcrumbs. To freeze, slice the loaf, separate with parchment, wrap in plastic, then foil, and place in a freezer-safe bag for up to three months. Reheat sliced frozen bread directly in a toaster or warm whole slices in a 350°F oven wrapped in foil for 8–12 minutes to refresh texture.
If you’re short on bread flour, you can substitute all-purpose flour, but expect a slightly softer crust and less chew; adding one tablespoon of vital wheat gluten per cup of all-purpose will help mimic bread flour’s structure. For a lighter whole-grain flavor without heavy density, replace up to 1/2 cup of bread flour with whole wheat pastry flour. To make this loaf gluten-free requires a complete rework of the hydration, flour blends, and xanthan gum; for best results, use a tested gluten-free loaf formula instead of a direct swap. Honey or maple syrup can replace granulated sugar at a 1:1 ratio for a deeper flavor profile.
This loaf excels with simple pairings: olive oil and flaky sea salt, soft butter and marmalade, or alongside a bowl of tomato soup for a classic comfort combo. For brunch, slice and toast the bread for avocado, ricotta and honey, or use as the base for open-faced sandwiches topped with smoked salmon and dill. Leftovers make excellent croutons or can be cubed into a savory bread pudding. Garnish with a smear of herbed butter or a drizzle of good olive oil and fresh herbs to elevate presentation for guests.
No-knead bread methods rose to popularity as modern home bakers sought artisan results with minimal technique. The covered-pot technique borrows from traditional hearth baking where steam and radiant heat promote a blistered, thin crust. While not tied to a single region, this approach reflects the broader, centuries-old practice of slow fermentation to develop flavor — a technique found in many bread-making traditions from Europe to the Middle East. The combination of white and whole wheat flour nods to everyday home loaves that balance shelf-stability with nutritional depth.
Adjust hydration and fermentation in colder months: allow extra rise time and consider warming the oven slightly before preheating to create a warmer proofing environment. In summer, a faster rise may produce more tang; to control that, proof in the fridge overnight for a slow ferment and brighter flavor. Add seasonal inclusions like roasted garlic and rosemary in autumn, or mix in olives and sun-dried tomatoes for summer gatherings. For holidays, stud the dough with toasted nuts and dried fruit and finish with a honey glaze after baking.
For efficient meal prep, make the dough the night before and refrigerate in a greased bowl covered tightly; this slow ferment deepens flavor and allows you to bake fresh bread in the morning. Portion the loaf into two smaller rounds for faster baking and gift-sized portions. Keep baking supplies — parchment squares, a ready-to-go measuring cup, and a clean tea towel — near your oven to streamline the transfer from fridge to pot. Label frozen portions with the date to track freshness.
There’s something quietly rewarding about pulling this loaf from a hot pot, seeing the crackled top, and knowing it came from your kitchen with minimal effort. Try it a few times and tweak hydration, bake times, or flour ratios to suit your taste — it’s a forgiving formula that invites experimentation.
Enjoy the process, and remember that the best bread often comes from patience as much as technique. Share it warm with loved ones and savor the simple pleasure of homemade bread.
Use a thermometer to check water temperature; 100°F is ideal for quick proof without killing the yeast.
Preheat your covered pot for at least 30 minutes to ensure a dramatic steam burst for a crisp crust.
Allow the loaf to cool completely before slicing to let the crumb set and prevent gummy texture.
This nourishing easy no-knead yeast bread recipe is sure to be a staple in your kitchen. Enjoy every moist, high protein slice — it is perfect for breakfast or as a wholesome snack any time.
If the yeast does not foam after 10 minutes, discard and start with fresh yeast and water at about 100°F. Foam indicates active yeast.
Yes, you can refrigerate the dough for a slow overnight fermentation; allow it to come to room temperature before baking or bake directly from cold with an extra 10 minutes of covered baking.
Use a thermometer to check internal temperature; a fully baked loaf registers around 200–210°F in the center.
This Easy No-Knead Yeast Bread recipe makes perfectly juicy, tender, and flavorful steak every time! Serve with potatoes and a side salad for an unforgettable dinner in under 30 minutes.
Dissolve the yeast and sugar in warm water (about 100°F) and let sit 5–10 minutes until foamy to ensure active fermentation.
Whisk bread flour, whole wheat flour, and salt in a bowl to distribute ingredients evenly and aerate flours.
Add flour mixture to the yeast mixture in the mixer on low speed until combined, then increase briefly until dough pulls away from bowl sides; if too sticky add flour a tablespoon at a time.
Grease a large bowl, place dough inside, cover with plastic wrap, and let rise in a warm spot until doubled, about 1 1/2 hours.
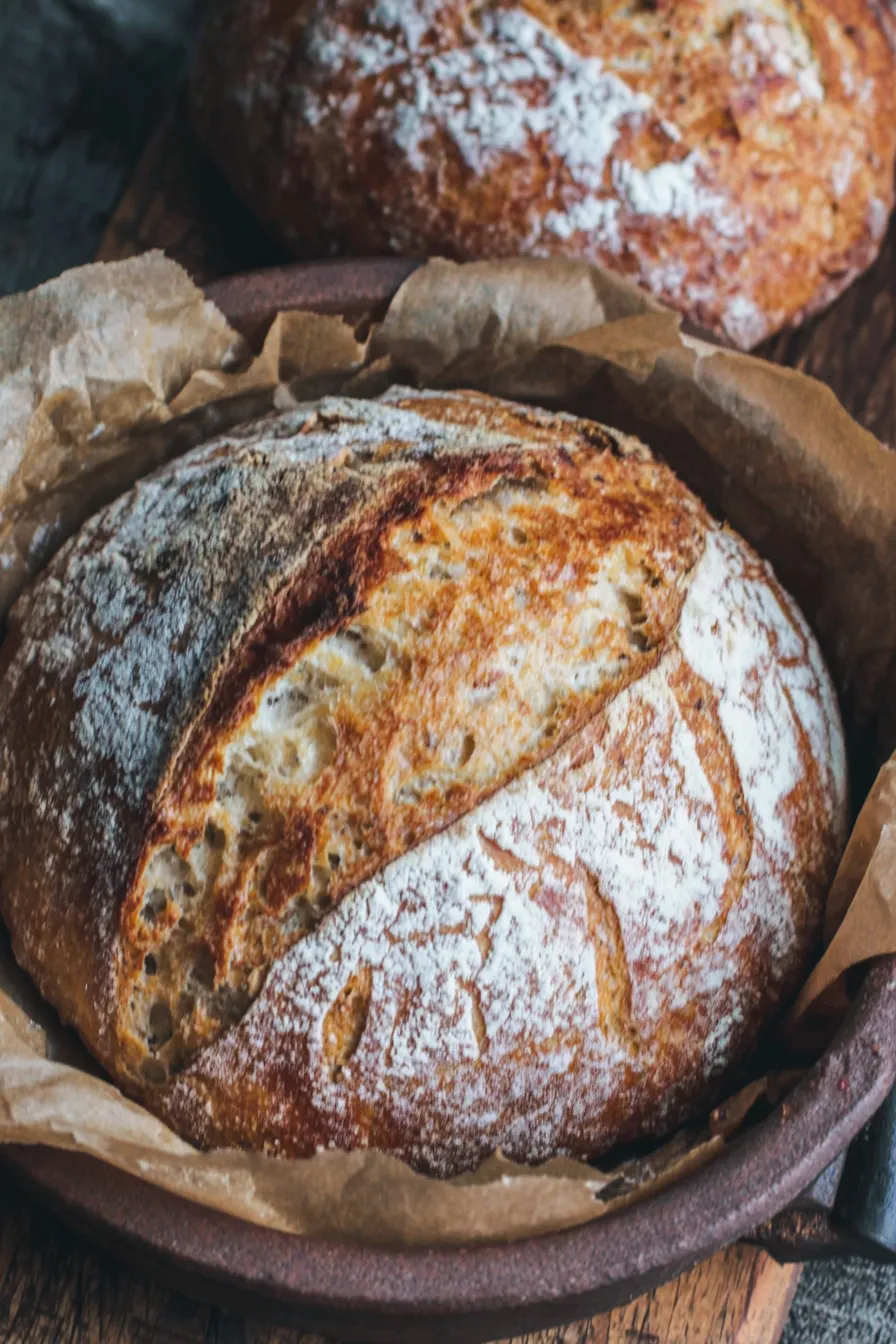
Turn dough onto a lightly floured counter, fold edges to form a round, place seam-side up in a floured bowl, cover, and preheat oven to 460°F with a covered 3 1/2-quart pot inside for 30 minutes.
Transfer the dough on parchment into the preheated pot carefully, cover, and bake 30 minutes to trap steam and develop crust.
Uncover and bake an additional 15–20 minutes until deep golden brown; remove to a wire rack and cool completely before slicing.
Last Step: Please leave a rating and comment letting us know how you liked this recipe! This helps our business to thrive and continue providing free, high-quality recipes for you.
Leave a comment & rating below or tag
@feastu on social media!

Delightfully spooky and sweet, these bite-sized mummy cake balls combine moist cake, creamy centers, and a vanilla candy shell for effortless Halloween fun.

Fluffy homemade donuts crowned with a shimmering galaxy glaze. Fry or bake, swirl bold colors, and watch these showstoppers disappear fast.

Buttery shortbread crust meets gooey pecan pie filling in easy bar form, perfect for holidays, bake sales, and cozy weeknights.
Leave a comment & rating below or tag @feastu on social media!
Enjoyed this recipe? Share it with friends and family, and don't forget to leave a review!
This recipe looks amazing! Can't wait to try it.
Comments are stored locally in your browser. Server comments are displayed alongside your local comments.

Join to receive our email series which contains a round-up of some of our quick and easy family favorite recipes.
