
Spooky Mummy Cake Balls

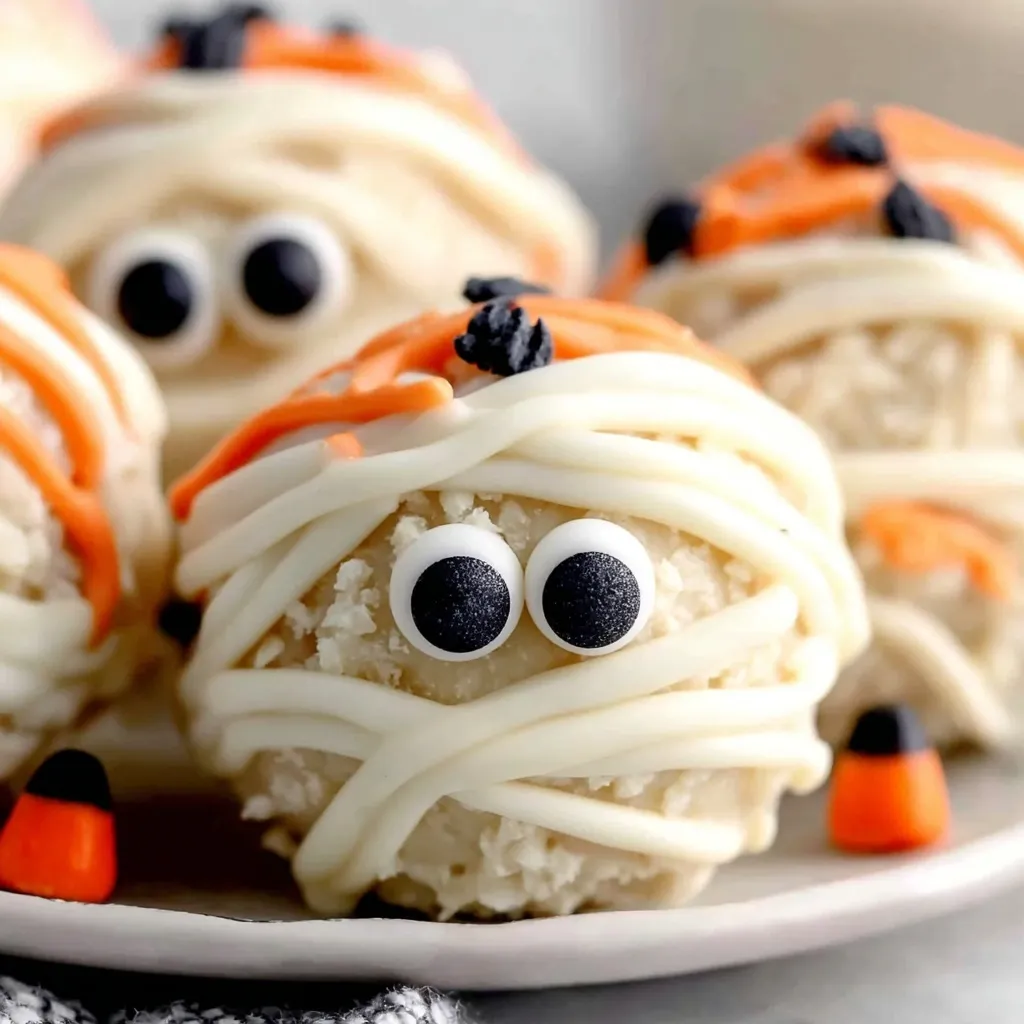
Delightfully spooky and sweet, these bite-sized mummy cake balls combine moist cake, creamy centers, and a vanilla candy shell for effortless Halloween fun.

This playful Halloween treat came to our family during a neighborhood block party when I needed something cute, easy, and guaranteed to disappear fast. I had a white cake cooling on the counter, a block of cream cheese in the fridge, and a stash of vanilla almond bark. The first batch vanished before the party even started, and the kids begged me to make them again for trick-or-treat night. These little mummies are tender inside, coated in a sweet vanilla shell, and finished with a silly pair of candy eyes that always bring smiles. What I love most is their texture: a soft, truffle-like center that tastes like the best part of a frosted cake, wrapped in a thin, snappy white coating. The drizzle creates those signature mummy bandages without any fancy decorating skills. They pack perfectly for school parties and potlucks, and they are endlessly adaptable. Swap cake flavors, change the drizzle color, or use different eye sizes for a whole crew of mini mummies.
Why You'll Love This Recipe
Ready for a crowd: one batch makes about 24 bite-sized treats, perfect for parties, bake sales, and classroom celebrations.
Easy, no-fuss decorating: the mummy look comes from a simple drizzle; no piping tips, fondant, or advanced skills required.
Make-ahead friendly: shaped balls can be frozen and dipped later, so party-day prep is minimal.
Uses pantry staples: a boxed white cake mix, cream cheese, and vanilla almond bark are affordable and easy to find.
Customizable flavors: swap in chocolate, red velvet, or spice cake to match your mood or theme.
Kid-approved: sweet, soft centers with a fun look that gets even picky eaters excited to try one.
At our annual pumpkin-carving night, I set out a tray of these mummies and watched them disappear in minutes. The kids love sticking on the eyes, and the adults appreciate that they are easy to grab and eat with one hand while mingling. After a few rounds, I learned to keep extras in the fridge because guests always ask for seconds.
Ingredients
White cake mix: Use a 15.25 oz box of your favorite brand. Bake according to the package (typically 350°F) and cool completely. The neutral vanilla flavor makes a perfect base for creamy, truffle-like centers.
Cream cheese (8 oz): Full-fat cream cheese adds richness and binds the crumbs. Soften at room temperature so it blends smoothly without lumps, creating that signature fudgy texture.
Vanilla almond bark (16 oz): This candy coating melts smoothly and sets quickly with a clean snap. Look for blocks or wafers labeled almond bark or candy coating; they are more forgiving than real white chocolate for dipping.
Candy eyes: These add instant personality. Choose standard or mini sizes. Keep a few extra on hand so you can swap in a perfect pair if one lands off-center.
Instructions
Bake and cool the cake: Bake the white cake according to the box directions, usually at 350°F in a 9 by 13 inch pan until a toothpick comes out clean. Let it cool completely on a rack. Cooling prevents steam from making the mixture too sticky later. Mix cake with cream cheese: Crumble the cooled cake into a large bowl, breaking it into fine crumbs. Add softened cream cheese and beat with an electric mixer on medium speed until the mixture looks uniform and holds together like soft cookie dough without dry spots. Shape and chill: Use a 2 tablespoon cookie scoop to portion even mounds. Roll between your palms to form smooth balls and place on a parchment-lined baking sheet. Freeze for 30 minutes, until firm to the touch, which makes dipping clean and helps prevent crumbs. Melt the coating: Chop the almond bark and melt in a microwave-safe bowl at 50 percent power in 30 second bursts, stirring between each until smooth. Alternatively, use a double boiler over barely simmering water to avoid scorching. Dip and add eyes: Working with a few at a time, dip each chilled ball in the melted coating using a fork, letting excess drip through the tines. Set on parchment, then immediately press on two candy eyes before the coating sets so they adhere securely. Drizzle and set: Transfer a small amount of melted coating to a piping bag or zip-top bag with a tiny corner snipped. Drizzle thin back-and-forth lines over each ball to mimic mummy bandages. Let the coating firm completely before moving or serving.
You Must Know
Chilling is key: 30 minutes in the freezer keeps crumbs out of the coating and yields a smooth finish.
Thin if needed: If the coating is thick, stir in 1 teaspoon neutral oil to loosen for cleaner dips.
Storage: Keep in an airtight container in the refrigerator up to 4 days; they taste best slightly chilled.
Freezer friendly: Freeze undipped balls up to 2 months; thaw in the fridge before coating.
Yield check: A level 2 tablespoon scoop makes about 24 evenly sized cake balls.
I love how foolproof these are. The cream cheese keeps the centers moist without being overly sweet, and the candy coating sets with a gentle snap that contrasts beautifully with the soft interior. Our tradition is to line them up on a black platter and let the kids name each mummy. By dessert time, there are a lot of giggles and very few mummies left.
Storage Tips
Store finished mummy cake balls in a single layer or with parchment between layers in an airtight container. Refrigerate for up to 4 days to keep the coating firm and the centers fresh. For freezing, place undipped, shaped balls on a parchment-lined tray until solid, then transfer to a freezer bag and freeze for up to 2 months. Thaw in the refrigerator before dipping to avoid condensation. To refresh the texture, let refrigerated mummies sit at room temperature for 10 minutes before serving so the centers soften slightly.
Ingredient Substitutions
Swap the white cake mix for chocolate, red velvet, or spice cake without changing any other ratios. Dairy-free cream cheese alternatives can be used at a 1 to 1 ratio, but choose a firm variety so the mixture holds together; note this will still not be fully dairy free if the coating contains milk derivatives. Use white candy melts or vanilla-flavored melting wafers instead of almond bark if preferred. If you run short on coating, drizzle rather than full dip to stretch it, or coat half the ball for a fun two-tone effect.
Serving Suggestions
Arrange the mummies on a matte black or slate platter for a dramatic Halloween look. Add a few candy eyeballs scattered around the tray for whimsy. Serve alongside hot apple cider, hot chocolate, or a creamy vanilla milkshake. For a themed dessert board, include chocolate-dipped pretzels, caramel popcorn, and orange-sprinkled brownies. If you want color, tint a small portion of the coating orange or green and add a few colored drizzles among the classic white bandages to create a mixed batch of friendly monsters.
Cultural Background
Cake balls and cake pops rose to fame in American home baking in the early 2000s, thanks to the trend of repurposing leftover cake into pretty, bite-sized confections. The technique has roots in frugal baking traditions, where crumbs and offcuts were bound with frosting to avoid waste. Decorating them as mummies is a modern Halloween twist that uses simple drizzles to create personality without special equipment. The result is part confectionery, part crafty party project, which explains their ongoing popularity for seasonal celebrations.

Seasonal Adaptations
For fall flair, use spice cake with a pinch of extra cinnamon and nutmeg, then add a few orange-tinted drizzle stripes. At winter holidays, switch to red velvet cake with green and white bandages for a festive look. In spring, lemon cake with a bright yellow drizzle makes sunny mini treats. For birthdays, swap candy eyes for rainbow sprinkles and skip the mummy design entirely. The same base method adapts effortlessly to any theme, which makes this a reliable formula year-round.
Meal Prep Tips
For efficient party prep, bake the cake a day ahead and cool completely. Crumble and mix with cream cheese, then shape and freeze. Keep the balls frozen in a zip-top bag, and dip the morning of your event for the freshest coating. If you need to transport them, place in a shallow container in a single layer with parchment between layers to prevent smudging. Pack an extra small bag of melted coating and a handful of extra eyes for quick touch-ups at the venue.
Halloween or not, these little mummies are pure joy to share. Make a batch, have fun with the drizzle, and watch everyone light up when the googly eyes peek back from the platter.
Pro Tips
Use a level 2 tablespoon scoop for uniform size and clean presentation.
Keep the coating warm by placing the bowl over a pot of hot water off heat.
Dip a few balls at a time so they stay cold and hold their shape.
Press on the candy eyes immediately; they adhere best before the coating sets.
Add a pinch of salt to the cake mixture to balance sweetness.
This nourishing spooky mummy cake balls recipe is sure to be a staple in your kitchen. Enjoy every moist, high protein slice — it is perfect for breakfast or as a wholesome snack any time.
FAQs about Recipes
Can I make these ahead?
Yes. Shape the balls and freeze on a tray until solid, then store in a freezer bag for up to 2 months. Thaw in the refrigerator before dipping for the best texture.
How do I keep the coating smooth?
If the coating thickens, rewarm in short bursts at 50 percent power, stirring often. For an ultra-smooth flow, stir in 1 teaspoon neutral oil to thin.
How should I store leftovers?
Store dipped cake balls in an airtight container in the refrigerator up to 4 days. Keep parchment between layers and let sit 10 minutes at room temperature before serving.
Tags
Spooky Mummy Cake Balls
This Spooky Mummy Cake Balls recipe makes perfectly juicy, tender, and flavorful steak every time! Serve with potatoes and a side salad for an unforgettable dinner in under 30 minutes.
Ingredients
Cake Mixture
Coating and Decoration
Instructions
Bake the cake
Prepare the white cake mix according to package directions, bake as instructed, and allow the cake to cool completely before proceeding.
Mix with cream cheese
Crumble the cooled cake into a large bowl. Add softened cream cheese and beat with an electric mixer until the mixture is fully blended and uniform.
Form cake balls
Roll the mixture into approximately 2 tablespoon-sized balls and place on a parchment-lined baking sheet.
Freeze the balls
Freeze for 30 minutes to firm them up, which makes dipping cleaner and easier.
Melt the almond bark
Melt vanilla almond bark according to the package instructions until smooth and fluid for dipping.
Dip and decorate
Dip each chilled ball into the melted coating, then immediately press on two candy eyes for the mummy look.
Drizzle coating
After the first coat sets slightly, drizzle additional melted almond bark over each ball to create bandage-like lines.
Set and serve
Allow the coating to harden completely before arranging on a platter and serving.
Last Step: Please leave a rating and comment letting us know how you liked this recipe! This helps our business to thrive and continue providing free, high-quality recipes for you.
Nutrition
Did You Make This?
Leave a comment & rating below or tag
@feastu on social media!
Categories:
You might also like...
Spooky Mummy Cake Balls
Delightfully spooky and sweet, these bite-sized mummy cake balls combine moist cake, creamy centers, and a vanilla candy shell for effortless Halloween fun.

Galaxy Donuts with Swirled Glaze
Fluffy homemade donuts crowned with a shimmering galaxy glaze. Fry or bake, swirl bold colors, and watch these showstoppers disappear fast.

Buttery Pecan Pie Bars
Buttery shortbread crust meets gooey pecan pie filling in easy bar form, perfect for holidays, bake sales, and cozy weeknights.
Did You Make This?
Leave a comment & rating below or tag @feastu on social media!
Rate This Recipe
Share This Recipe
Enjoyed this recipe? Share it with friends and family, and don't forget to leave a review!
Comments (1)
This recipe looks amazing! Can't wait to try it.
Comments are stored locally in your browser. Server comments are displayed alongside your local comments.

Hi, I'm Emma!
What's Popular

30-Minute Meals!
Join to receive our email series which contains a round-up of some of our quick and easy family favorite recipes.