
>>

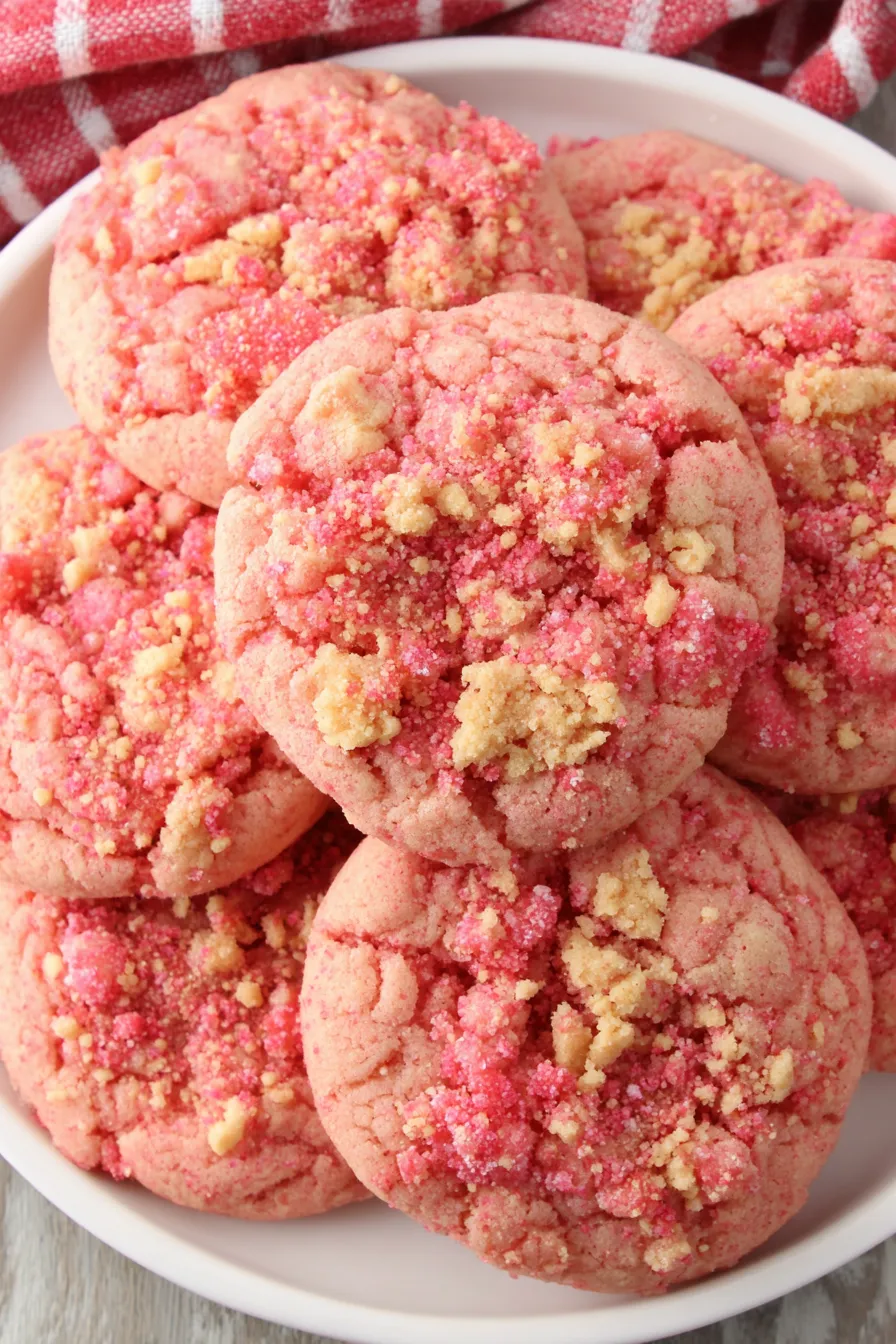
Soft, buttery cookies rolled in a crunchy strawberry coating made from Golden Oreos and strawberry Jello for a nostalgic, crowd-pleasing bite.
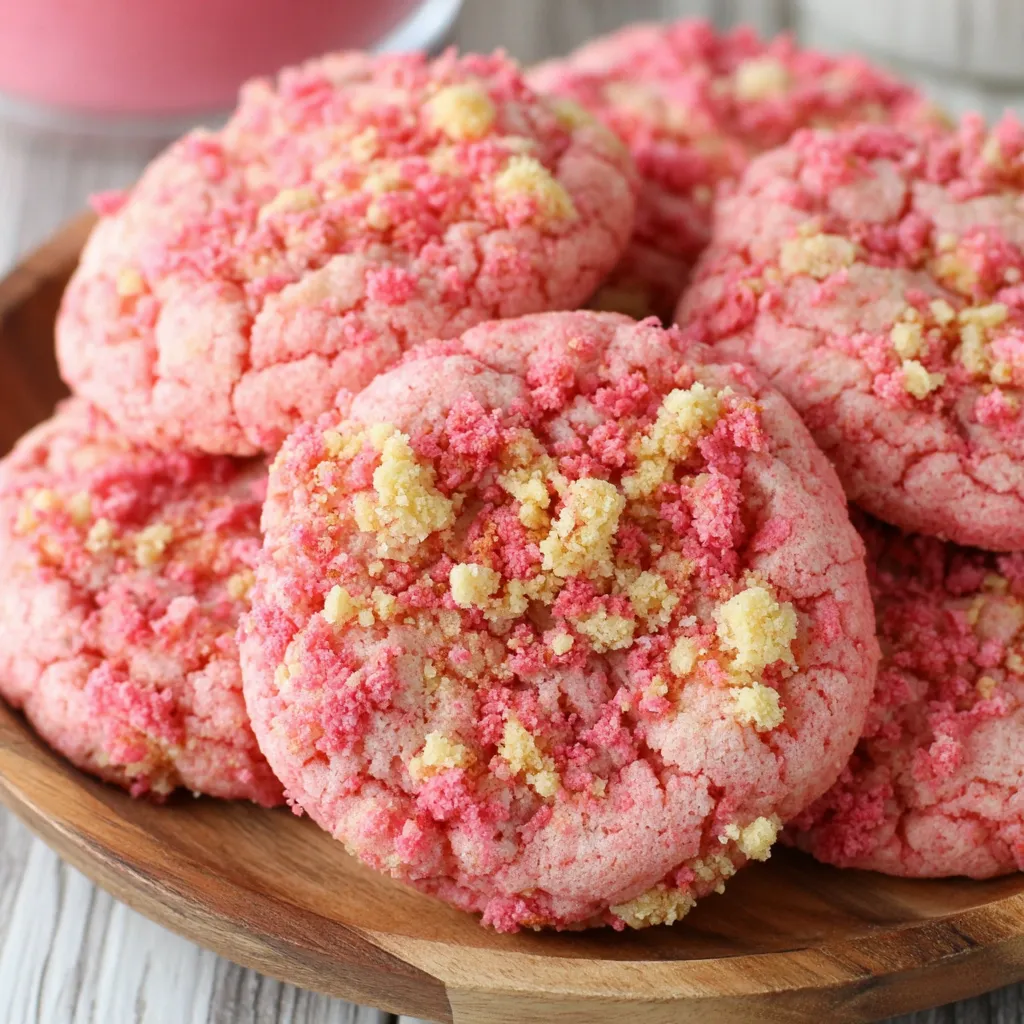
This recipe for Strawberry Crunch Cookies arrived in my life during a summer of recipe-testing and berry cravings. I wanted a cookie that tasted like fresh strawberries without relying on perishable fruit, and the idea of turning Golden Oreos and strawberry gelatin into a crunchy, flavorful coating felt delightfully mischievous. The result is a soft, buttery cookie infused with strawberry extract, tinted a cheerful pink, then rolled in a candy-like strawberry crust that gives every bite a contrast of tender interior and lively crunch. It quickly became my go-to for potlucks and school parties because people notice both the color and the texture.
I first baked these cookies the week my daughter finished second grade and insisted on bringing something “extra” to her class party. She loved the way they looked in a little cupcake liner and how the crushed Oreo coating reminded everyone of candy sprinkles. Over the years I tweaked the balance of sugars and the timing — the double-bake approach (brief bake, top with more crush, finish baking) ensures the coating adheres without drying the cookie. Expect a cookie that keeps its softness inside while offering a sweet, slightly tangy crunch outside.
In my kitchen these cookies always get a second look. Guests ask what gives them that bright, strawberry crunch, and kids immediately choose the pinkest ones. Baking them for the summer fair last year, a parent told me they tasted like a strawberry candy bar in cookie form — high praise from someone who grew up on candy store treats.
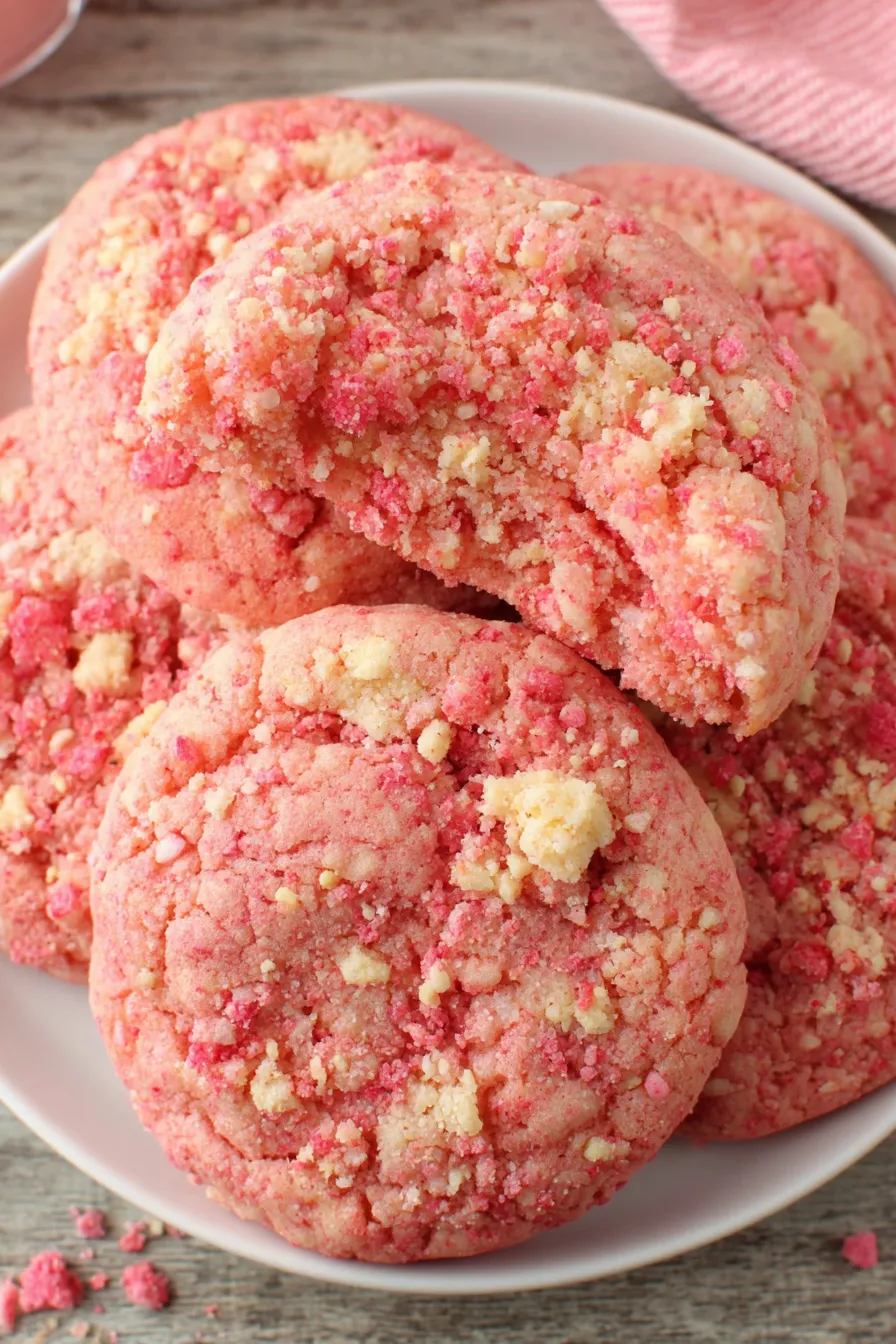
My favorite part of making these is the moment I sprinkle the extra coating on top. It feels like adding a confetti finish and makes each cookie look hand-finished. At family parties, someone always asks if I dyed them; that little ritual of mixing in the pink coloring gives the cookies their cheerful personality.
Keep the cookies in a single layer or separated by parchment rounds in an airtight container. At room temperature they remain soft for 3 to 4 days. For longer storage freeze in a sealed freezer bag or container for up to 3 months. To re-crisp the coating after refrigeration or thawing, pop the cookies in a 300°F oven for 3 to 4 minutes, watching closely so they do not brown. Use rigid containers for travel to avoid crushing the crunchy tops.
If you do not have Golden Oreos, use plain vanilla sandwich cookies or shortbread cookies; note that darker cookies will change the color of the coating. For a lighter sweetness as opposed to gelatin powder, you can replace half the Jello with freeze-dried strawberry powder for more natural fruit flavor; use a 1:1 substitution. To make these dairy-free, replace the butter with a solid coconut oil or a plant-based stick butter, but expect a slightly different texture and less richness. If avoiding artificial coloring, reduce the drops or try a few drops of natural beet powder rehydrated into a paste to tint the dough.
These are lovely plated with a dollop of whipped cream or served alongside vanilla ice cream for an ice cream sandwich twist. Pair them with a pot of strong black tea or a glass of cold milk for a classic combination. For parties, place them in paper liners and label them with a little flag — their color makes them a centerpiece on a dessert table. Seasonal garnishes like a small freeze-dried strawberry on top can elevate them for special occasions.
While not a traditional recipe from any single culinary lineage, these cookies draw on nostalgic American candy and cookie culture: sandwich cookies and flavored gelatin have long been part of mid-century home baking. Transforming shelf-stable sweets into new textures is a modern home-baker technique that riffs on classic playful desserts like candy-coated cookies and cereal bars.
In spring and summer lean into the strawberry theme with a light lemon glaze drizzle made from powdered sugar and lemon juice. For autumn, swap strawberry gelatin for cinnamon spice plus crushed graham crackers and replace the extract with vanilla for a subtle fall-flavored crunch. Holidays are a great time to change colors — use red and green sprinkles mixed into the coating for Christmas versions, or white chocolate chips folded into the dough for Valentine’s Day.
Portion dough into tablespoon-sized balls, then flash-freeze on a sheet pan for an hour before transferring to a freezer bag. That way you can bake a few fresh cookies anytime. Label bags with baking times and whether the dough is coated; pre-coating frozen dough is possible but may require an extra minute in the oven. Bring frozen dough to the oven straight from the freezer for about 13 to 14 minutes at 350°F to bake through.
These Strawberry Crunch Cookies are a playful, approachable way to bring bright flavor and fun texture to any gathering. They eat like a nostalgic candy and bake like a classic cookie, so experiment with coating ratios and enjoy sharing them with friends and family.
Use room-temperature eggs and softened butter for a smooth, well-emulsified dough.
Spread the crushed coating in a single layer to cool slightly before rolling the dough so crumbs adhere better.
Pull cookies when edges are set but centers still look slightly underbaked; they will finish as they cool.
If coating is too fine, fold in some larger crumbs for more pleasant crunch and texture.
This nourishing strawberry crunch cookies recipe is sure to be a staple in your kitchen. Enjoy every moist, high protein slice — it is perfect for breakfast or as a wholesome snack any time.
Yes. Freeze baked cookies in an airtight container for up to 3 months. Thaw at room temperature and reheat briefly if you want the coating crisp.
Use a rounded tablespoon or a small cookie scoop for even-size cookies; bake times may vary slightly by oven.
This Strawberry Crunch Cookies recipe makes perfectly juicy, tender, and flavorful steak every time! Serve with potatoes and a side salad for an unforgettable dinner in under 30 minutes.
Roughly crush Golden Oreos and combine with strawberry gelatin and melted butter until the mixture holds together loosely; spread on a plate.
Preheat oven to 350°F and line baking sheets with parchment or silicone mats.
Beat softened butter with granulated and brown sugar until pale and fluffy, about 2 to 3 minutes.
Add eggs one at a time until incorporated, stir in strawberry extract and food coloring until evenly tinted.
Whisk flour, baking soda, and salt; add slowly to wet mixture with mixer on low until just combined.
Scoop dough by rounded tablespoon, roll in crushed coating and place on baking sheet a few inches apart.
Bake for 8 minutes until edges set but centers still look slightly underbaked.
Sprinkle additional crushed coating on tops, return to oven and bake 4 more minutes until edges are light golden.
Cool on the baking sheet for 5 minutes, then transfer to a wire rack to cool completely before storing.
Last Step: Please leave a rating and comment letting us know how you liked this recipe! This helps our business to thrive and continue providing free, high-quality recipes for you.
Leave a comment & rating below or tag
@feastu on social media!

Delightfully spooky and sweet, these bite-sized mummy cake balls combine moist cake, creamy centers, and a vanilla candy shell for effortless Halloween fun.

Fluffy homemade donuts crowned with a shimmering galaxy glaze. Fry or bake, swirl bold colors, and watch these showstoppers disappear fast.

Buttery shortbread crust meets gooey pecan pie filling in easy bar form, perfect for holidays, bake sales, and cozy weeknights.
Leave a comment & rating below or tag @feastu on social media!
Enjoyed this recipe? Share it with friends and family, and don't forget to leave a review!
This recipe looks amazing! Can't wait to try it.
Comments are stored locally in your browser. Server comments are displayed alongside your local comments.

Join to receive our email series which contains a round-up of some of our quick and easy family favorite recipes.
