
>>

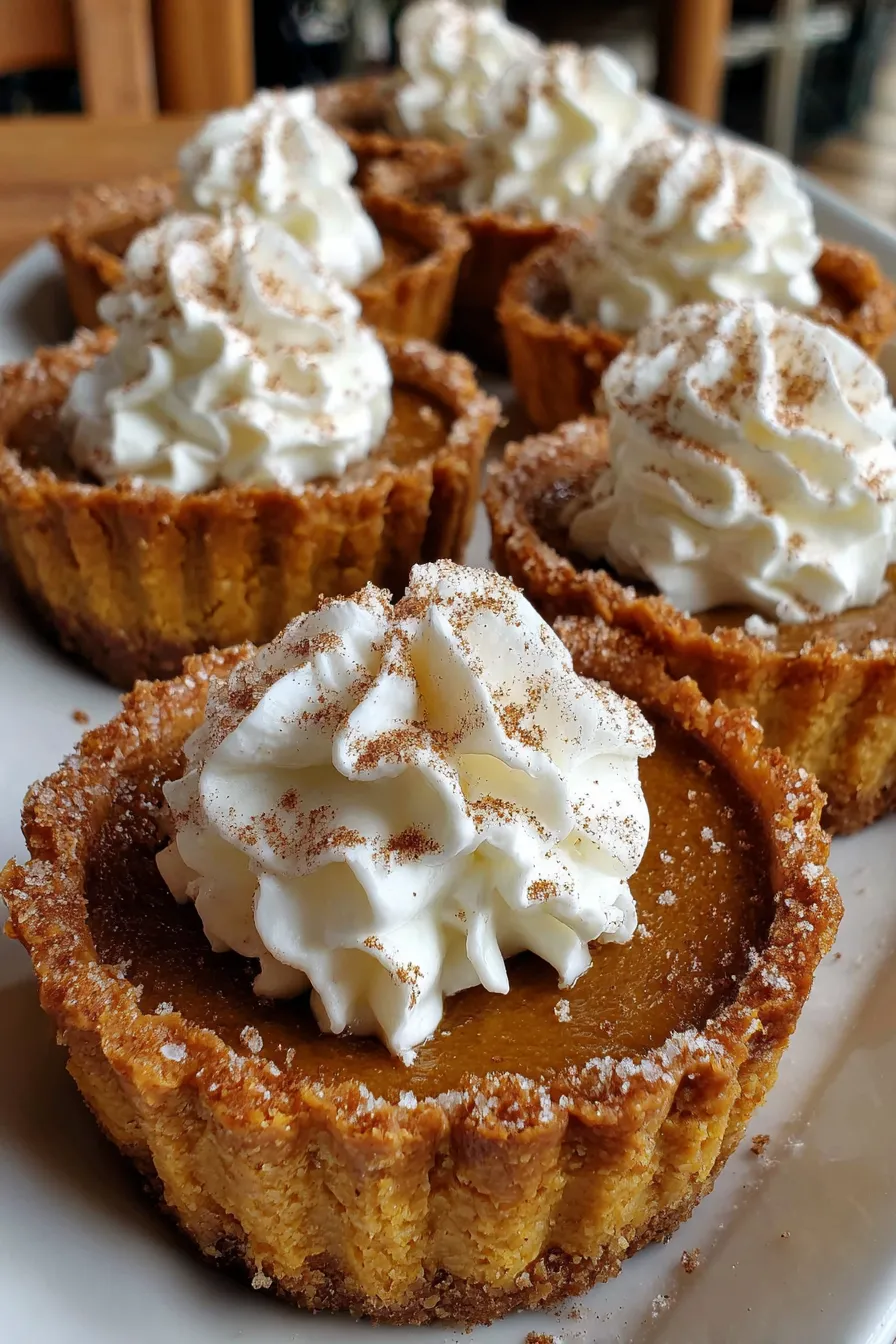
Tiny pumpkin tarts that capture all the cozy flavors of Thanksgiving in a single bite. Perfect for parties, make-ahead trays, and sweet finishers.
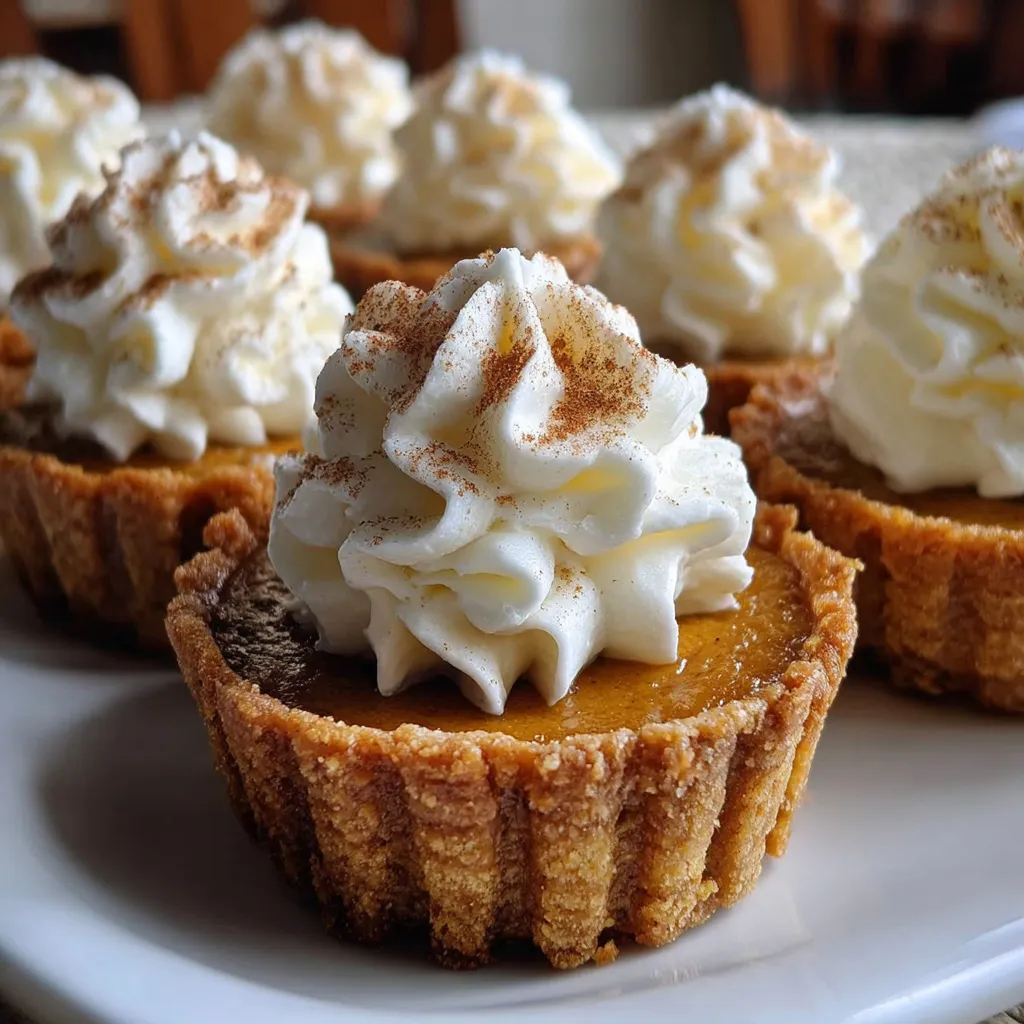
This little tray of pumpkin tarts has been my holiday secret for years, arriving at potlucks and family gatherings with instant disappearance guaranteed. I first developed this compact, joyful version of a classic pumpkin filling during a busy Thanksgiving season when I wanted something that was quick to assemble, easy to transport, and that offered everyone a perfectly portioned dessert. The cinnamon, nutmeg, and cloves are balanced so the spice sings without overpowering the silky pumpkin, and the small crust-to-filling ratio gives you more of that creamy center in every bite.
I discovered the exact combination of sugars and cream on a chilly afternoon while testing textures for a dinner party. The brown sugar adds a deep caramel note, while the granulated sugar helps the filling set nicely. Using mini pie crusts means you can assemble dozens in a fraction of the time it would take to blind-bake shells or shape dough by hand. These treats become memorable because they are both nostalgic and decidedly convenient: a familiar Thanksgiving flavor in an irresistible miniature package.
In my house these tiny tarts have sparked more than one debate over which relative gets the last one. The first time I brought them to Thanksgiving, my grandmother declared them the best way to eat pumpkin, and a cousin asked me for the recipe on the spot. They are proof that small sweets can carry big memories.
What I love most is how these mini bites make the holiday feel personal. Guests often gather around the tray choosing their favorite, and because they are small everyone gets to taste without committing to a whole slice. The recipe has created tiny rituals at our Thanksgiving table, like who gets the one with the extra whipped cream and whose fork pits the perfect balance of crust and creamy filling. Those small moments are the reason I keep this recipe in my holiday repertoire.
For short-term storage place cooled tarts in a single layer in an airtight container and refrigerate for up to four days. If stacking is necessary, separate layers with parchment paper. To freeze assembled but unbaked tarts, arrange them on a tray, flash-freeze until firm, then transfer to a freezer-safe bag for up to two months. When reheating baked tarts, warm them at 300°F (150°C) for 6 to 8 minutes to refresh the crust without overcooking the filling. Thawed unbaked tarts can be baked directly from refrigerated, adding 2 to 4 minutes to the bake time if still cold.
If you want to lighten the filling, replace heavy cream with half-and-half in equal measure; the texture will be slightly less rich but still satisfying. For a dairy-free version use coconut cream and swap the whipped cream topping for coconut whipped topping, but note this will add a subtle coconut flavor. To make gluten-free bites, look for pre-made gluten-free mini tart shells and verify baking time as they may brown faster. If you prefer a deeper caramel flavor, swap half of the brown sugar for dark muscovado sugar in a one-to-one ratio.
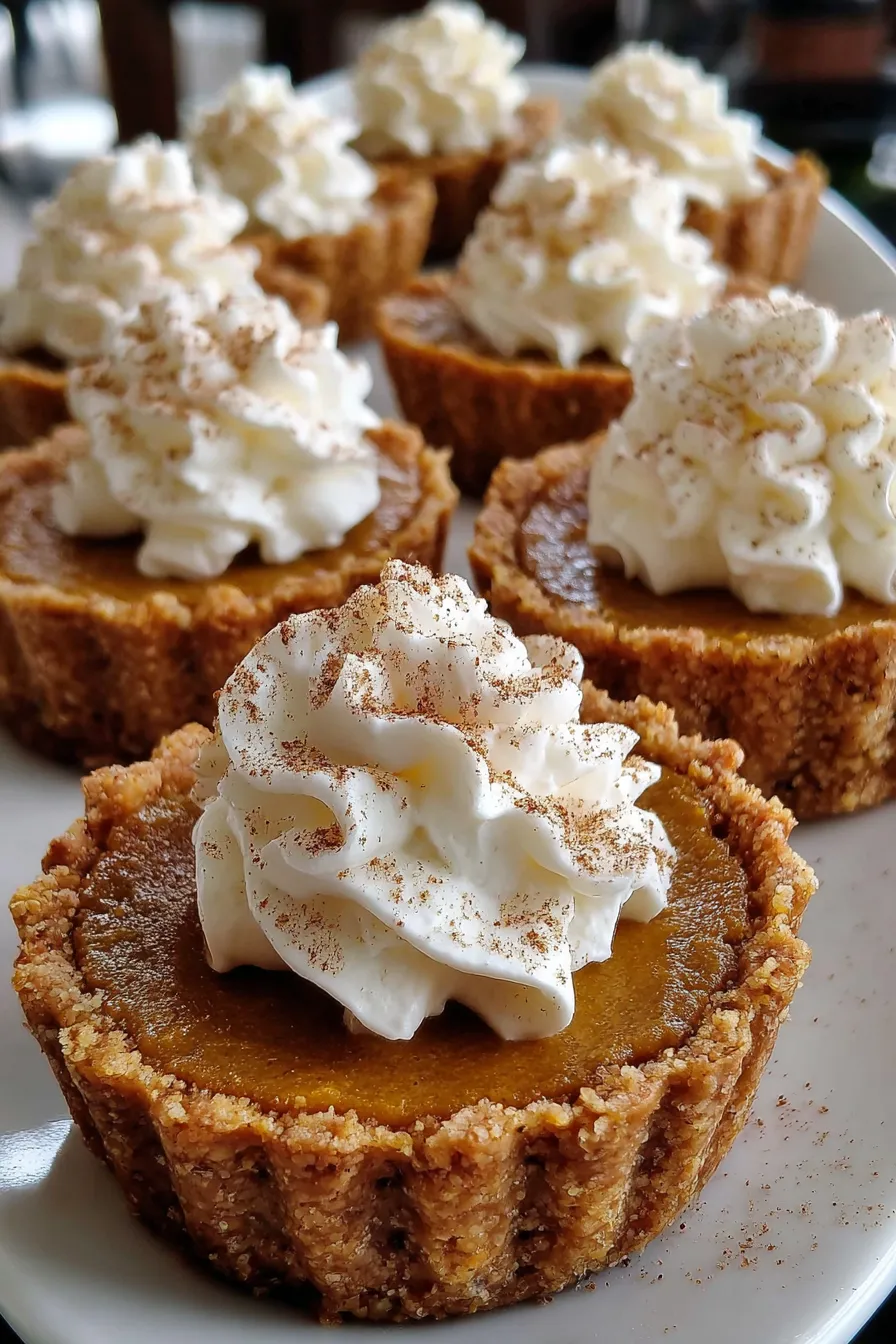
Serve these mini tarts on a wooden board or tiered stand for a festive display. Garnish each with a small swirl of whipped cream, a light dusting of cinnamon, or finely chopped toasted pecans for texture. They pair beautifully with coffee, spiced tea, or a small glass of dessert wine. For a brunch buffet consider plating them alongside maple-glazed bacon and spiced fruit compote to balance sweet and savory elements. They also work well as edible place settings, each placed on a small doily with a name tag for holiday dinners.
Pumpkin custard desserts have deep roots in North American harvest traditions where pumpkins were honored as a reliable winter store. Over time the classic pie evolved into many regional variations, and miniature forms became popular as bite-sized, elegant alternatives for entertaining. These small tarts bring together colonial ingredients like pumpkin and warming spices with modern convenience of pre-made crusts. They celebrate seasonal abundance and the communal spirit of sharing food during harvest festivals and family gatherings.
In autumn accent the filling with a tablespoon of maple syrup or a splash of bourbon for warmth. For winter holidays add a pinch of allspice and a teaspoon of orange zest for brightness. In spring and summer you can repurpose the method by swapping pumpkin for sweetened ricotta and lemon zest, then baking until just set to create a lighter tart suitable for warmer months. Adjust spice levels accordingly to match seasonal produce and palate preferences.
To streamline holiday prep, make the filling up to 24 hours in advance and store it covered in the refrigerator. Assemble shells the morning of your event or the night before and keep covered until baking. If transporting, bake and cool the tarts completely, then pack them in a single layer in a shallow box with parchment separators. Bring a small cooler if you need to keep them chilled during transit. Keep whipped cream in a sealed container and add topping on-site to preserve texture and appearance.
These tiny pumpkin tarts are the kind of recipe that invites slight variations and personal flourishes. Whether you stick to the classic spices or tweak the sugar, they reliably deliver that comforting, spiced pumpkin flavor in a neat, shareable form. Serve them with laughter, a strong pot of coffee, and enjoy the small, sweet moments they create at your table.
Use room temperature eggs and cream to ensure the filling blends smoothly and sets evenly.
Fill shells only three quarters full to prevent overflow and ensure a good crust-to-filling ratio.
Tent with foil after 15 minutes of baking if the crust is browning too quickly to prevent overcoloring.
Flash-freeze assembled unbaked tarts before transferring to a freezer bag to keep them from sticking together.
This nourishing thanksgiving desserts mini: 7 sweet bites of joy recipe is sure to be a staple in your kitchen. Enjoy every moist, high protein slice — it is perfect for breakfast or as a wholesome snack any time.
Yes. Assemble unbaked tarts and flash-freeze on a tray until firm, then transfer to a freezer-safe bag for up to 2 months. Bake from frozen, adding a few extra minutes to the bake time.
Store in a single layer in an airtight container in the refrigerator for up to 4 days. Add whipped cream only before serving.
This Thanksgiving Desserts Mini: 7 Sweet Bites of Joy recipe makes perfectly juicy, tender, and flavorful steak every time! Serve with potatoes and a side salad for an unforgettable dinner in under 30 minutes.
Preheat oven to 350°F (175°C). Line a baking tray with parchment. Thaw mini crusts if frozen and allow eggs and cream to come to room temperature for smoother mixing.
In a medium bowl whisk together pumpkin puree, brown sugar, granulated sugar, cinnamon, nutmeg, and cloves until uniform and lump-free.
Beat in eggs one at a time, then stir in heavy cream until the filling is glossy and smooth. Taste and adjust spices if desired.
Place mini pie crusts on the prepared tray and fill each about three quarters full using a spoon or small scoop to ensure even portions.
Bake for 25 to 30 minutes. Centers should be set but slightly jiggly. Tent with foil if crusts brown too quickly. Remove and cool on a wire rack.
Allow tarts to cool at least 30 minutes. Top with whipped cream just before serving. Store leftovers refrigerated in an airtight container for up to 4 days.
Last Step: Please leave a rating and comment letting us know how you liked this recipe! This helps our business to thrive and continue providing free, high-quality recipes for you.
Leave a comment & rating below or tag
@feastu on social media!

Delightfully spooky and sweet, these bite-sized mummy cake balls combine moist cake, creamy centers, and a vanilla candy shell for effortless Halloween fun.

Fluffy homemade donuts crowned with a shimmering galaxy glaze. Fry or bake, swirl bold colors, and watch these showstoppers disappear fast.

Buttery shortbread crust meets gooey pecan pie filling in easy bar form, perfect for holidays, bake sales, and cozy weeknights.
Leave a comment & rating below or tag @feastu on social media!
Enjoyed this recipe? Share it with friends and family, and don't forget to leave a review!
This recipe looks amazing! Can't wait to try it.
Comments are stored locally in your browser. Server comments are displayed alongside your local comments.

Join to receive our email series which contains a round-up of some of our quick and easy family favorite recipes.
