
>>

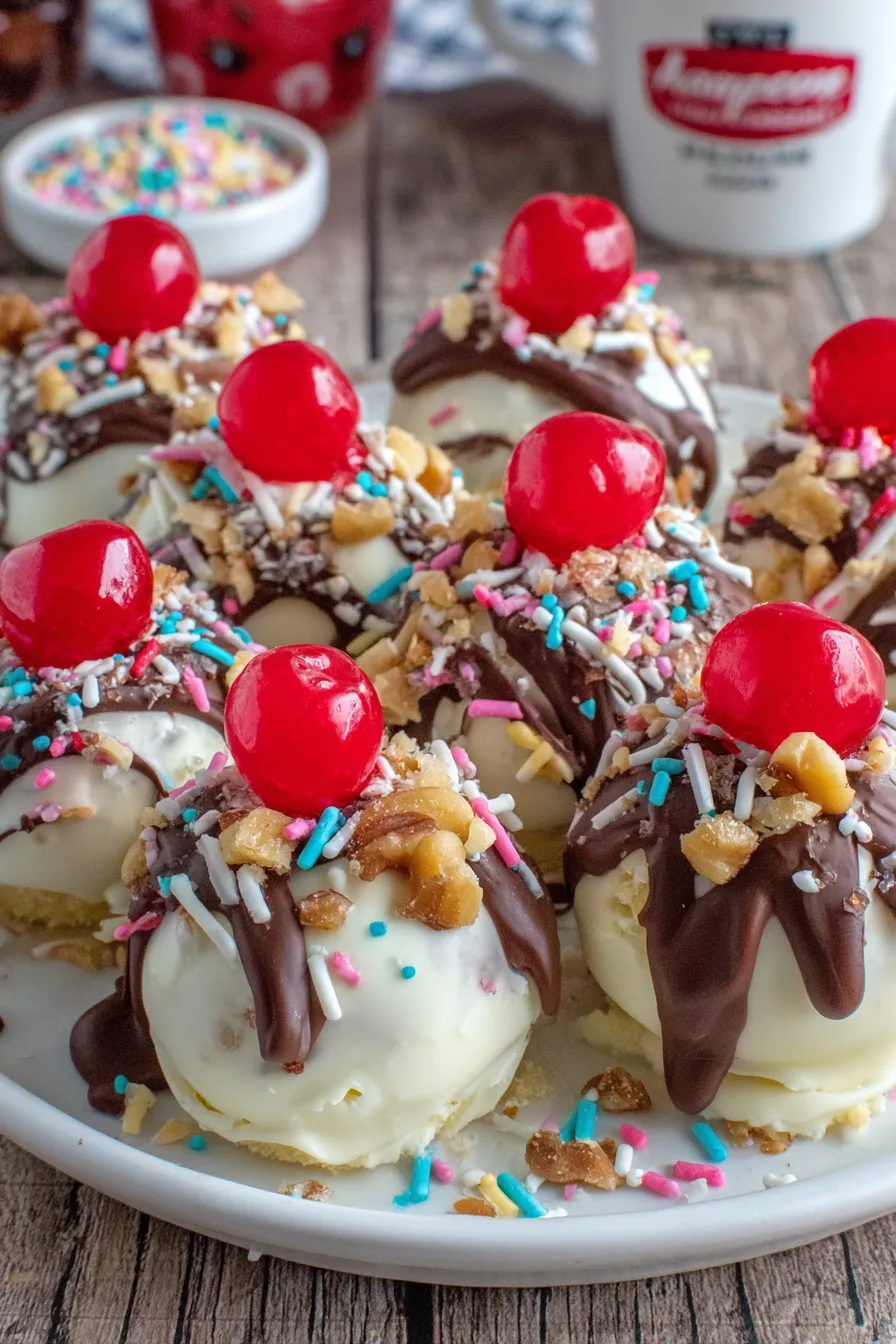
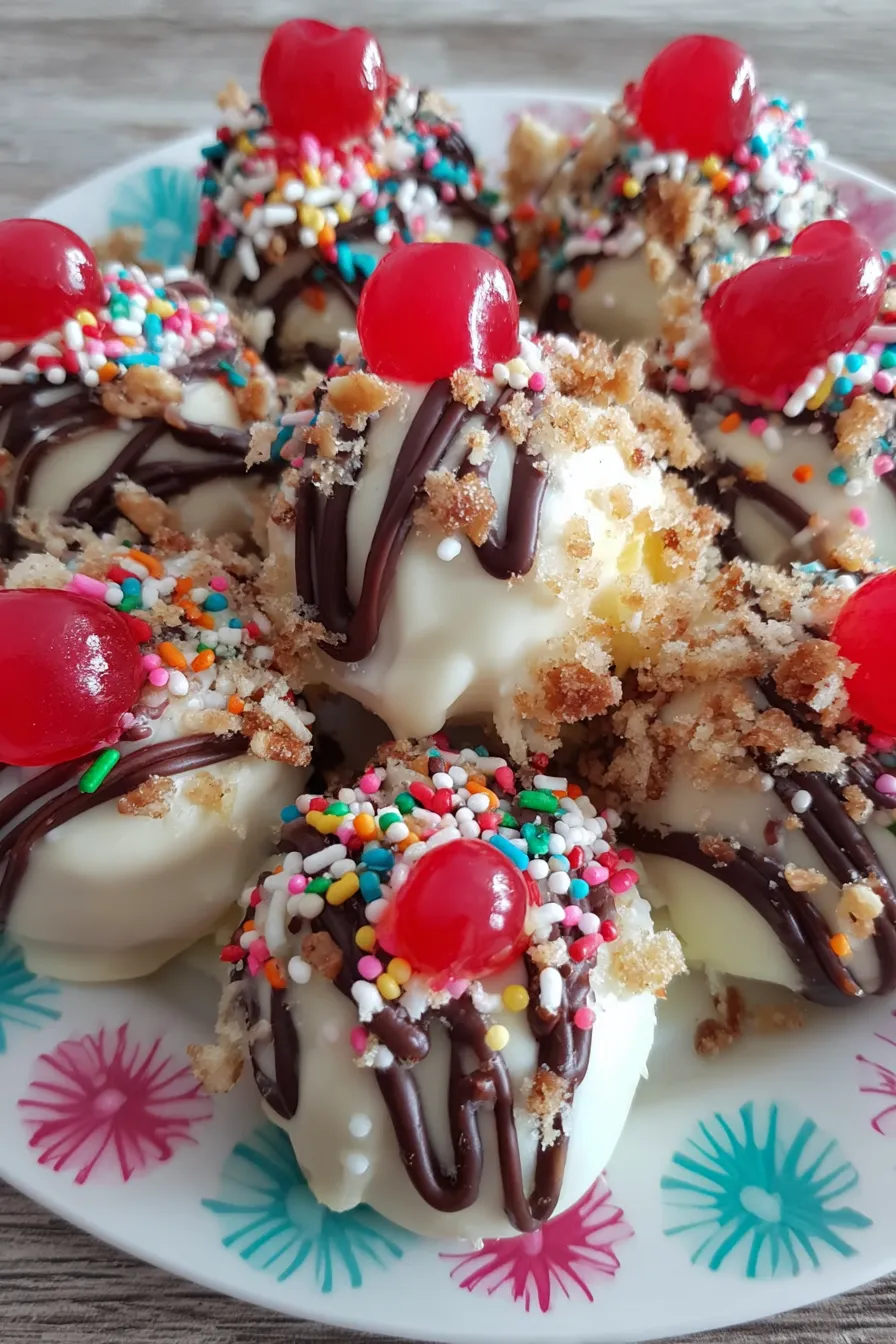
Creamy, bite-sized banana truffles coated in white candy melt and finished with a chocolate drizzle, rainbow sprinkles, and stemmed cherries—an easy, nostalgic treat perfect for parties or an elegant snack.
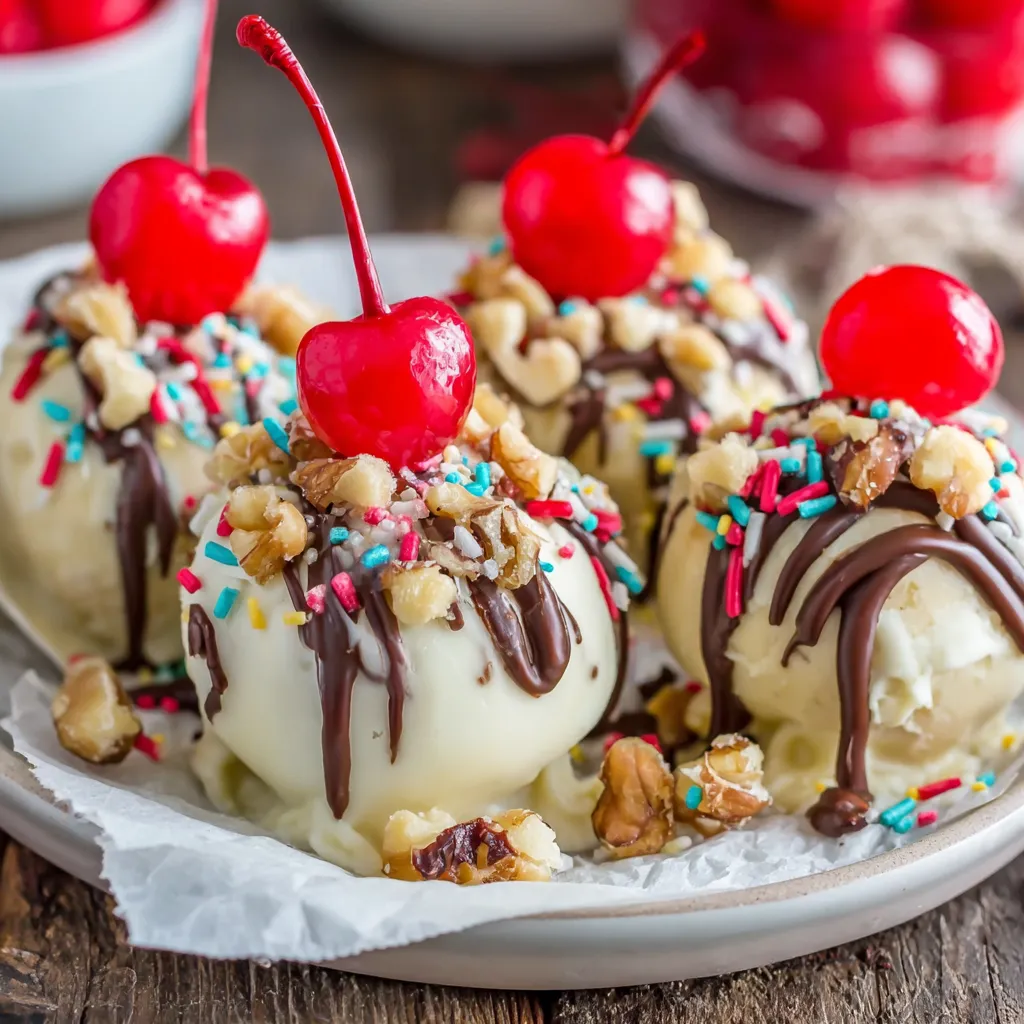
This recipe is my go-to when I want a dessert that feels indulgent but comes together with pantry and fridge staples. I first created these banana truffles on a sunny weekend when I had leftover cream cheese and an overripe banana on the counter. The first bite delivered a soft, cake-like interior flecked with pineapple and walnuts, contrasted by a crisp white coating and a tiny burst of cherry on top. They quickly became the centerpiece of a small family gathering, vanishing within minutes.
What makes these especially memorable is the texture contrast: a smooth, slightly dense center that melts in your mouth, and a snap from the candy coating. The crushed pineapple brightens the flavor and keeps the center moist while the chopped walnuts add a pleasant crunch. I love making these for parties because they are visually festive and easy to serve—each truffle is its own handheld portion and they store beautifully in the fridge.
Every time I make a batch, guests comment on the nostalgic, candy-shop vibe—especially when I top each piece with a stemmed maraschino cherry. My teenagers ask for these at every birthday now; they say they look like mini fancy desserts but taste like a comforting slice of banana bread dipped in candy.
My favorite aspect is how adaptable the centers are—swap nuts, omit the cherry for a simpler look, or pipe a bit of contrasting color for seasonal themes. A friend once brought these to a potluck and the presentation made people ask for the recipe immediately; they loved that the flavor tasted both nostalgic and slightly tropical.
Store finished pieces in a single layer in an airtight container lined with parchment to prevent sticking. Keep them refrigerated and enjoy within one week for best texture and flavor. For longer storage, freeze in a single layer on a sheet until firm, then transfer to a freezer-safe container for up to two months. To serve from frozen, move to the refrigerator for 2–4 hours to thaw slowly so coatings don’t sweat; bring to cool-room temperature for 10–15 minutes if you prefer them less chilled.
If you need to avoid nuts, replace walnuts with toasted sunflower seeds or omit entirely for a smoother center. To make them gluten-free, use a certified gluten-free white cake mix—note that some binders differ, so you may need to adjust the amount of mix for a proper dough texture. For dairy-free adaptations, use a vegan cream cheese and dairy-free candy melts; the texture will be slightly looser, so chill longer before dipping.
Serve these as bite-sized dessert plates with a small scoop of vanilla ice cream or a dollop of whipped cream for contrast. For parties, place each truffle in cupcake liners and arrange on tiered trays. Pair with strong coffee or a light dessert wine. For a brunch twist, serve alongside fresh fruit, shortbread, or lemon cookies to balance the sweet, creamy center.
These truffles are a modern, American-inspired confection that borrows from classic no-bake dessert traditions—using boxed cake mix and cream cheese is a long-standing shortcut in home baking. The use of pineapple and banana brings a tropical influence, reminiscent of mid-century desserts that combined canned fruit with creamy components. Topping with a maraschino cherry nods to vintage cocktail and sundae garnishes, creating a playful, nostalgic presentation.
In summer, swap the rainbow sprinkles for toasted coconut and use lime zest in the dough for a tropical accent. For fall, replace walnuts with chopped pecans, add a pinch of cinnamon to the mix and use caramel drizzle instead of chocolate. During the holidays, dye the white coating with red or green color blocks and use themed sprinkles for a festive touch.
Form the centers up to 48 hours ahead and keep them tightly covered in the refrigerator; dip and garnish the day you plan to serve for the freshest presentation. If making ahead for a larger event, freeze baked centers on a sheet tray, then dip from frozen—the coating firms extra quickly and reduces condensation. Label containers with date and flavor variations to avoid confusion during service.
These truffles are a charming example of how simple components can feel celebratory. They're perfect for sharing, gifting in small boxes, or arranging on dessert tables. Try making one test batch to adjust garnishes and portion sizes to your taste—once you find your favorite combos, they’ll be on repeat for every special occasion.
Toast the walnuts before chopping to sharpen the flavor and prevent them from turning mushy in the mixture.
Very well drain canned pineapple using a fine mesh sieve and press with the back of a spoon to remove excess liquid.
Chill the formed centers until firm before dipping to prevent the coating from sliding or cracking.
Heat candy melts gently at 50% power in short bursts and stir often to avoid scorching and ensure a smooth finish.
This nourishing banana truffles recipe is sure to be a staple in your kitchen. Enjoy every moist, high protein slice — it is perfect for breakfast or as a wholesome snack any time.
Yes—form the centers and freeze them on a sheet tray until solid, then transfer to a freezer bag. Dip from frozen and allow extra setting time in the refrigerator.
If centers feel too wet, add a tablespoon of dry cake mix at a time until the dough holds together; if too dry, add a teaspoon of milk or a small amount of mashed banana.
This Banana Truffles recipe makes perfectly juicy, tender, and flavorful steak every time! Serve with potatoes and a side salad for an unforgettable dinner in under 30 minutes.
Line a large cookie sheet with parchment paper and position near the refrigerator. Have a 1–2 inch cookie scoop, microwave-safe bowls, and utensils ready.
In a medium bowl, beat the softened cream cheese with vanilla until smooth, then gradually add the dry white cake mix until a stiff, dough-like consistency forms.
Drain the crushed pineapple very well and fold into the dough with chopped toasted walnuts and mashed banana until evenly distributed but not overmixed.
Use a 1–2 inch scoop to portion and roll into 1–1.5 inch balls. Place on the parchment sheet and refrigerate for 60 minutes to firm.
Melt the 8 oz white candy coating in a microwave-safe bowl at 50% power in 1 minute, then 30 second bursts, stirring between until smooth and glossy.
Dip each chilled center into the melted white coating with a fork, tapping off excess, return to the parchment, and refrigerate for 30 minutes to set.
Melt chocolate wafers and spoon or pipe a small dollop over each coated truffle, add a stemmed cherry and sprinkles while the drizzle is still wet to adhere.
Refrigerate for another 30 minutes so all coatings fully firm. Serve chilled or store in an airtight container in the fridge.
Last Step: Please leave a rating and comment letting us know how you liked this recipe! This helps our business to thrive and continue providing free, high-quality recipes for you.
Leave a comment & rating below or tag
@feastu on social media!

Delightfully spooky and sweet, these bite-sized mummy cake balls combine moist cake, creamy centers, and a vanilla candy shell for effortless Halloween fun.

Fluffy homemade donuts crowned with a shimmering galaxy glaze. Fry or bake, swirl bold colors, and watch these showstoppers disappear fast.

Buttery shortbread crust meets gooey pecan pie filling in easy bar form, perfect for holidays, bake sales, and cozy weeknights.
Leave a comment & rating below or tag @feastu on social media!
Enjoyed this recipe? Share it with friends and family, and don't forget to leave a review!
This recipe looks amazing! Can't wait to try it.
Comments are stored locally in your browser. Server comments are displayed alongside your local comments.

Join to receive our email series which contains a round-up of some of our quick and easy family favorite recipes.
