>>

Crunchy baked cheese shells wrapped around a creamy chicken, bacon, and ranch filling — a quick, low-carb snack or party favorite.
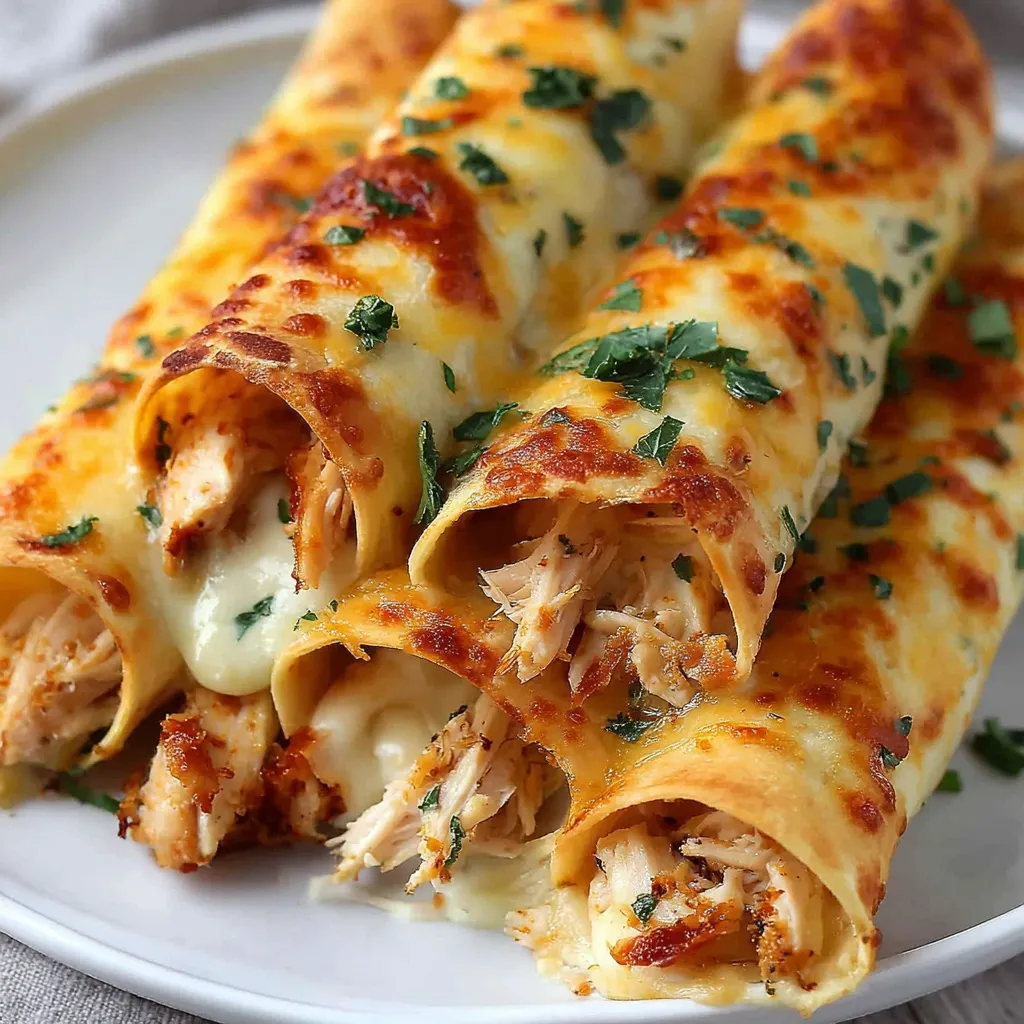
This version of chicken bacon ranch taquitos has become my go-to for weekday cravings and weekend gatherings. I first put these together on a busy Saturday afternoon when I wanted something crunchy and satisfying but without the carbs of tortillas. The idea of using baked slices of mozzarella as a crispy wrap was a small experiment that paid off big: the cheese crisps golden at the edges while staying pliable just long enough to roll around a creamy, savory filling. The result is a snack that delivers a perfect balance of textures — a crackly exterior, tender chicken, and smoky bacon with a tangy ranch lift.
I discovered this combination when cleaning out the fridge after a get-together, and my family immediately labeled them a winner. They love the salty, cheesy shell and how the ranch pulls everything together without adding sugar or excess carbs. These taquitos are ideal for low-carb diets, busy hosts, and anyone who wants a quick finger food that feels indulgent without complicated prep. Over several iterations I learned the precise oven time and cooling window that prevents cracking when rolling, and I’ll share those tricks below so you get consistent results every time.
In our house these vanish in minutes — my partner declared them worthy of every party plate and my kids loved them as an after-school snack. The crunch and savory filling always draw compliments, and I enjoy that they deliver that guilty-pleasure experience while staying aligned with low-carb goals.
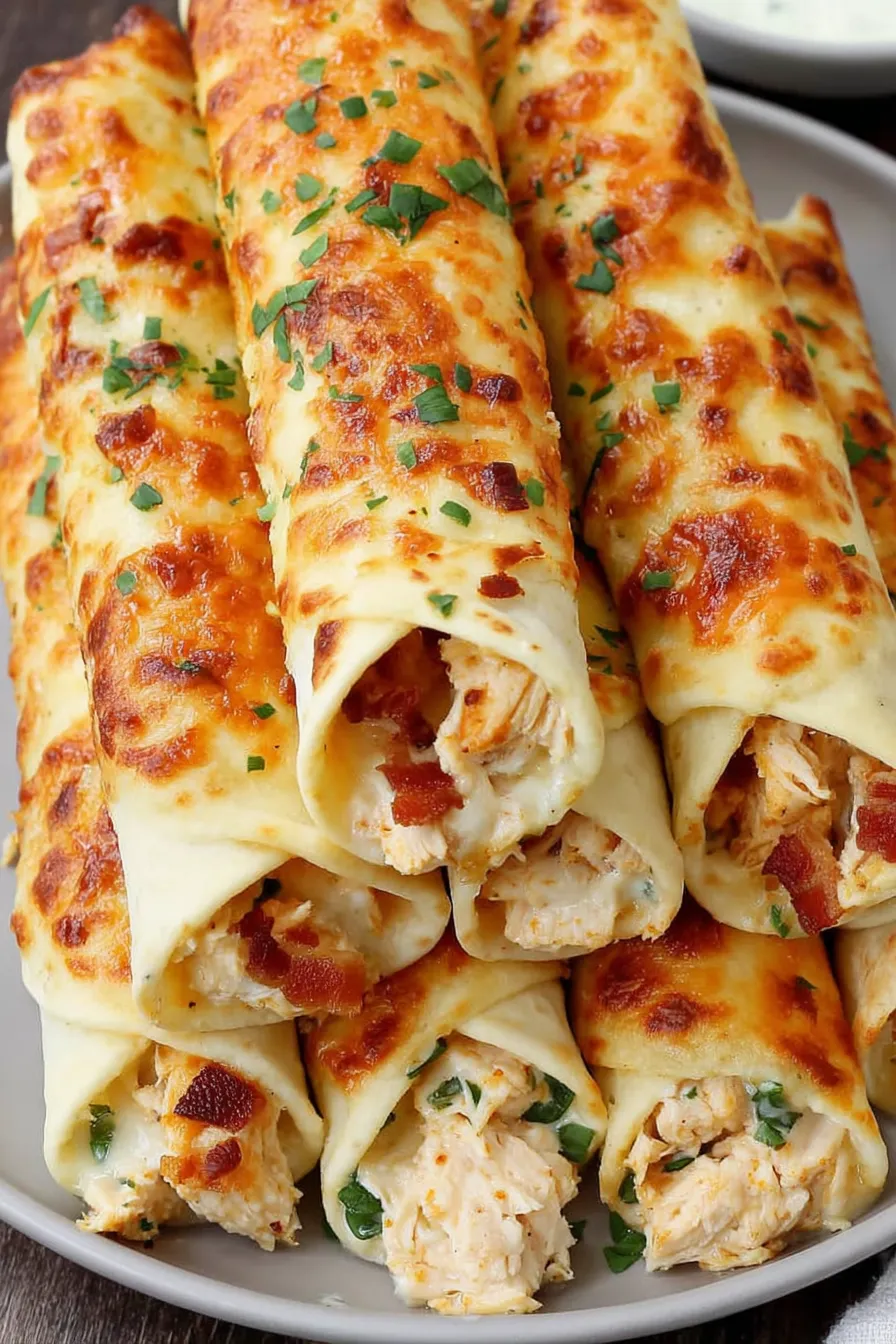
My favorite thing about these is how portable they are — I once packed a platter for a backyard game night and neighbors immediately asked for the method. They work equally well as a casual snack or plated appetizer when guests arrive; the crispness paired with the savory filling always feels celebratory.
For short-term storage, lay taquitos in a single layer in an airtight container and refrigerate for up to 3 days. Avoid stacking them wet side down to preserve the crisp edges. To reheat, preheat the oven to 375°F and bake for 5 to 7 minutes until warmed through and crisp again. If freezing, place baked and cooled taquitos on a tray, flash-freeze for an hour, then transfer to a resealable freezer bag labeled with the date; they keep well for up to 3 months. Thaw in the refrigerator before reheating for best texture.
If you need to adapt, swap the mozzarella for provolone or a mild cheddar slice that melts uniformly; note that different cheeses will crisp and flavor the shell differently. Use shredded rotisserie chicken, leftover grilled breasts, or canned chicken in a pinch; reduce added salt if using preserved meats. For a pork-free version, replace bacon with diced cooked turkey bacon or crispy prosciutto; the latter adds a delicate saltiness. To make dairy-free low-carb shells is challenging; try egg wraps seasoned and cooked thin if avoiding dairy, though texture will differ.
Serve the taquitos on a warm platter garnished with extra chopped green onion and a drizzle of low-carb ranch or sour cream mixed with lime. Pair with crunchy celery sticks, a simple green salad dressed with olive oil and lemon, or a small bowl of guacamole for variety. For parties, arrange them alongside other finger foods like stuffed mushrooms or cucumber rounds topped with smoked salmon to balance heavier bites. They shine as a casual appetizer at game nights and holiday buffets where guests graze.
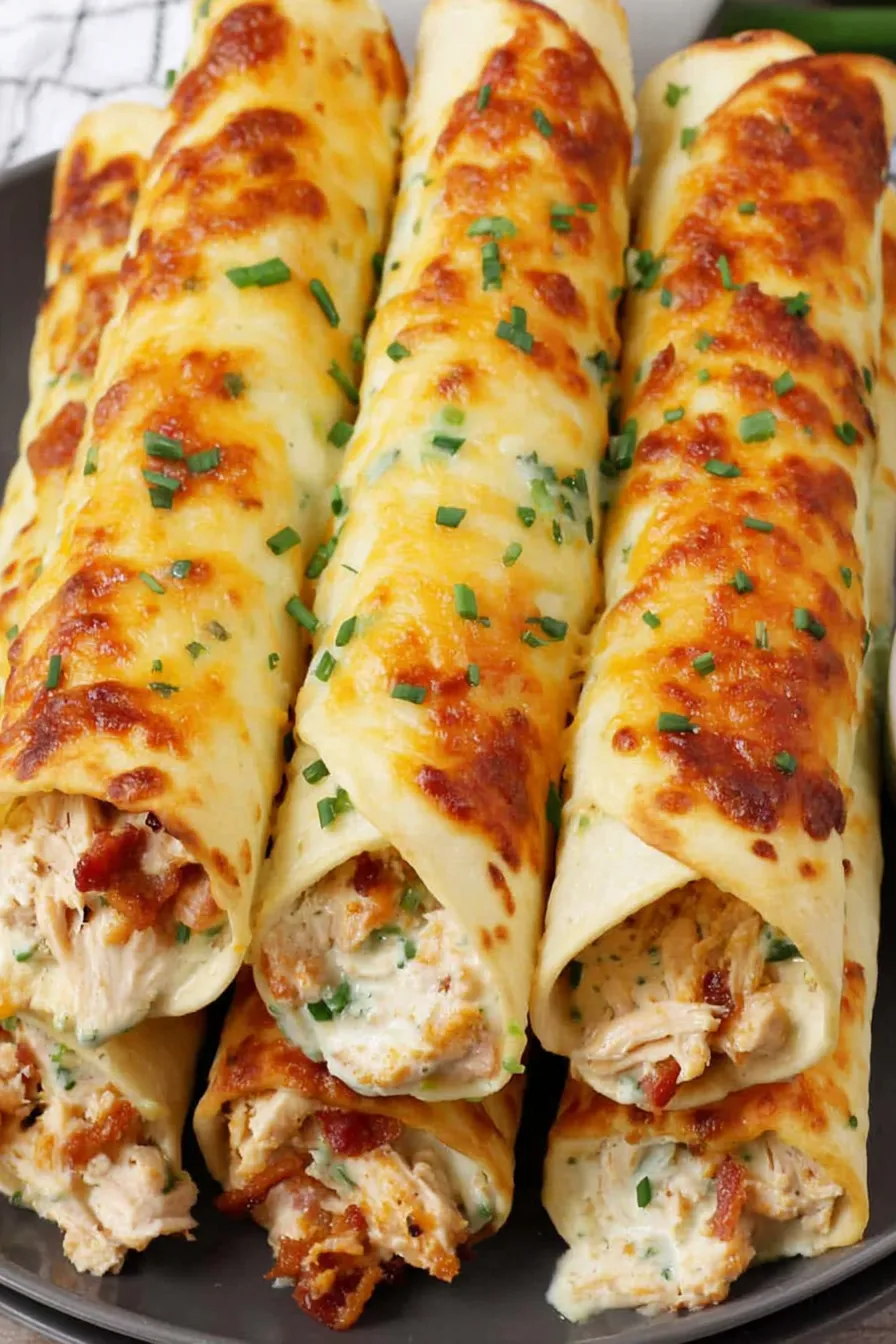
Taquitos are traditionally a Mexican-American street-food format adapted here with a low-carb twist. The classic form features a corn tortilla tightly rolled around fillings and fried; this version replaces tortillas with crisped cheese to fit ketogenic eating while keeping the same hand-held spirit. The chicken, bacon, and ranch flavor profile comes from American comfort-food influences — ranch dressing is a widely used creamy condiment in the U.S., and combining it with smoky bacon and tender chicken creates a familiar, craveable combination that bridges casual American and Tex-Mex sensibilities.
In colder months, add warming spices like smoked paprika or a pinch of cayenne to the filling for depth. During summer, swap the green onion for fresh cilantro and add a squeeze of lime to brighten flavors; use leftover grilled chicken for subtle char notes. For holiday parties, fold in a tablespoon of chopped roasted red pepper for sweetness and color. The flexible filling lets you adapt to seasonal produce and celebrations without altering the cooking method.
Make the filling up to 48 hours ahead and store covered in the fridge. When ready to serve, bake the cheese shells fresh and roll immediately so they retain crunch. If you want to prep fully assembled taquitos, do so no more than 24 hours ahead and keep them in a single layer; reheat in the oven to restore texture. Use portioned silicone muffin tins to keep each taquito upright while cooling if you’re juggling large batches.
These chicken bacon ranch taquitos are one of those formulas I continually tweak, but never abandon — they’re fast, satisfying, and a little bit cheeky in the best way. Try them for your next casual gathering and make the filling your own. Enjoy the crunch and the comfort.
Bake the slices until edges are golden and centers are bubbly, then remove immediately to avoid over-browning.
Keep the filling chilled until rolling to help the shells set without breaking.
If shells harden before you roll, warm them for 10–15 seconds under low broiler heat to re-soften.
Use a silicone baking mat for easy cleanup and even crisping.
This nourishing keto chicken bacon ranch taquitos recipe is sure to be a staple in your kitchen. Enjoy every moist, high protein slice — it is perfect for breakfast or as a wholesome snack any time.
Yes — bake them briefly at 375°F for 5 to 7 minutes to re-crisp. Avoid microwaving which makes the shells soft.
Use whole-milk mozzarella slices or slice a block about 1/8 inch thick for best texture. Avoid very finely shredded cheese.
This Keto Chicken Bacon Ranch Taquitos recipe makes perfectly juicy, tender, and flavorful steak every time! Serve with potatoes and a side salad for an unforgettable dinner in under 30 minutes.
Mix shredded chicken, crumbled bacon, low-carb ranch dressing, and chopped green onion in a bowl until evenly combined. Taste and adjust seasoning. Keep chilled until ready to use.
Preheat oven to 350°F (175°C) and line a baking sheet with a silicone baking mat or parchment paper to prevent sticking and ease cleanup.
Place mozzarella slices on the prepared sheet spaced about 1 inch apart. Bake for 5 to 7 minutes until edges brown and centers bubble; watch closely to avoid burning.
Remove from oven and let cheese rest for about 1 minute until pliable but still warm. This brief cooling prevents cracking when you roll them.
Place 2 to 3 tablespoons of filling on the edge of each cheese slice and roll tightly. Place seam-side down to set and serve warm with extra ranch for dipping.
Refrigerate in an airtight container up to 3 days. Re-crisp in a 375°F oven for 5 to 7 minutes before serving; avoid microwaving to keep shells crisp.
Last Step: Please leave a rating and comment letting us know how you liked this recipe! This helps our business to thrive and continue providing free, high-quality recipes for you.
Leave a comment & rating below or tag
@feastu on social media!

Delightfully spooky and sweet, these bite-sized mummy cake balls combine moist cake, creamy centers, and a vanilla candy shell for effortless Halloween fun.

Fluffy homemade donuts crowned with a shimmering galaxy glaze. Fry or bake, swirl bold colors, and watch these showstoppers disappear fast.
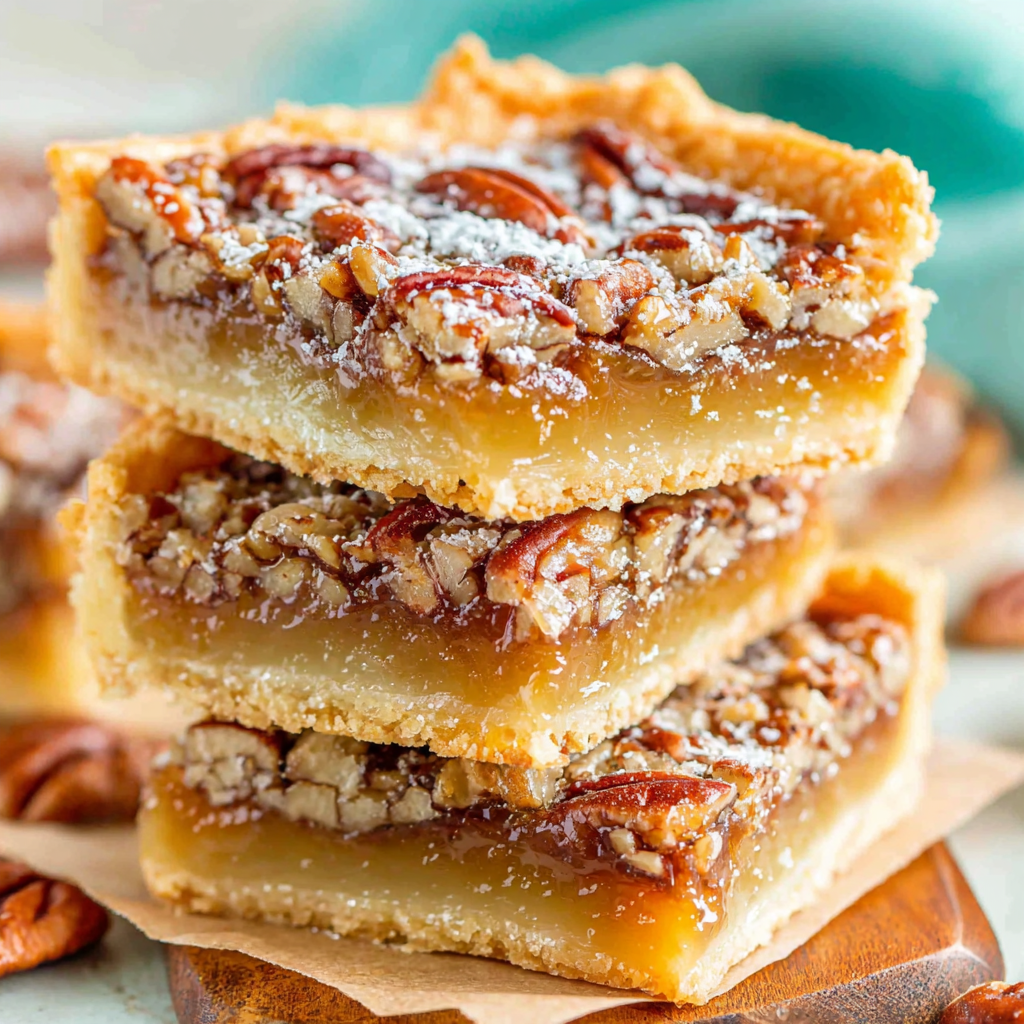
Buttery shortbread crust meets gooey pecan pie filling in easy bar form, perfect for holidays, bake sales, and cozy weeknights.
Leave a comment & rating below or tag @feastu on social media!
Enjoyed this recipe? Share it with friends and family, and don't forget to leave a review!
This recipe looks amazing! Can't wait to try it.
Comments are stored locally in your browser. Server comments are displayed alongside your local comments.

Join to receive our email series which contains a round-up of some of our quick and easy family favorite recipes.