>>

Tiny, make-ahead savory bites with a flaky crust and custardy center—perfect for brunches, parties, or lunchboxes.
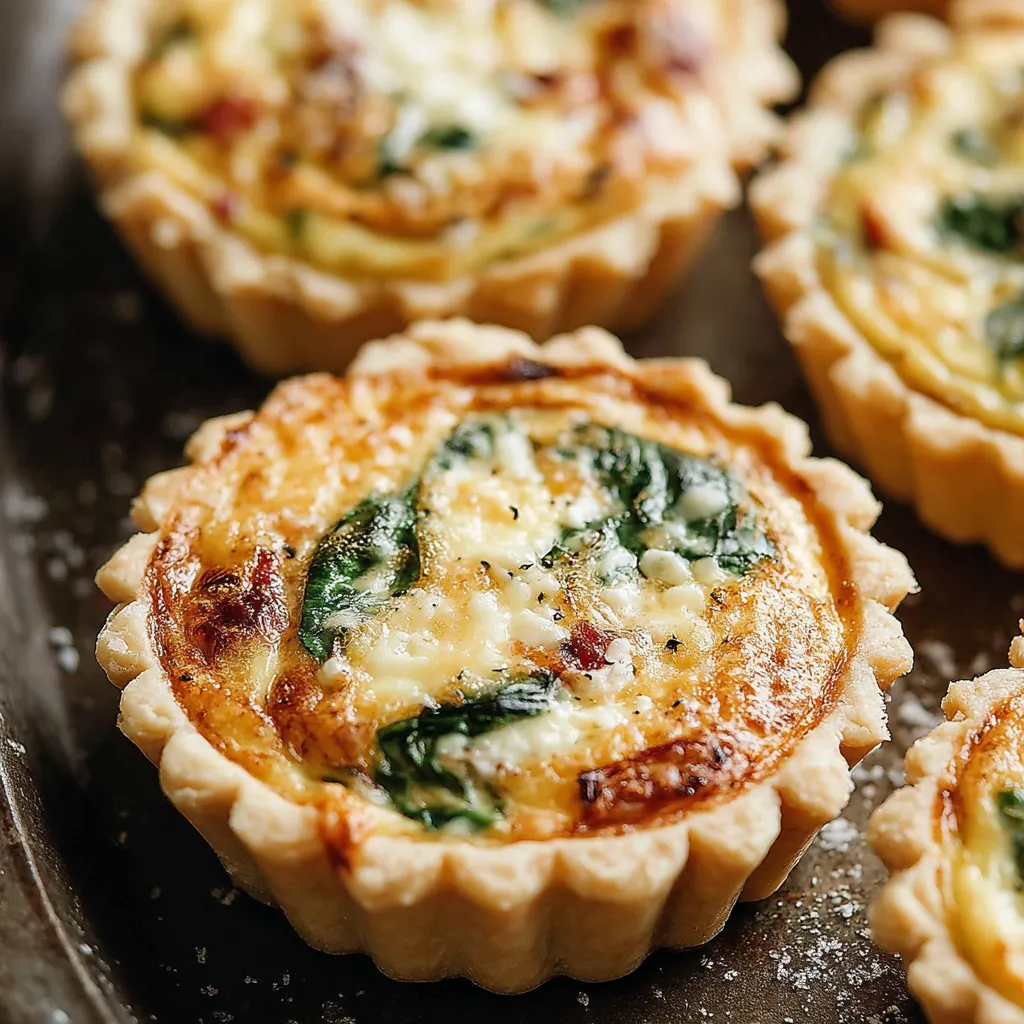
I still smile when guests ask how I made them: the secret is a cold crust and not overbaking the custard. Family members immediately started requesting different add-ins each weekend, and I enjoy rotating cheeses and herbs to keep the flavor profile interesting.
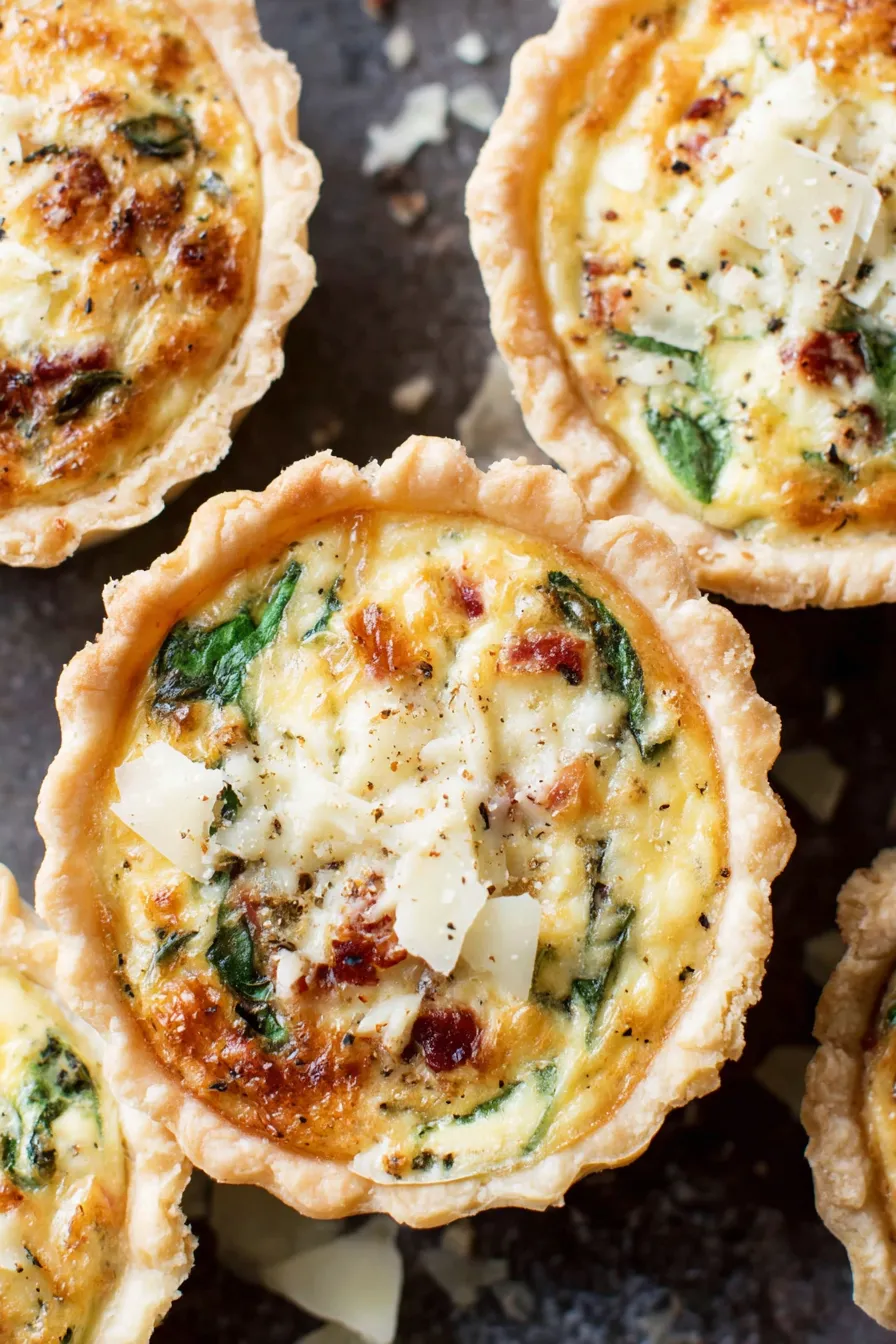
What I love most is how adaptable these bites are. I once made three different batches for a brunch—one with bacon and cheddar, one with spinach and feta, and one with caramelized onion and Gruyere—and guests declared them a hit. Leftovers reheated in a 350°F (177°C) oven for 8–10 minutes come back nearly as good as fresh, which makes these reliable weekend make-ahead options.
Store cooled quiches in an airtight container in the refrigerator for up to 4 days. For longer storage, freeze on a tray in a single layer until firm, then transfer to a freezer bag for up to 2 months. To reheat, thaw overnight in the refrigerator and warm in a 350°F (177°C) oven for 8–12 minutes until heated through. For a quick reheat from frozen, add a few extra minutes and tent with foil if the crust browns too quickly. Use shallow, rigid containers to avoid crushing the pastry while storing.
If you need dairy-free options, substitute the milk and cream with unsweetened oat or almond cream for a similar richness, and use dairy-free cheese alternatives. For a gluten-free version, use a store-bought gluten-free pie crust rolled thin or small par-baked gluten-free pastry circles. Swap whole milk for 2% if desired; the texture will be slightly lighter. When replacing cheese, stronger-flavored cheeses like feta or Gruyere allow you to use less without sacrificing taste.
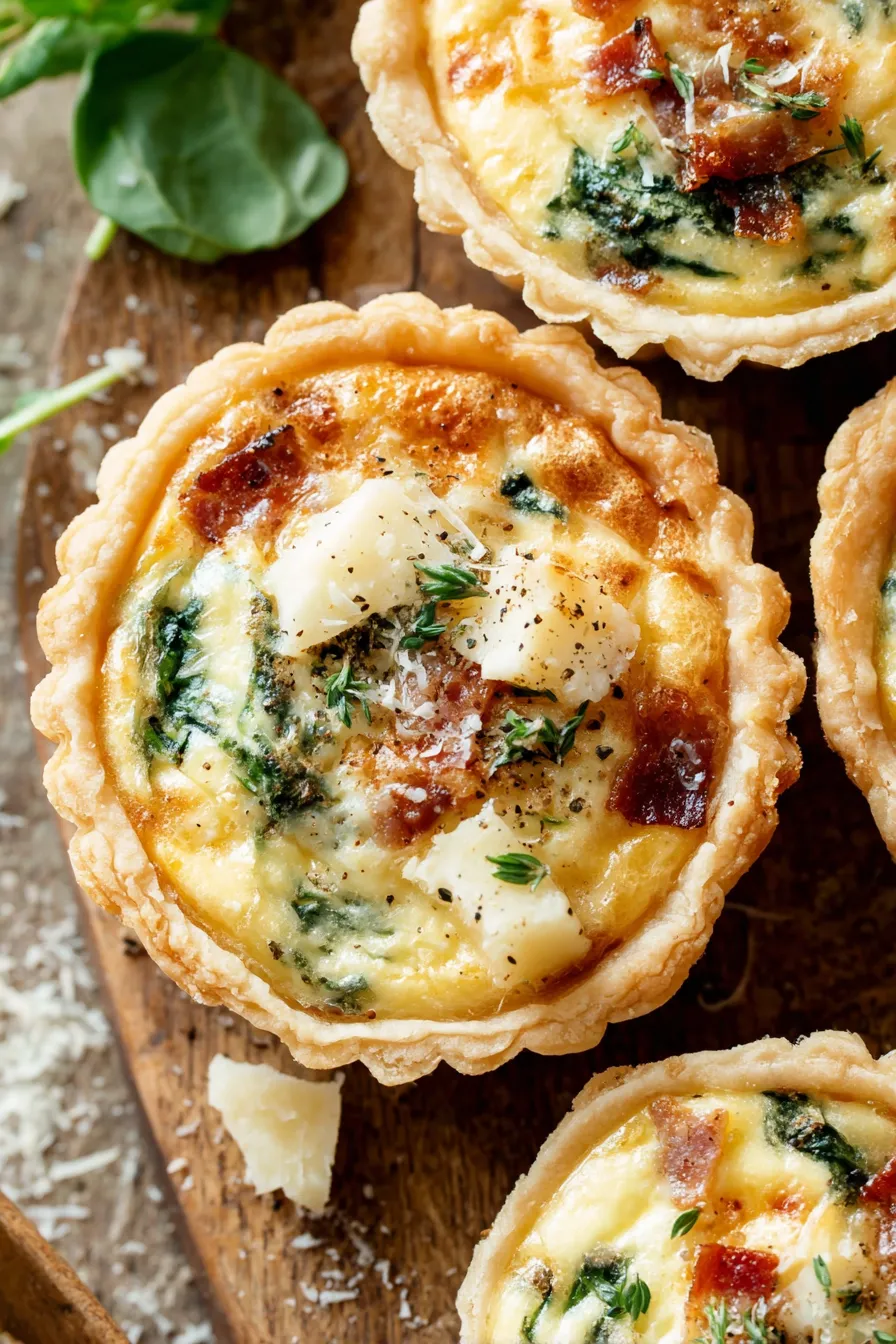
Arrange on a platter with microgreens, thin lemon wedges, or a scattering of chopped chives for color and brightness. These pair beautifully with a simple mixed green salad dressed in a light vinaigrette for brunch, or with roasted vegetables for a light dinner. Serve warm for best texture, but they also stand up to room-temperature service on a buffet. Mini quiches also make elegant hors d'oeuvres; secure with a small toothpick for easy picking if offering a saucy dip on the side.
Small savory tarts like these are cousins of classic French tartlets and quiche. The quiche concept—an egg custard baked in pastry—originated in medieval Germany and was popularized in France, where versions like quiche Lorraine became iconic. Miniaturizing the format for parties and picnics has become popular because of the practicality of single-serving portions. These mini versions borrow the rustic technique of a country tart while offering the modern convenience of grab-and-go serving.
Seasonal produce keeps these fresh year-round. In spring use asparagus tips and fresh herbs with goat cheese; summer benefits from roasted cherry tomatoes and basil with mozzarella; autumn calls for sautéed mushrooms and caramelized onions with gruyere; winter is perfect for hearty combinations like roasted squash with sage and parmesan. Adjust oven time slightly if add-ins are denser or wetter—par-cook firm vegetables first to maintain the custard’s set.
For efficient prep, make the dough and custard the day before. Precook and cool add-ins, shred cheese, and store each component separately in labeled containers. On the day, roll, cut and assemble quickly so the dough stays cold. If baking in batches, keep finished quiches on a sheet pan in a low 200°F (93°C) oven to hold warm without drying. Portable containers with rigid inserts help prevent crushing if transporting to potlucks.
Readers often tell me these have saved last-minute brunches. One friend reported making a batch for a baby shower and receiving requests for the recipe from every guest. Another reader adapted the method to use phyllo cups and sent photos of a Mediterranean-themed spread that vanished by lunchtime. These small victories are what make this technique so rewarding: it scales and adapts to many occasions.
In short, these mini quiches are comforting, versatile, and downright reliable. Whether for weekday breakfasts, holiday spreads, or freezer-ready lunches, they become a staple you’ll reach for again and again. Make them your own with favorite cheeses and fillings, and enjoy how quickly they disappear at the table.
Keep dough cold and work quickly when cutting rounds to prevent tearing and shrinking during baking.
Use a 2.5-inch cutter or a 1/3 cup measuring cup to make uniform rounds that fit mini muffin pans perfectly.
Avoid overfilling shells; fill the custard to about three-quarters full to allow room for puffing and prevent spillover.
Pre-cook and drain wet add-ins like spinach or mushrooms to stop excess moisture from making the crust soggy.
If pans are not nonstick, use a bit more nonstick spray and cool 5 minutes before removing to avoid breakage.
This nourishing mini quiche recipe is sure to be a staple in your kitchen. Enjoy every moist, high protein slice — it is perfect for breakfast or as a wholesome snack any time.
Yes. Pre-cook and drain any high-moisture add-ins like spinach or mushrooms to prevent soggy centers.
Freeze on a tray until firm, then store in a freezer bag for up to 2 months. Thaw overnight in the refrigerator before reheating.
This Mini Quiche recipe makes perfectly juicy, tender, and flavorful steak every time! Serve with potatoes and a side salad for an unforgettable dinner in under 30 minutes.
Make pie dough the night before and refrigerate at least 2 hours. Keep dough chilled until ready to roll to maintain structure and flakiness.
In a large bowl, whisk 4 large eggs with 1/2 cup whole milk and 1/2 cup heavy cream until combined. Add 1/4 teaspoon salt and 1/4 teaspoon pepper. Chill until ready to fill.
Preheat oven to 375°F (191°C). Grease two 24-count mini muffin pans thoroughly with nonstick spray.
Roll one chilled crust to a 12-inch circle. Use a 2.5-inch cutter or 1/3 cup measuring cup to cut rounds. Press rounds into mini muffin cups, working quickly and re-rolling scraps as needed.
Evenly pour the chilled egg mixture into each unbaked shell about three-quarters full. Distribute 3/4 cup total add-ins among the cups and sprinkle 1/2 cup cheese on top.
Bake at 375°F (191°C) for 25–28 minutes until centers are almost set and crust edges are lightly browned. Cool in pan 5 minutes before removing and serving warm or at room temperature.
Refrigerate in an airtight container for up to 4 days or freeze up to 2 months. Reheat in a 350°F (177°C) oven 8–12 minutes until heated through.
Last Step: Please leave a rating and comment letting us know how you liked this recipe! This helps our business to thrive and continue providing free, high-quality recipes for you.
Leave a comment & rating below or tag
@feastu on social media!

Delightfully spooky and sweet, these bite-sized mummy cake balls combine moist cake, creamy centers, and a vanilla candy shell for effortless Halloween fun.
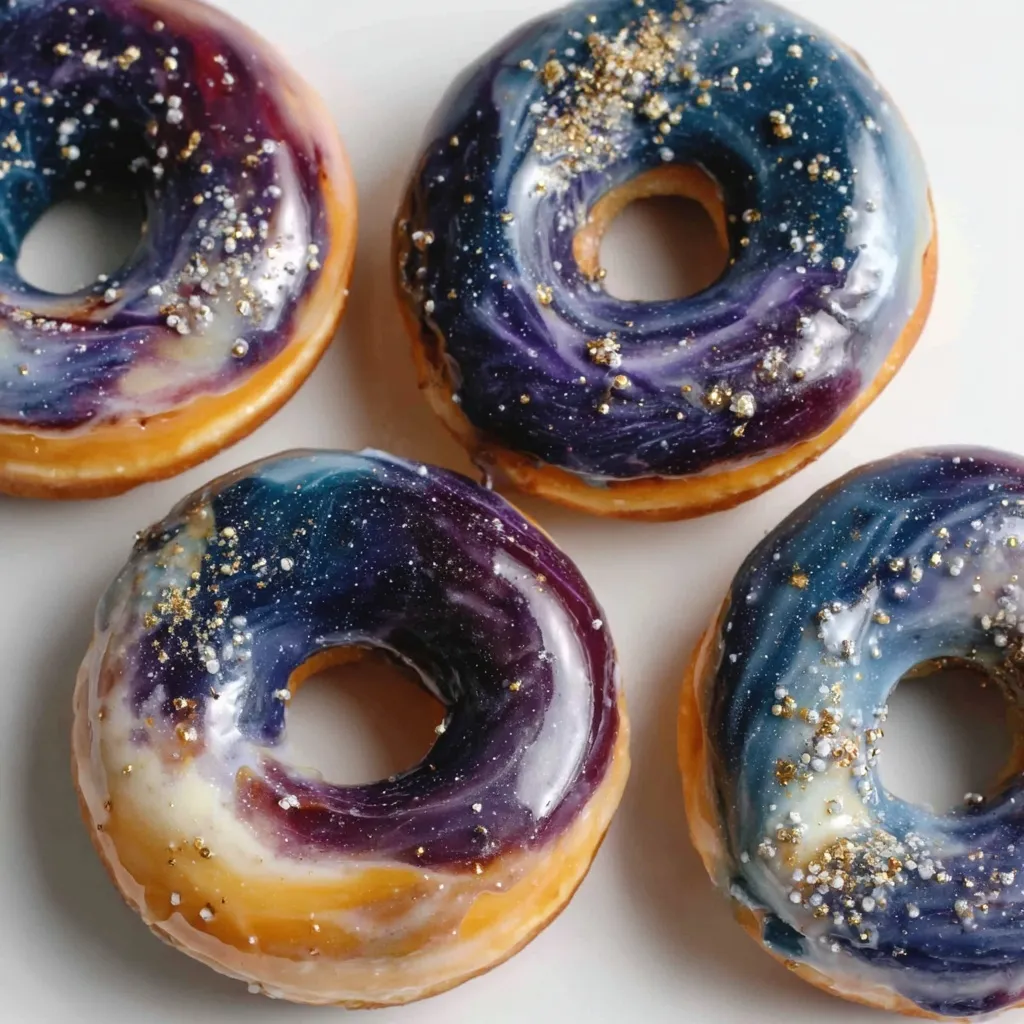
Fluffy homemade donuts crowned with a shimmering galaxy glaze. Fry or bake, swirl bold colors, and watch these showstoppers disappear fast.
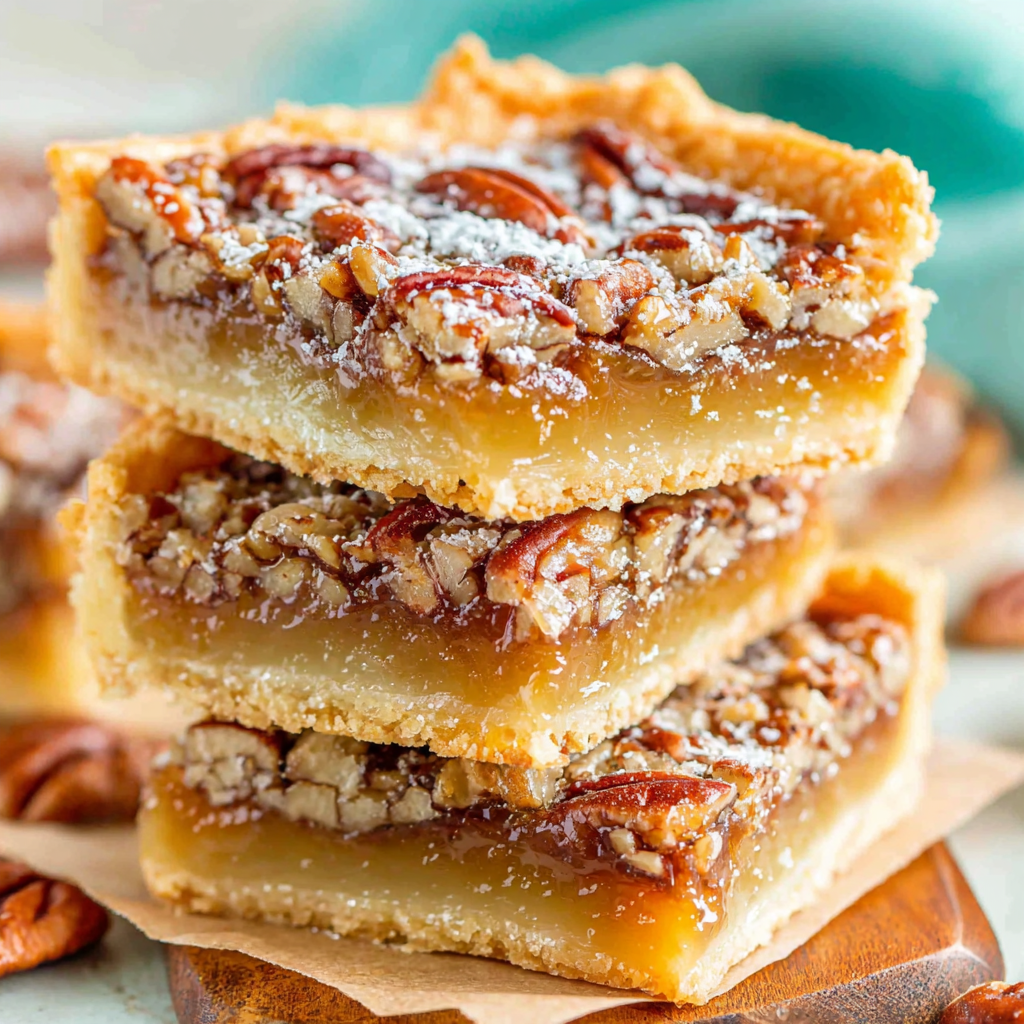
Buttery shortbread crust meets gooey pecan pie filling in easy bar form, perfect for holidays, bake sales, and cozy weeknights.
Leave a comment & rating below or tag @feastu on social media!
Enjoyed this recipe? Share it with friends and family, and don't forget to leave a review!
This recipe looks amazing! Can't wait to try it.
Comments are stored locally in your browser. Server comments are displayed alongside your local comments.

Join to receive our email series which contains a round-up of some of our quick and easy family favorite recipes.