
>>

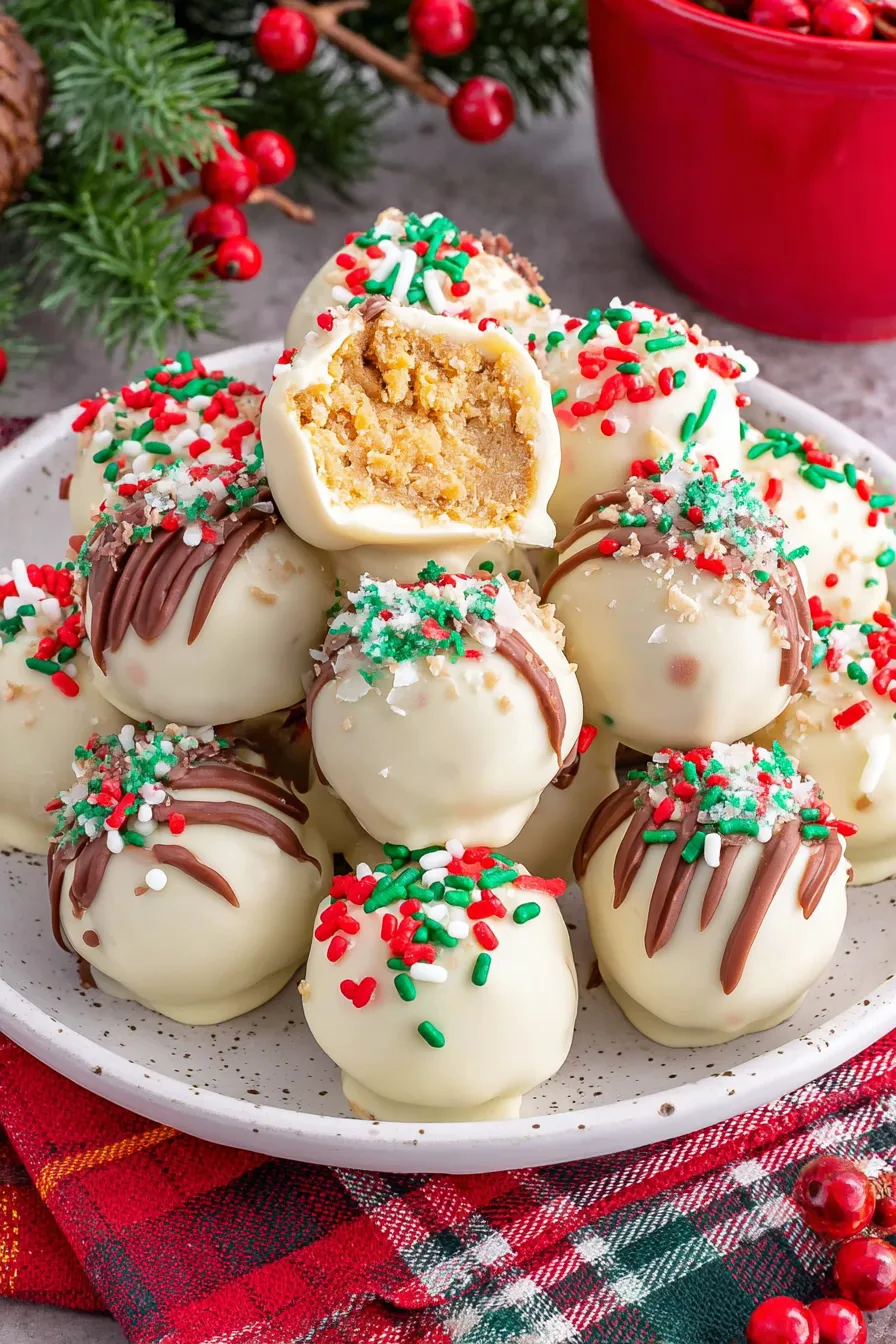
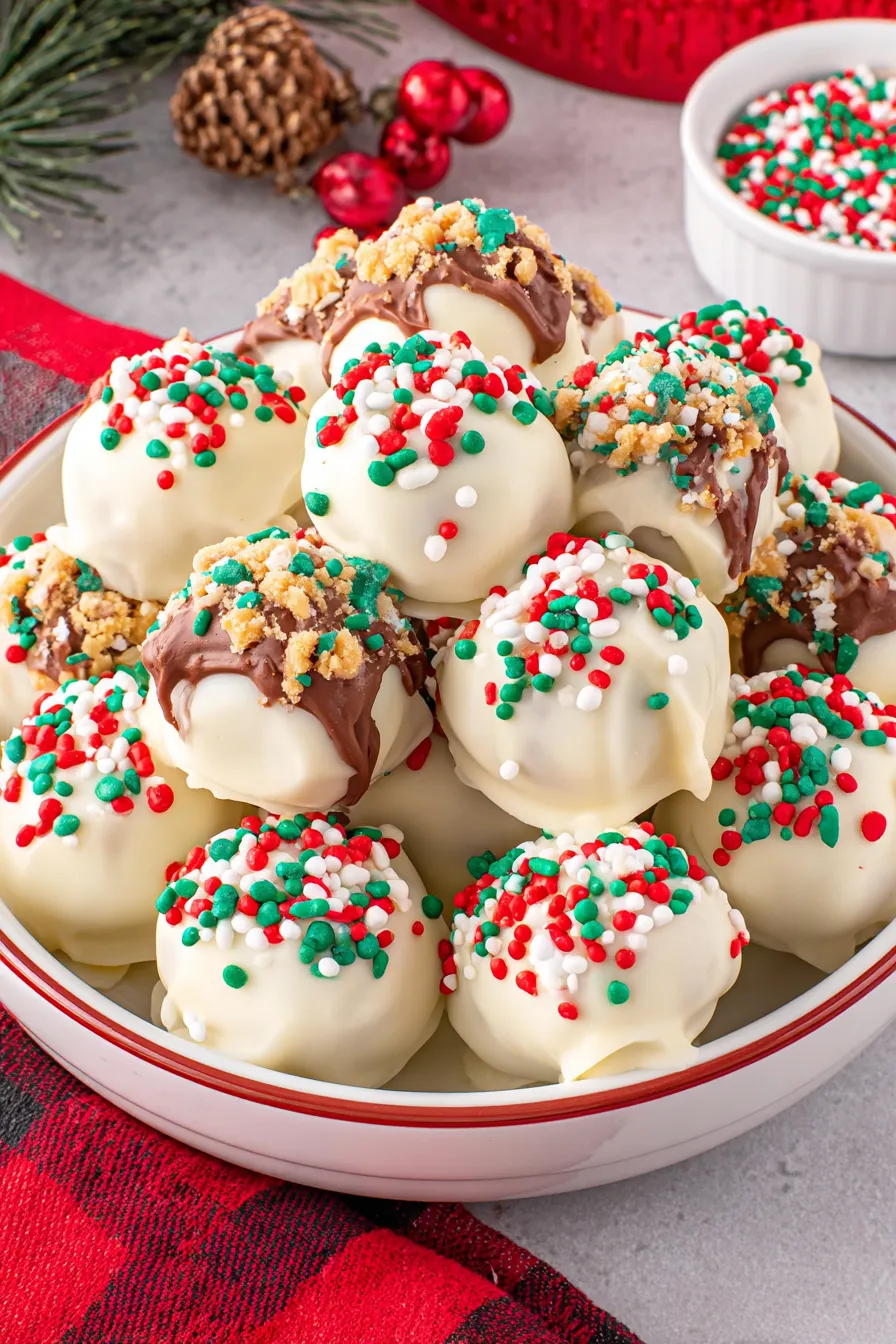
Buttery peanut butter centers dipped in silky white chocolate and finished with festive sprinkles — the perfect bite-sized holiday treat for parties and gifting.
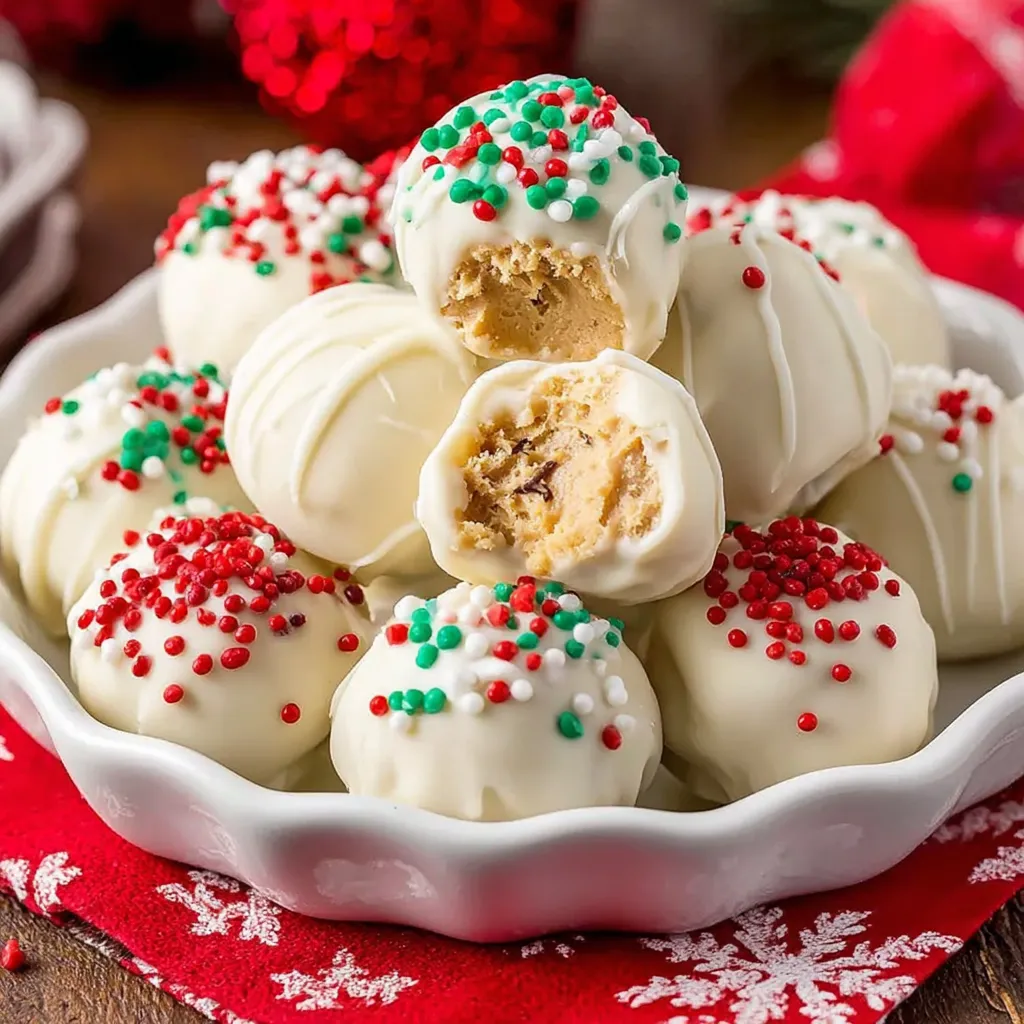
This recipe for White Chocolate Peanut Butter Christmas Truffles became a holiday tradition in my house the first winter I needed a fast, crowd-pleasing sweet to bring to a neighborhood cookie exchange. I discovered the combination of powdered sugar, creamy peanut butter, and a touch of butter while experimenting with pantry staples during a busy December. The result was a delicate, melt-in-your-mouth center encased in a thin shell of sweet white chocolate — and everyone asked for the recipe.
I love these because they look special without demanding hours of work: simple shaping, a quick chill, and a gentle dip transforms pantry ingredients into a giftable confection. The contrast of the slightly granular, peanut-buttery interior against the smooth white chocolate shell and the playful crunch or shimmer of holiday sprinkles makes every bite memorable. These have saved my holiday baking more than once — they’re fast, adaptable, and always disappear first from the cookie tray.
I remember my first batch being assembled on a rainy afternoon while holiday music played — my partner taste-tested each one and declared them official holiday fare. Neighbors loved the small boxes I handed out; one friend even recreated them to bring to a family reunion. The reaction each year is reliably joyful — they're small, festive bites that feel more luxurious than their simple ingredient list suggests.
My favorite part is how everyone’s reaction feels like unwrapping a tiny present: the first bite is always met with a surprised, delighted pause. I’ve learned to make a double batch for gatherings because they vanish quickly; a neighbor once told me she saved half her box for a special movie night because they’re small, indulgent, and portable.
Store in an airtight container in the refrigerator for up to one week. If stacking layers, place a sheet of parchment or wax paper between them to prevent sticking and decoration transfer. For longer storage, freeze in a single layer until firm, then transfer to a freezer-safe container for up to three months. Thaw in the refrigerator overnight to avoid condensation forming on the chocolate, which can dull the finish. When transporting to parties, keep them in a cool insulated bag to prevent melting.
You can swap peanut butter for almond or cashew butter for a different flavor; use the same measurement. If you need dairy-free or vegan options, choose a dairy-free butter substitute and vegan white chocolate or candy coating — note that texture may vary slightly. For a less-sweet center, replace up to 1/4 cup of powdered sugar with finely ground graham cracker crumbs or crushed dry cereal for structure. To add a flavor twist, stir in 1/2 teaspoon vanilla extract or 1/4 teaspoon fine sea salt to deepen the profile.
Serve on a festive platter with mixed cookies and chocolates for a holiday dessert table. Pair with strong coffee, mulled wine, or a nutmeg-dusted hot chocolate to balance the sweetness. For gifting, place 8–12 pieces in a small box lined with tissue and add a ribbon. Garnish with edible gold dust or crushed candy cane for seasonal contrast. These are also ideal as place-setting favors — tie a small tag to each box with the recipient's name.
For a winter twist, swap some sprinkles for crushed peppermint or stir 1/4 teaspoon peppermint extract into the white chocolate coating. At Easter, use pastel sanding sugar and tiny sugar pearls for a spring look. For autumn, dip in tempered milk chocolate and dust with cinnamon-sugar or chopped toasted pecans. Adjust toppings and color palettes to match the holiday — the core technique remains the same, giving you a versatile base for seasonal creativity.
Prepare the centers up to two days ahead and keep chilled; dip them on the day you plan to serve to keep coatings fresh and glossy. Portion dough using a small scoop and freeze balls on a tray; once frozen solid, transfer to a container and dip directly from frozen — this shortens the chilling step and speeds assembly. Label containers with date and flavors if making multiple varieties; store extra melted chocolate in a warm thermos for easy re-dipping during larger batches.
A friend used these as edible place cards at her winter wedding — she added small name tags to each tiny box and guests loved them. At a neighborhood cookie swap, one of my boxes sparked a trade: someone brought traditional Italian cookies and left with my truffles, and we exchanged recipes. The most heartwarming moment was when my niece, age seven, proudly handed a tray of her own truffles to our neighbors; watching kids take part made the whole ritual feel like a family heirloom in the making.
These white chocolate peanut butter bites are deceptively simple and endlessly adaptable — whether you’re making a few for a party or dozens for gifting, they bring warmth and delight to any holiday table. Try them once, and they’ll likely become a small but treasured tradition in your home.
Chill the shaped centers until firm before dipping to prevent melting and maintain shape.
Tap the fork gently after dipping to remove excess coating and create a thin, even shell.
Work quickly when applying toppings — they adhere best while the chocolate is still wet.
Use a small portion scoop for uniform sizing; this ensures consistent set and presentation.
This nourishing white chocolate peanut butter christmas truffles recipe is sure to be a staple in your kitchen. Enjoy every moist, high protein slice — it is perfect for breakfast or as a wholesome snack any time.
Yes — store in an airtight container in the refrigerator for up to one week or freeze for up to three months.
If centers are too sticky add more powdered sugar, a tablespoon at a time; if too dry add a teaspoon of milk or water.
This White Chocolate Peanut Butter Christmas Truffles recipe makes perfectly juicy, tender, and flavorful steak every time! Serve with potatoes and a side salad for an unforgettable dinner in under 30 minutes.
In a medium bowl, mix 1 cup powdered sugar, 1/2 cup peanut butter, and 3 tablespoons room-temperature butter until a uniform dough forms. Adjust texture with tiny amounts of milk or powdered sugar if needed.
Scoop uniform portions with a small scoop or tablespoon and roll between palms into 1-inch balls. Place on a parchment-lined tray in a single layer.
Refrigerate the tray for 15–30 minutes until firm. This step prevents melting during dipping and helps the centers hold their shape.
Melt 16 ounces white chocolate in 30-second intervals in the microwave (50% power), stirring between each, until smooth. Alternatively, use a double boiler and maintain gentle heat.
Dip chilled centers into melted chocolate, tap off excess, and place on parchment. Immediately add sprinkles or toppings while coating is wet so they adhere.
Let the coating harden at room temperature or refrigerate for 10–15 minutes. Store finished pieces in an airtight container in the refrigerator for up to one week.
Last Step: Please leave a rating and comment letting us know how you liked this recipe! This helps our business to thrive and continue providing free, high-quality recipes for you.
Leave a comment & rating below or tag
@feastu on social media!

Delightfully spooky and sweet, these bite-sized mummy cake balls combine moist cake, creamy centers, and a vanilla candy shell for effortless Halloween fun.

Fluffy homemade donuts crowned with a shimmering galaxy glaze. Fry or bake, swirl bold colors, and watch these showstoppers disappear fast.

Buttery shortbread crust meets gooey pecan pie filling in easy bar form, perfect for holidays, bake sales, and cozy weeknights.
Leave a comment & rating below or tag @feastu on social media!
Enjoyed this recipe? Share it with friends and family, and don't forget to leave a review!
This recipe looks amazing! Can't wait to try it.
Comments are stored locally in your browser. Server comments are displayed alongside your local comments.

Join to receive our email series which contains a round-up of some of our quick and easy family favorite recipes.
